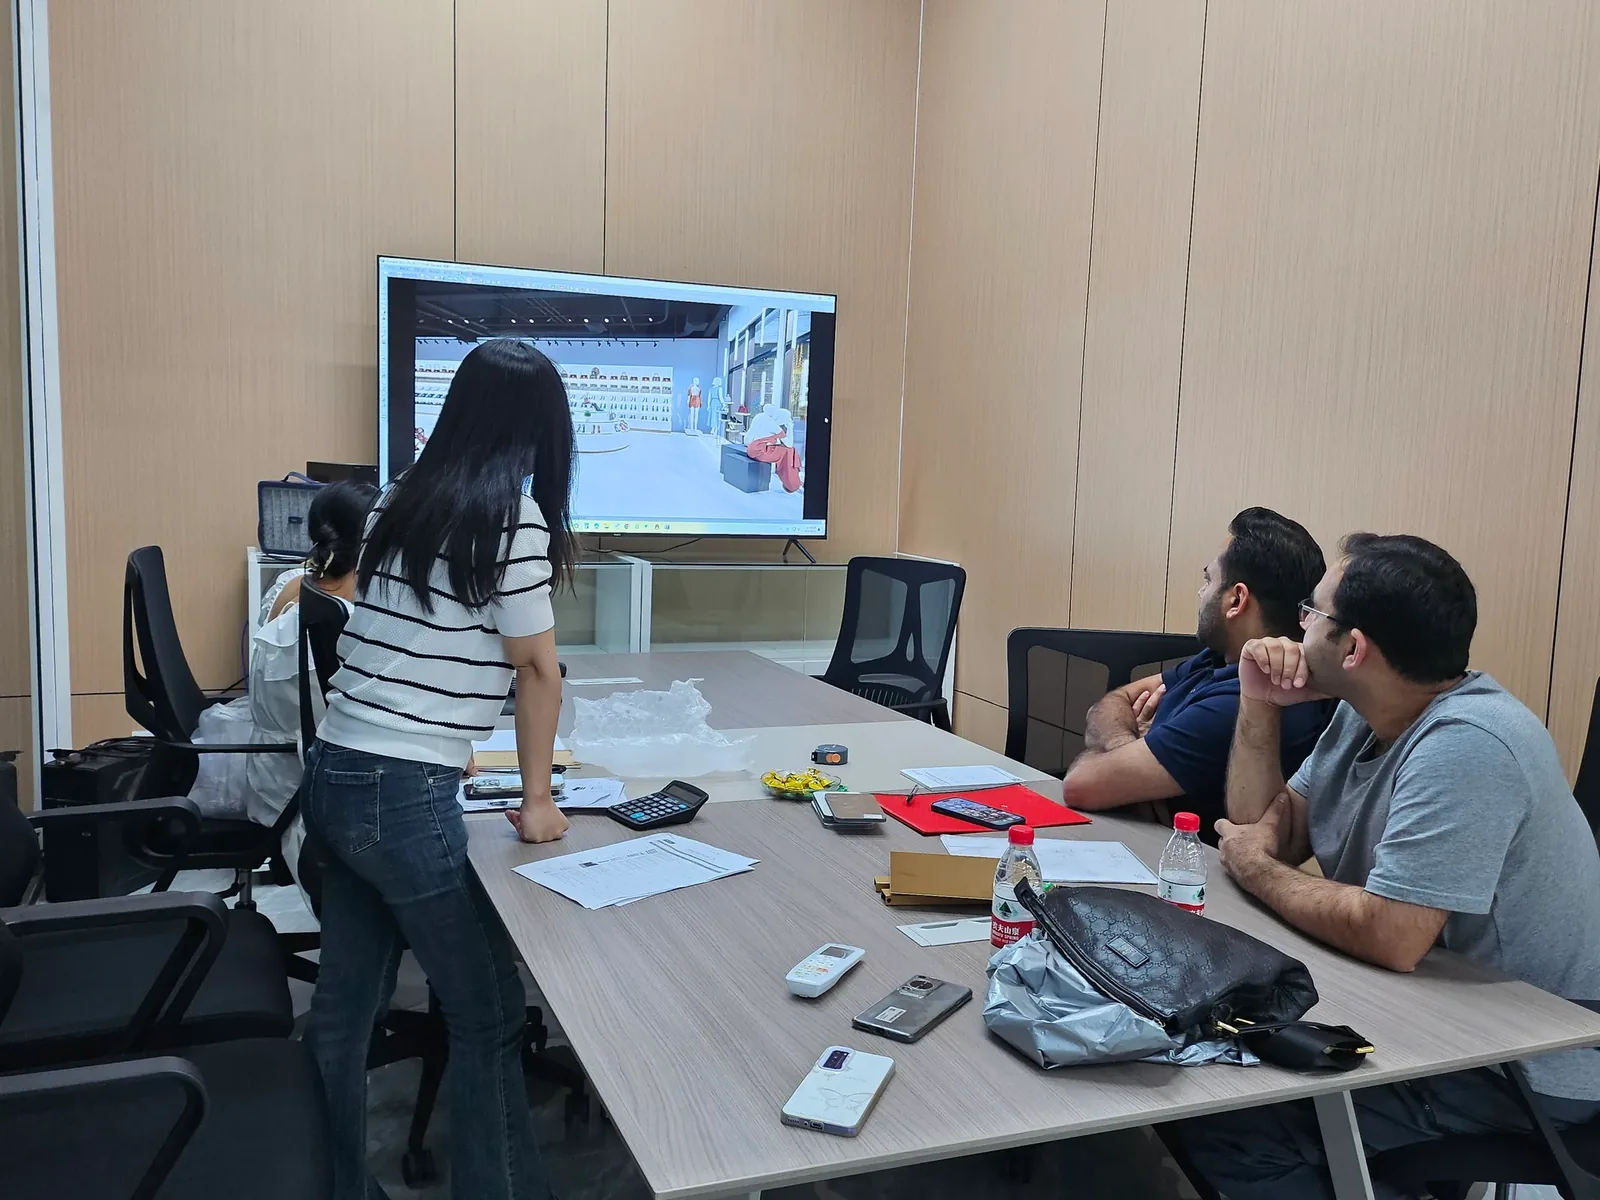
Writing a Store Design Brief for a Designer Toy Brand
A store design brief should explain what the business needs its space to do, which conditions the design must respect, and who will decide whether a proposal meets those needs.
- Published
- 2026-09-08
- Updated
- 2026-09-08
- Reading time
- 9 minutes
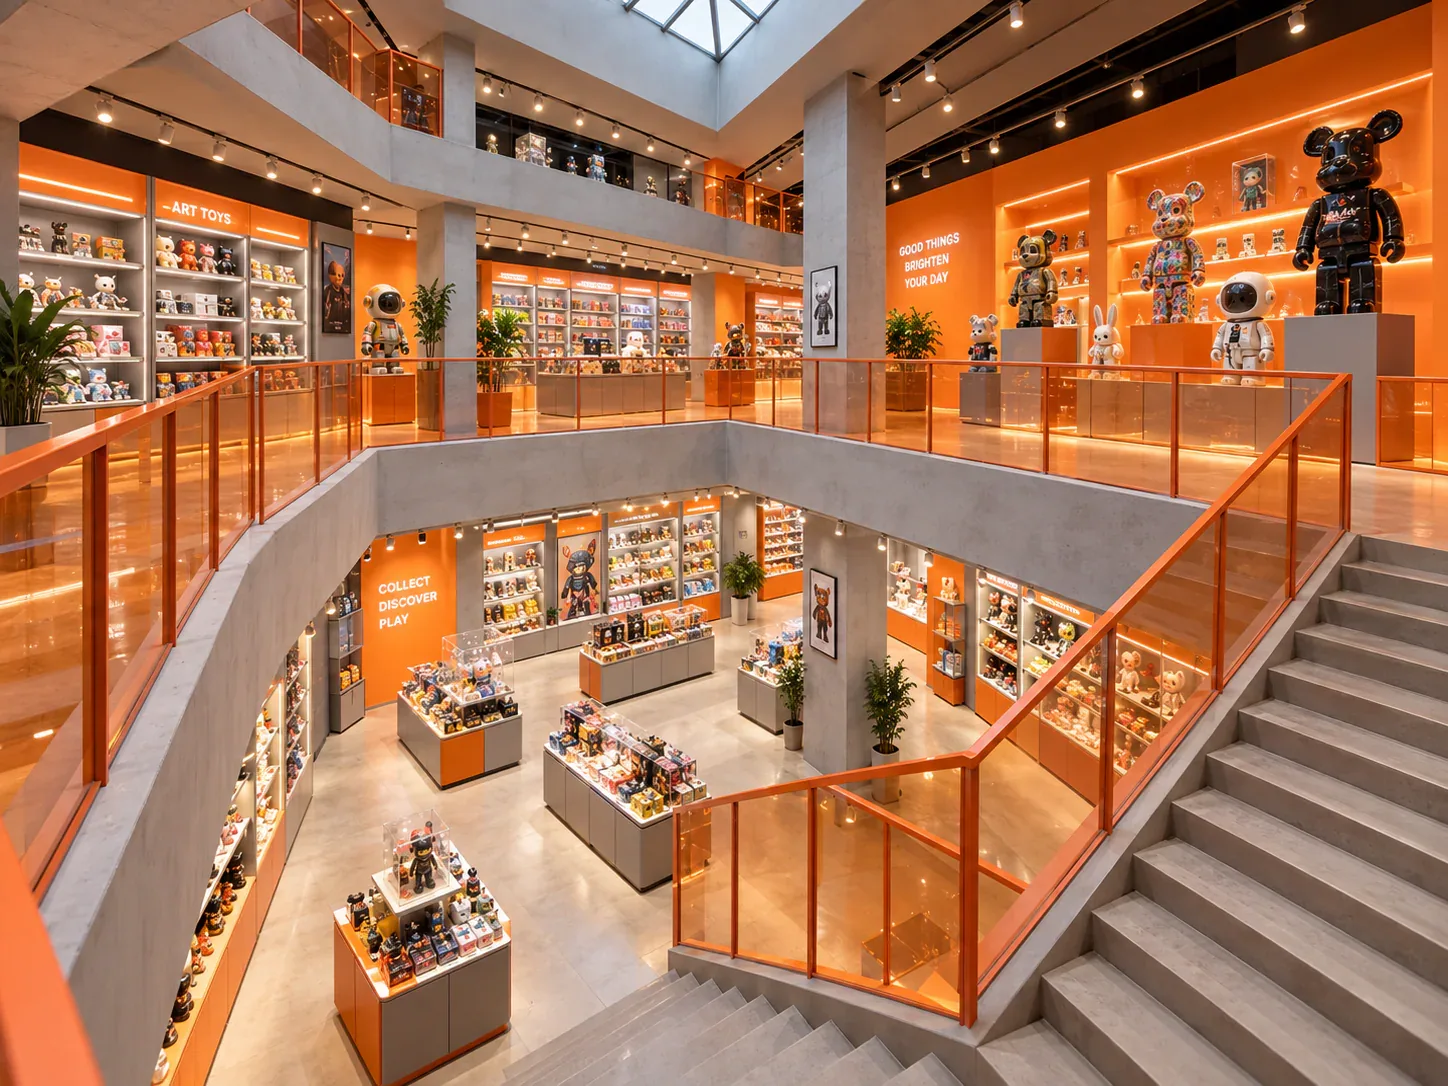
A store design brief should explain what the business needs its space to do, which conditions the design must respect, and who will decide whether a proposal meets those needs. For a designer toy brand, that means more than supplying a logo and a collection of attractive shop photographs.
Three decisions to carry into your project.
- 01
Describe the store's primary job
- 02
Identify the people and activities the space must support
- 03
Provide merchandise information at the right level
Start with the decision
A store design brief should explain what the business needs its space to do, which conditions the design must respect, and who will decide whether a proposal meets those needs. For a designer toy brand, that means more than supplying a logo and a collection of attractive shop photographs. The brief must connect the brand's presentation ambitions with merchandise, customer interaction, staff work and the expected scope of the fixture project.
The brief is an input to design. It is not an approved floor plan, a manufacturing drawing or a request for identical prices from several suppliers. Those documents come later and use information established here. A useful brief helps a designer make reasoned choices while making uncertainty visible. It should reduce avoidable guessing without prescribing every detail before the alternatives have been considered.
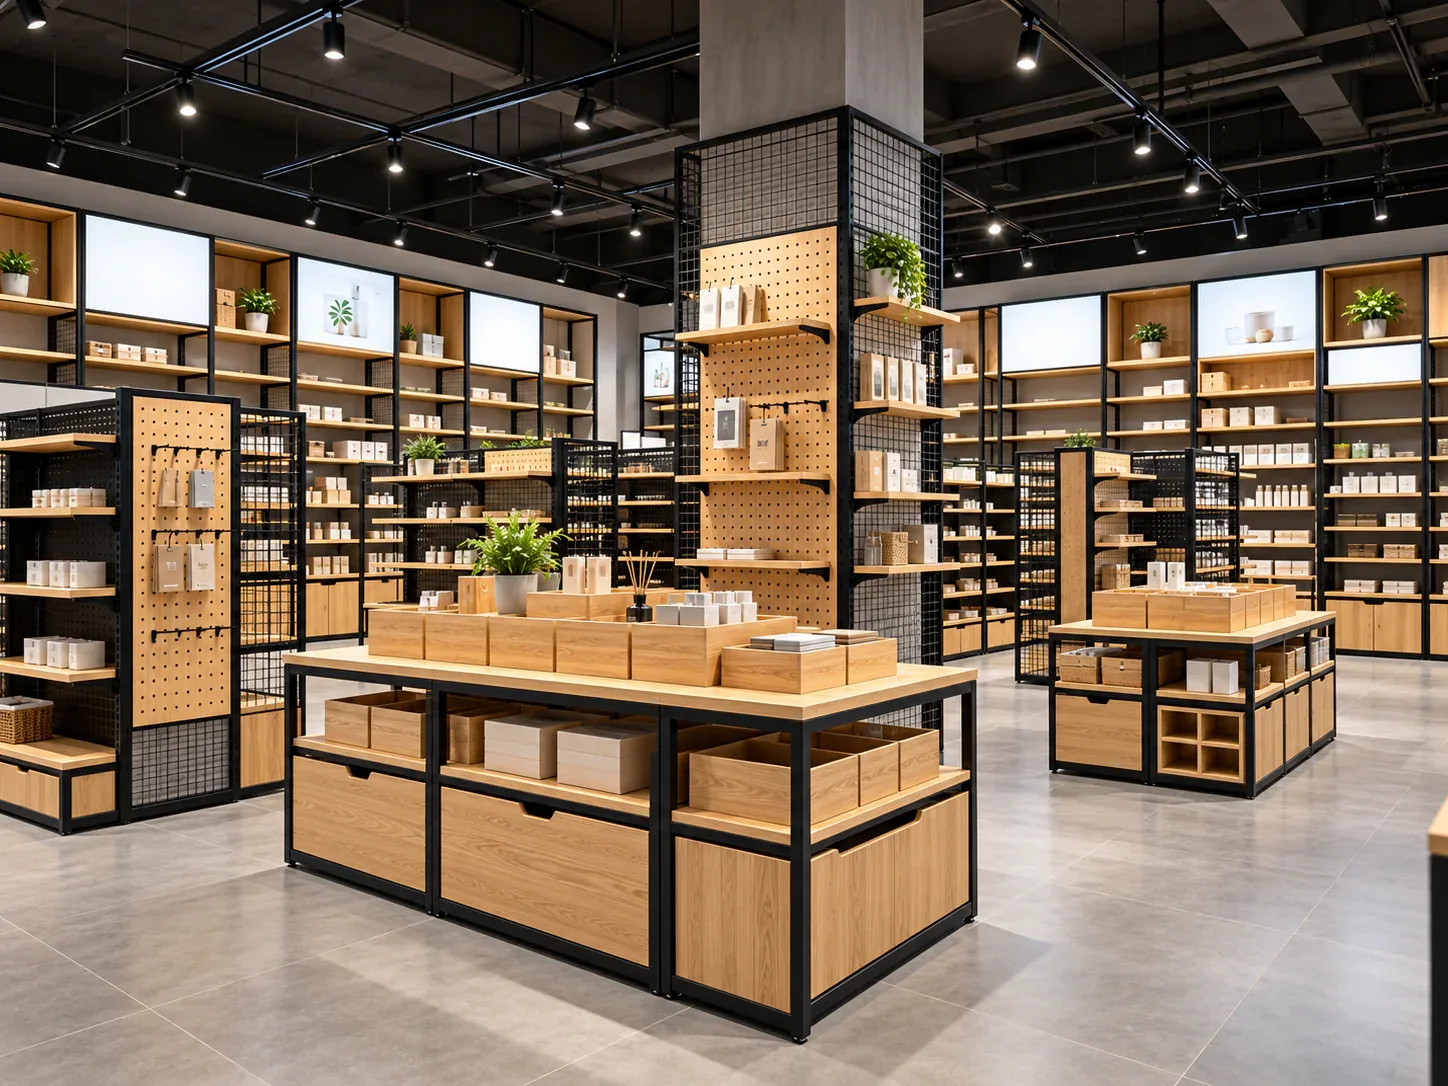
Describe the store's primary job
Begin with a short statement of the store's intended role. Is it the brand's first permanent retail location, a place to present a broad collectible range, an extension of an existing online business, or a compact shop inside another retailer? These roles can lead to different requirements even when the floor area and product category are similar.
Write objectives as things that can be observed or checked. “A memorable space” expresses an ambition but gives little direction. “Customers should be able to identify the current release, compare the loose samples and find the corresponding sealed stock” creates a clearer design task. The brief can still describe the desired atmosphere, but the operating objective gives reviewers a way to discuss whether a proposal is working.
Avoid promising outcomes that a fixture design alone cannot guarantee. A new store may aim to attract more collectors, but the brief should not assume that a particular display will produce a stated sales increase. Define the experience or capability being sought, then identify how the team will evaluate it without confusing an aspiration with measured evidence.
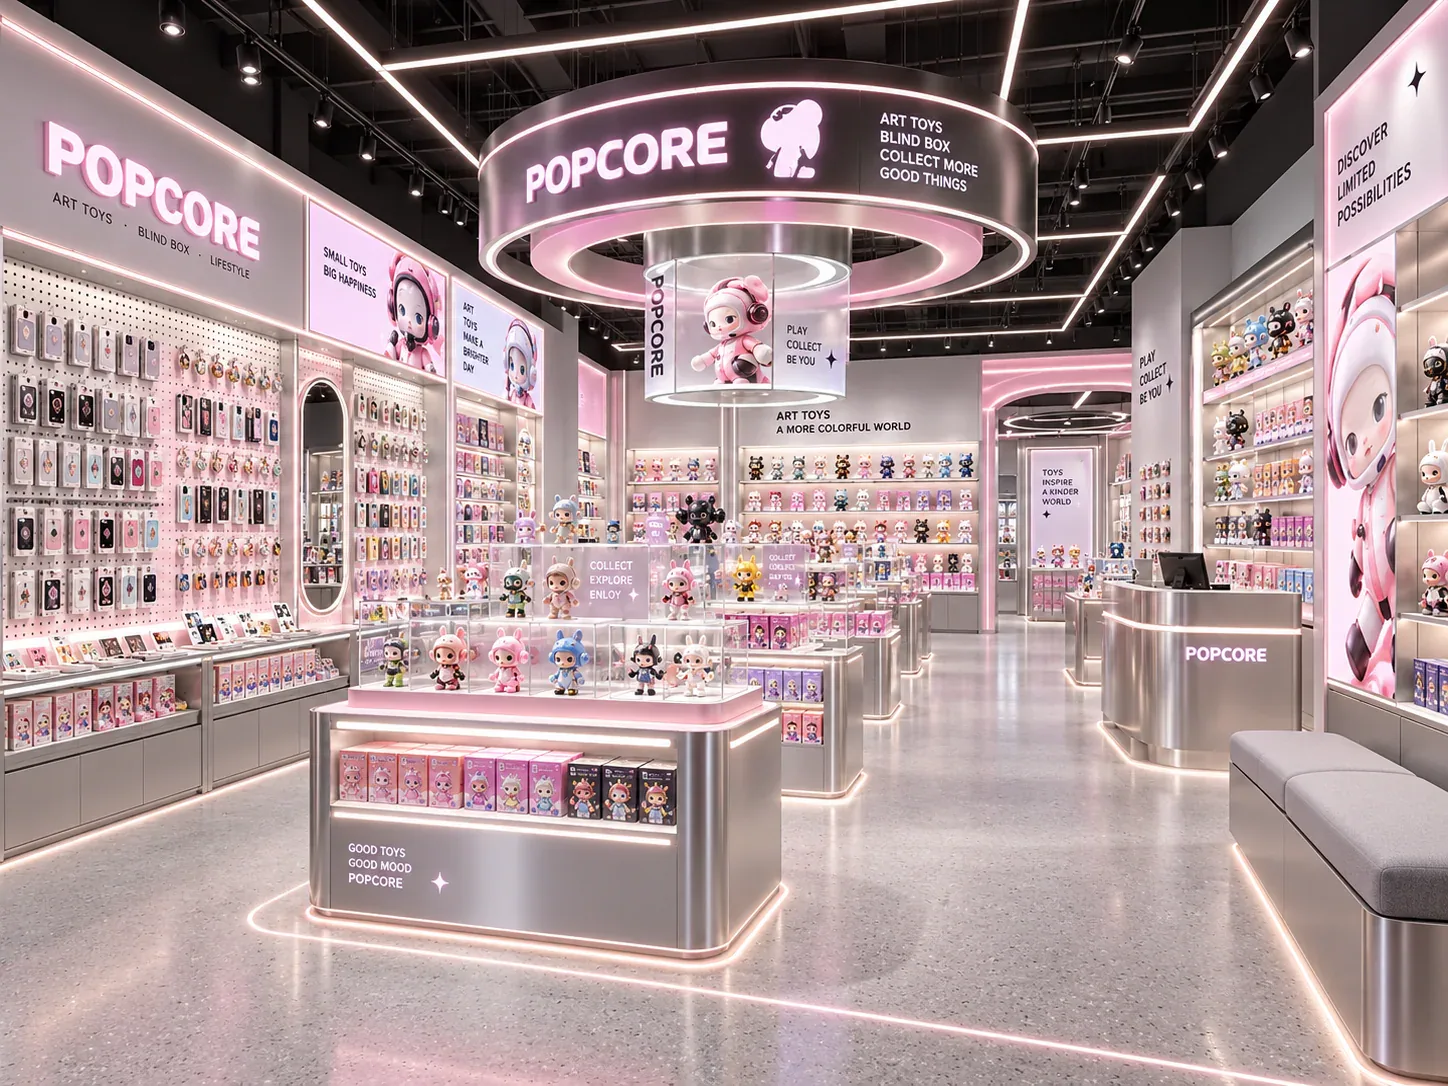
Identify the people and activities the space must support
List the principal customer activities: entering, browsing, comparing, asking for assistance, selecting sealed goods, viewing protected samples, paying and collecting purchases. Some stores also host release events or allow customers to open purchases inside. Explain which activities are genuinely required rather than adding every possible use to the brief.
Write a separate account of staff work. Receiving stock, replenishing shelves, retrieving samples, packing purchases, managing queues and cleaning cabinets all require space and access. A presentation concept that looks convincing from the customer side may conceal an awkward employee operation. Asking staff to describe an ordinary working sequence can reveal requirements that visual references do not show.
Specify the relevant operating scenarios. A normal weekday and a launch event may need different arrangements. Rather than asking the designer to maximise both at once, state how often the exceptional condition occurs, what can move, and what must remain available. This allows the design to accommodate change deliberately instead of relying on an improvised rearrangement after installation.
Provide merchandise information at the right level
Attach a merchandise schedule with physical formats, representative dimensions, selling methods and proposed display quantities. The brief does not need every inventory transaction, but it must identify the items that determine the space. A large collector box, a fragile assembled statue or a long hanging accessory may affect the solution more than a much larger number of ordinary packages.
Distinguish confirmed products from placeholders. If a new range has not been released, describe the dimensional envelope that the team is prepared to assume and who will confirm it. Do not write “all future products” as a fixture requirement. That phrase cannot be checked and may invite unnecessary size, complexity or cost into the proposal.
Explain what is expected to remain stable and what changes often. Brand colours may be stable while launch graphics change monthly; cabinet positions may remain fixed while shelf spacing changes between ranges. This distinction tells the designer where adaptability has a practical purpose. It is more informative than an unsupported request for a completely modular store.
Give visual references a written interpretation
Reference images are helpful when the brief explains what each image represents. Identify the quality you want to explore: a calm background, a clearly framed hero product, a visible structural rhythm, a particular material contrast or a simple wayfinding approach. Include equally clear notes about elements that should not be copied.
A photograph of another shop rarely explains its dimensions, construction, ownership, budget or operating conditions. Treat it as a communication aid, not proof that a proposed fixture can be made in the same way for the current project. If an image includes another brand's characters or logos, specify that the reference concerns the spatial idea rather than permission to reproduce that artwork.
Limit the number of references and resolve contradictory directions. A brief asking simultaneously for densely packed shelves, gallery-like spacing and maximum central event space needs priorities. Designers can propose trade-offs, but they should not have to guess which request will control the final decision. Annotated references and ranked objectives make that discussion more productive.
Establish the site facts and their confidence level
Include the location, store format, measured plan, ceiling conditions, relevant landlord information and known access constraints. Indicate which drawings were measured recently and which came from an older lease or a preliminary proposal. Information that looks precise can still be unreliable if nobody knows its source or whether the space has changed.
Separate facts from conditions that require another party's confirmation. The design team may need the landlord to identify a service zone, a local professional to confirm an applicable requirement, or the site contractor to verify a wall condition. Assign these actions in the brief. Do not imply that a fixture supplier has accepted responsibilities simply because the missing information affects the design.
For an overseas project, provide one consistent unit of measurement and a clear drawing orientation. Label entrances, adjoining spaces and fixed obstacles. A remote supplier should be able to understand the supplied information without interpreting several conflicting sketches. If a site survey is incomplete, state what level of design work can proceed and which decisions remain provisional.
Define deliverables and exclusions
Specify what the appointed party is expected to produce. Concept images, a space plan, a fixture schedule, material samples, manufacturing drawings and installation instructions are different deliverables. A proposal labelled “design included” does not explain which of them are included, how many review rounds are allowed, or which party provides the underlying site information.
Define the scope at the boundaries. Are storefront works, flooring, ceiling changes, electrical installation, signs and on-site assembly included, excluded or supplied by someone else? The initial brief may not answer every question, but it should show which questions exist. Leaving them invisible makes a later design approval appear more complete than it actually is.
Use a deliverable register rather than a long paragraph containing several assumptions. For each item, record its purpose, provider, required input, review owner and expected issue stage. This gives the buyer a way to assess a design proposal without pretending that every document can be completed at the same time.
See the decision table below for the working record.
Use a hypothetical brief to test completeness
Imagine a brand planning its first permanent store. Its initial request is for a dramatic feature cabinet, bright launch graphics and a flexible event area. The merchandise attachment then shows that most sales will come from sealed blind boxes, while only a few premium figures need protected display. The operations note explains that two employees must manage both replenishment and gift packing. These are hypothetical conditions, not a description of an actual BENSON customer.
A useful brief would make the relationship between those facts explicit. It might rank straightforward series identification and employee access above a large feature cabinet. It might require the event arrangement to use movable elements without changing the location of the service counter. The visual ambition remains, but it is now tested against the store's ordinary work.
If two design concepts are submitted, the owner can compare how each handles those tasks. One may offer a stronger feature moment but less reserve storage; another may provide simpler replenishment but need a more deliberate lighting or graphic treatment. The brief does not automatically choose a winner. It gives the review a shared set of questions and prevents preferences from changing silently between meetings.
Set a review process before the first concept arrives
Identify who collects comments and who has final authority for each subject. Merchandise, brand appearance, project budget and site coordination may have different owners. Ask reviewers to return comments through one register so that a supplier does not receive contradictory instructions through separate conversations. Where stakeholders disagree, record the decision rather than forwarding both requests as if they were compatible.
Set review stages that match the maturity of the information. A concept review can approve the direction without approving manufacturing details. A later technical review can confirm dimensions and interfaces. Make the distinction visible in the brief so that enthusiasm for a rendering is not mistaken for permission to begin fabrication.
Finally, define how the brief itself changes. When the opening date, assortment or scope moves, issue a revised version and identify affected decisions. The brief should be a stable reference, but not a document that forces the team to ignore new facts. A traceable revision is more useful than an unchanged cover sheet attached to a growing collection of contradictory messages.
Prepare the next handoff
Before sending the brief, check that an unfamiliar reader can explain the intended store, its main customer activities, the demanding merchandise cases and the requested deliverables. Ask what would still need to be guessed. Resolve the important gaps or place them in a short action list with an owner and a required decision stage.
The completed brief can support a conversation about designer toy store design or a custom fixture programme. After the design scope is clearer, turn the relevant information into a comparable quotation package. Keep the two documents connected, but remember their different jobs: the brief explains the problem and priorities; the quotation request defines the scope suppliers are being asked to price.
Compare one controlled basis.
How we apply this decision.
Before sending the brief, check that an unfamiliar reader can explain the intended store, its main customer activities, the demanding merchandise cases and the requested deliverables. Ask what would still need to be guessed. Resolve the important gaps or place them in a short action list with an owner and a required decision stage.
Review BENSON capabilities →What still needs project confirmation.
Use the actual site, merchandise and supplier information to confirm the project-specific arrangement. Illustrative examples do not establish technical suitability.
Prepare the required inputs →Avoid these shortcuts.
- Treating a reference image as an approved production specification.
- Comparing suppliers without identical dimensions, quantities and delivery scope.
- Separating material, lighting or hardware decisions from the drawing revision.
- Leaving packing, local installation and site interfaces undefined.
Before the next approval.
- Describe the store's primary job
- Identify the people and activities the space must support
- Provide merchandise information at the right level
- Record each open point, owner, due date and required evidence.
Trace the supporting information.
Content review policyUpdated 2026-09-08. AI-assisted buyer guidance; no independent technical review is claimed.
Move from research to a project decision.
Keep building the specification.
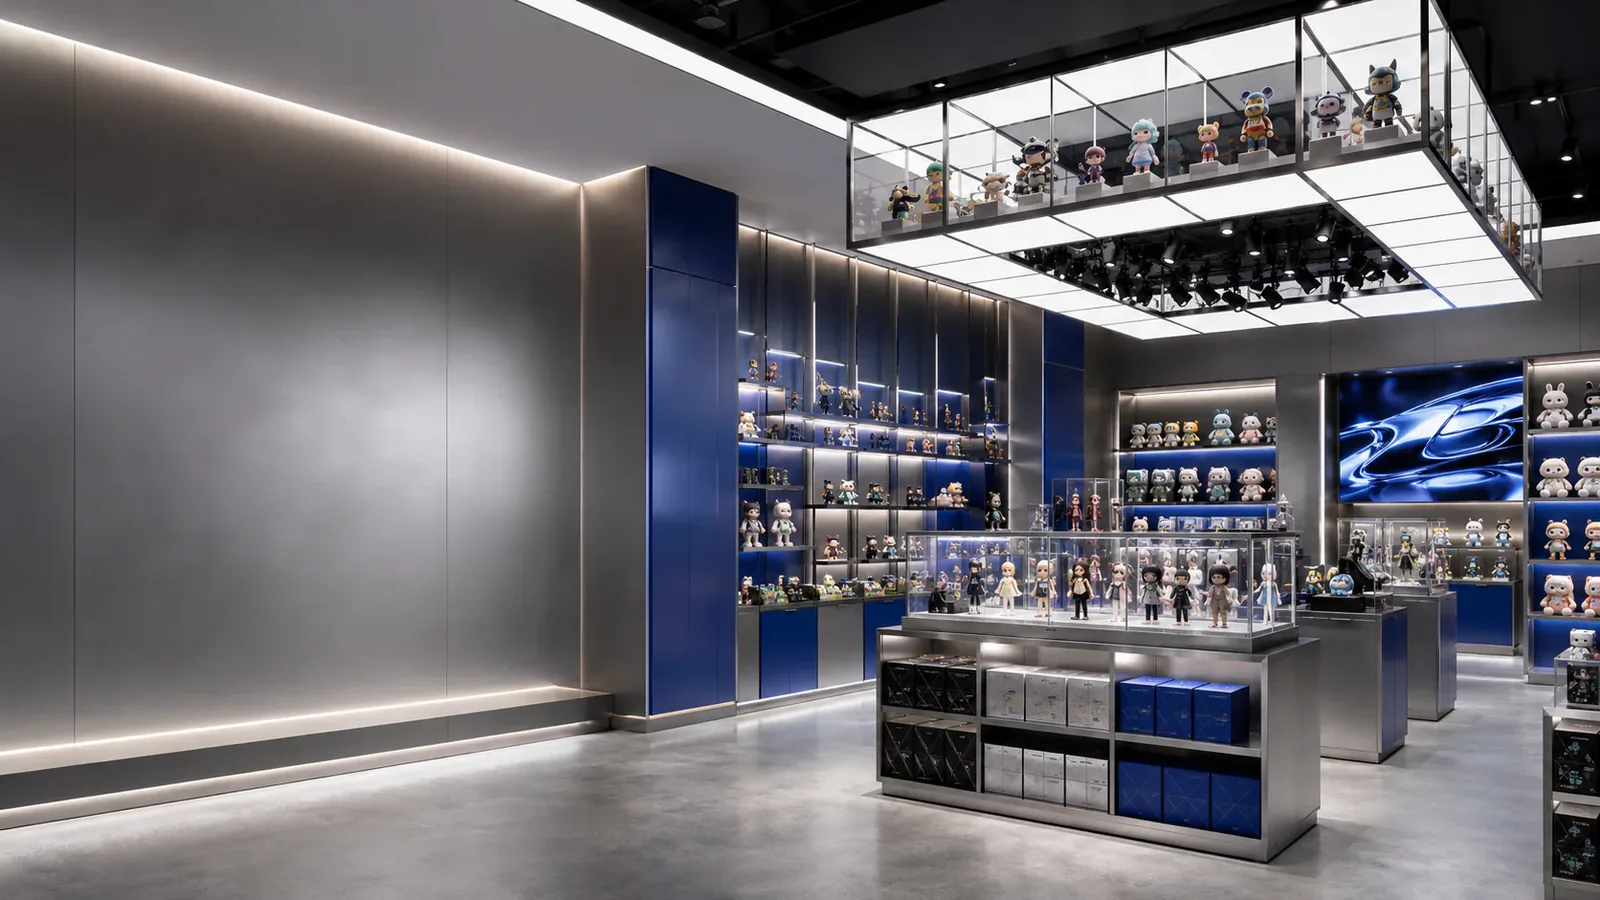
Defining the Merchandise Mix Before Designing a Toy Store
A toy store fixture plan should begin with the merchandise the store will actually sell, demonstrate and keep in reserve. A list of product categories is useful, but it does not tell a designer how much space a box occupies, whether a figure needs staff assistance, or how often a shelf will be replenished.
Read next →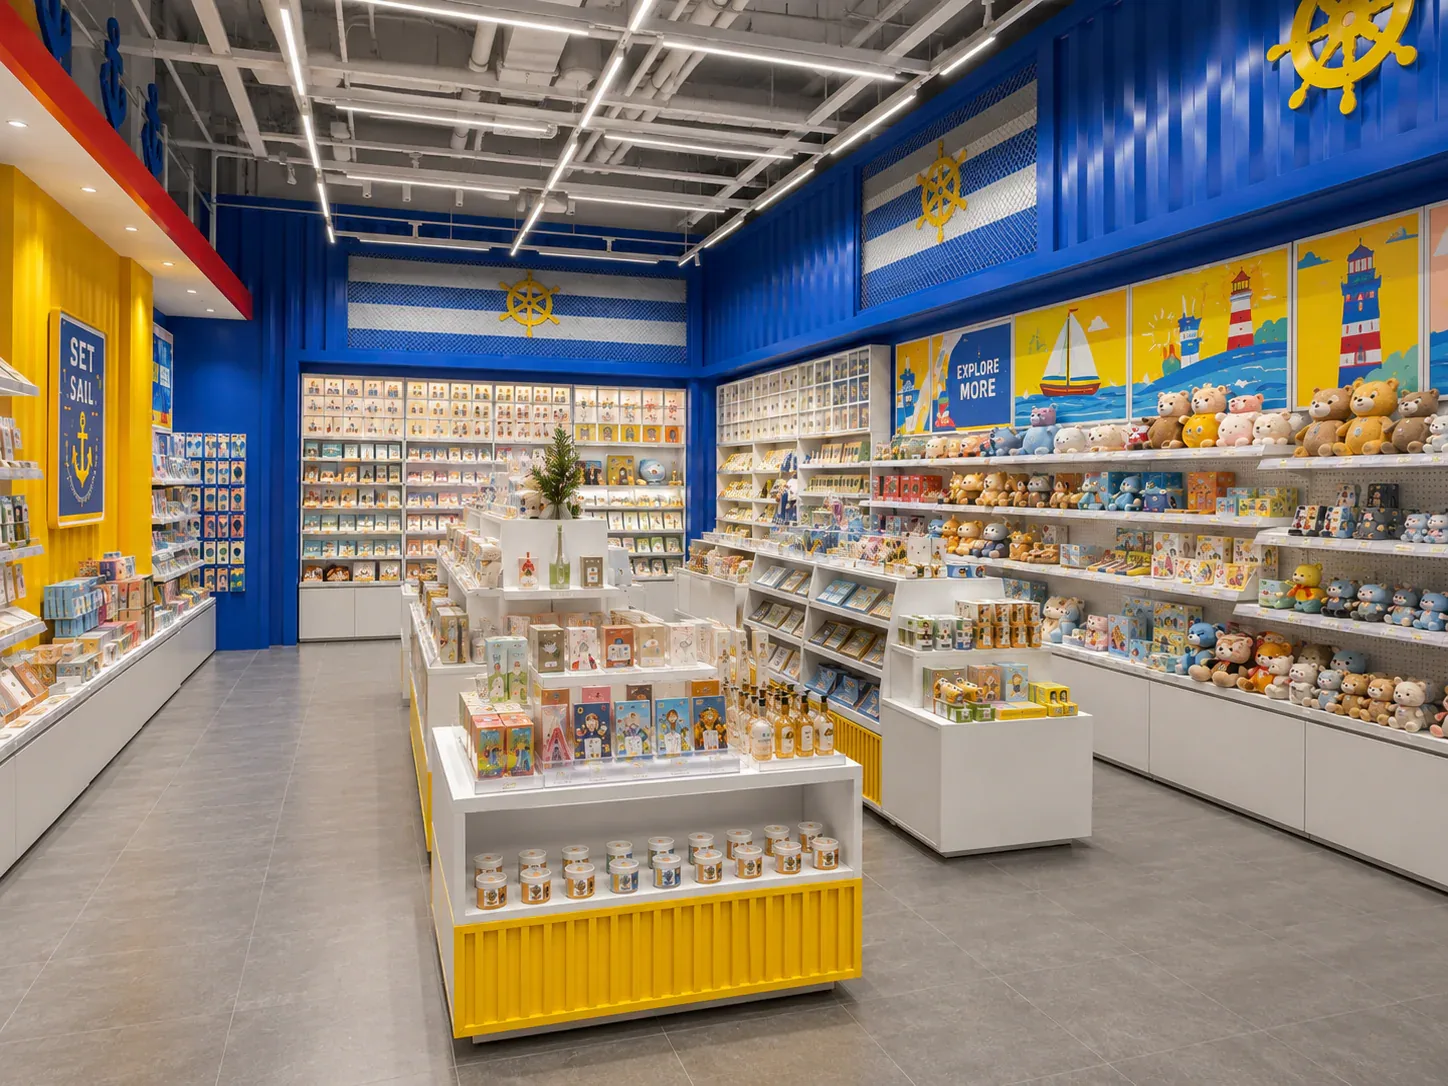
Deciding Which Fixtures to Customize and Which to Standardize
The best fixture programme is rarely the one in which every component is custom, or the one assembled entirely from standard products. A useful choice starts with the job each part must perform.
Read next →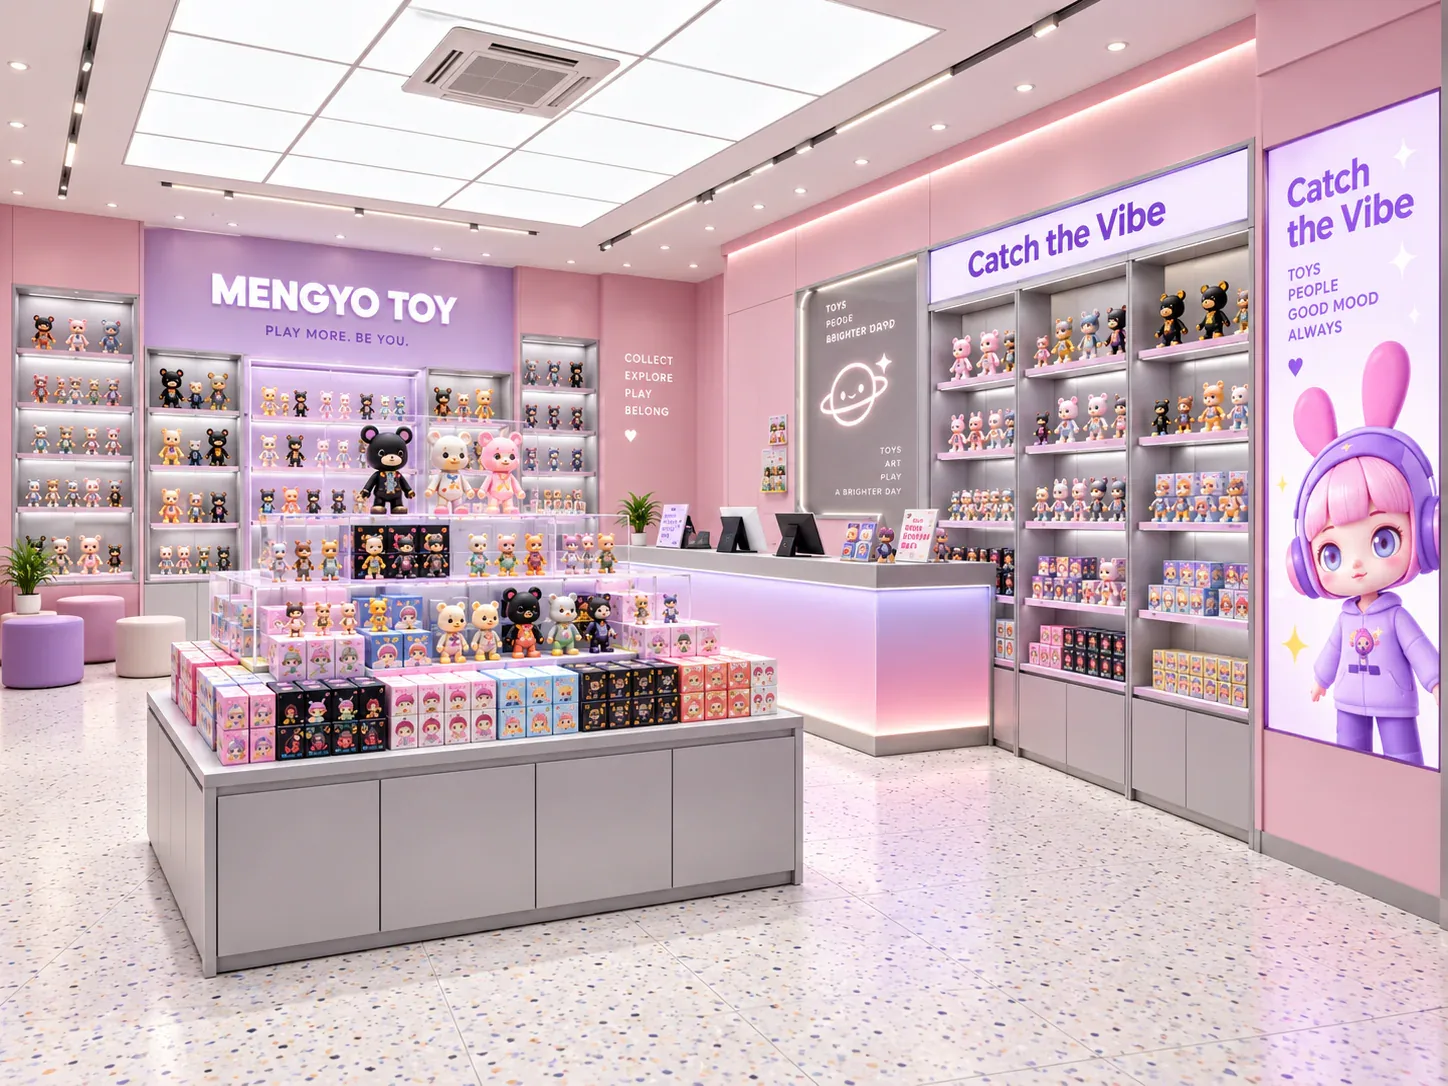
Planning a First Toy Store Without Over-Specifying Fixtures
A first toy store needs enough equipment to present the opening range, support daily work and accommodate foreseeable changes. It does not need every feature that might become useful in an imagined future.
Read next →Get a project-specific recommendation.
Send your store plan, product sizes, fixture quantities, destination and opening target. BENSON will identify the product fit, engineering inputs and quotation basis.
Start Your Display Project