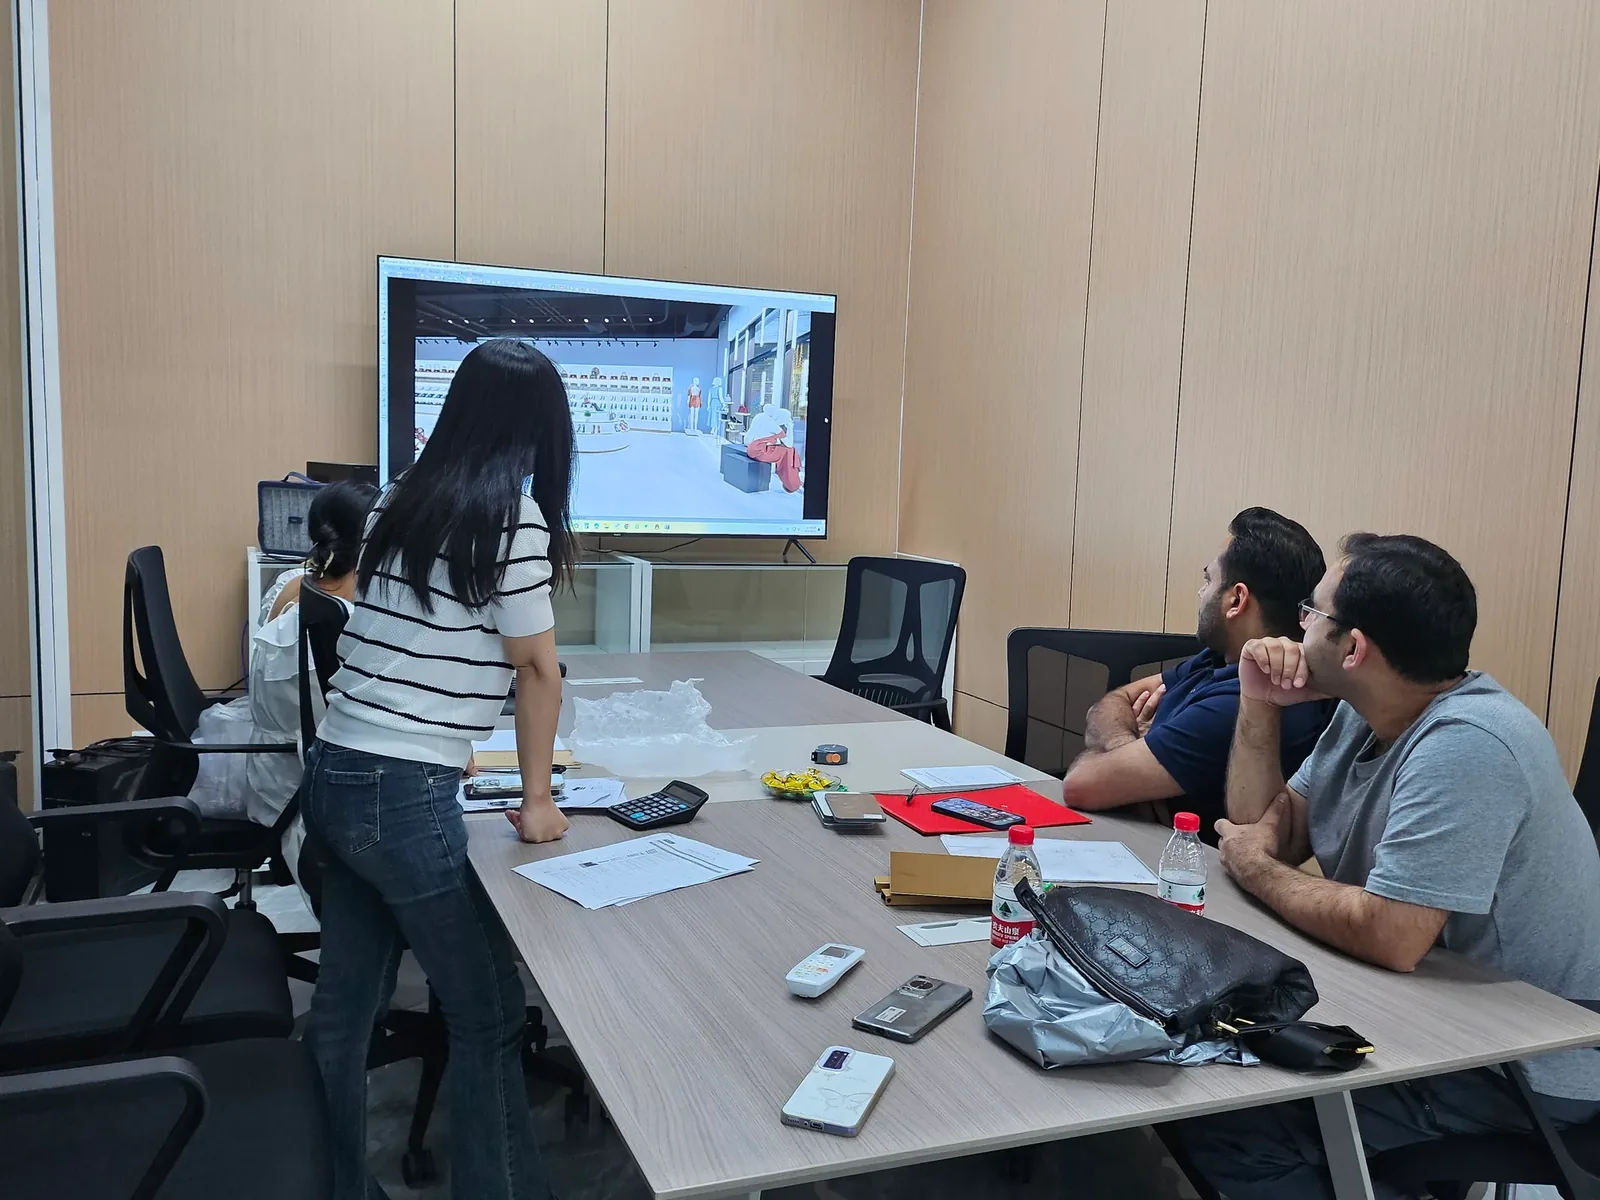
Recording Floor Level Changes for a Fixture Layout
Floor level information matters when fixtures cross different surfaces, sit beside thresholds or form a continuous visual run.
- Published
- 2026-09-08
- Updated
- 2026-09-08
- Reading time
- 8 minutes
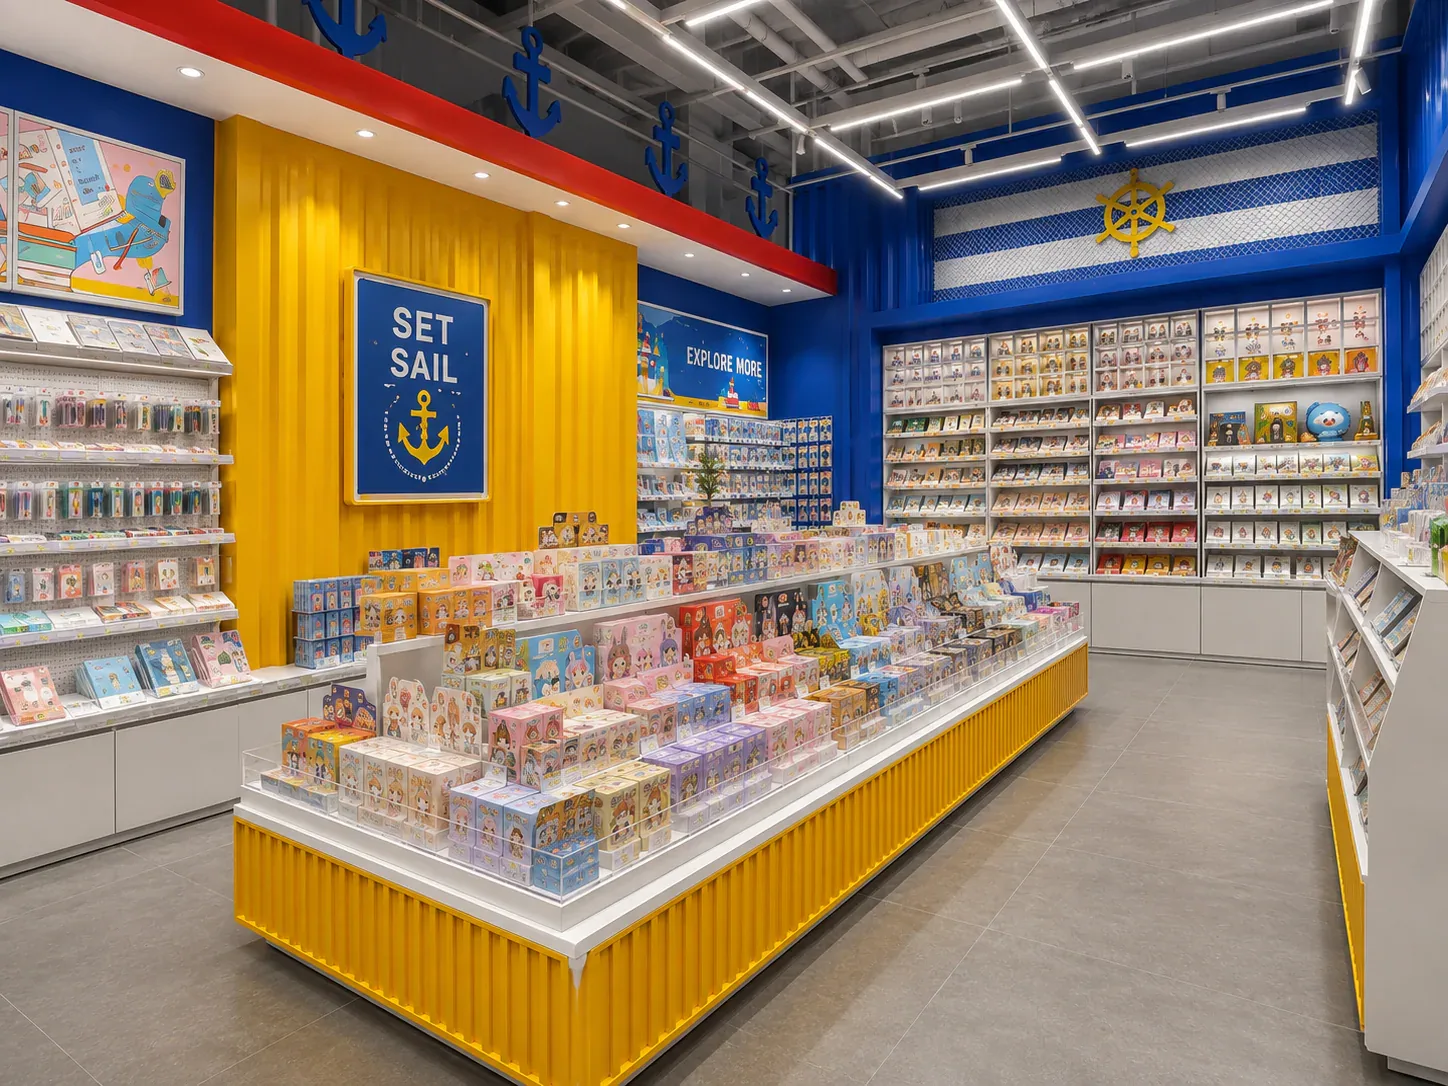
Floor level information matters when fixtures cross different surfaces, sit beside thresholds or form a continuous visual run. A plan can show where a cabinet stands without explaining the height conditions beneath it.
Three decisions to carry into your project.
- 01
Separate level, finish and capacity questions
- 02
Agree a shared reference
- 03
Locate observations against the fixture plan
Start with the decision
Floor level information matters when fixtures cross different surfaces, sit beside thresholds or form a continuous visual run. A plan can show where a cabinet stands without explaining the height conditions beneath it. Before the fixture supplier finalises a layout, record relevant level changes as located observations connected to a clearly identified reference.
The practical deliverable is a floor-condition map with an observation register. It should identify the surveyed areas, visible transitions, finish status and questions requiring further assessment. This guide explains how a buyer can organise that information. It does not specify acceptable floor tolerances, prescribe levelling hardware or determine structural capacity; those decisions need the appropriate project information and responsible specialists.

Separate level, finish and capacity questions
Different floor questions require different evidence. A visible change in level concerns geometry. The type and condition of the finish concern the surface that will meet the fixture. The ability of the floor to support a particular installation is a separate technical matter. Recording one does not answer the others.
Keep these subjects in separate fields so an observation is not overinterpreted. A photograph showing a smooth surface cannot prove that the entire zone is level, and a dimensioned level record cannot establish what lies beneath the finish. Where a supplier needs further information, record the request and route it to the responsible contributor.
Also distinguish the present floor from the intended finished floor. If tiles, screed or another layer will be installed later, the current observation may be useful for planning but not sufficient for final fixture interfaces. The project team should identify which stage of the floor construction the fixture design is expected to reference.

Locate observations against the fixture plan
Mark each observation point or transition on a plan using a stable identifier. Connect it to nearby walls, columns or other recognisable features so another participant can find the same location. A note saying “floor slopes at the back” is too vague to guide a particular fixture decision.
Review the proposed fixture positions when deciding what information is needed. A long connected wall run, a freestanding island and a counter spanning two finish areas may present different questions. Ask the designer which relationships need verification rather than collecting arbitrary points and assuming the resulting list describes every relevant condition.
Where the layout is still changing, retain the underlying floor map separately from the fixture overlay. This allows new fixture positions to be compared against the same observations. It also makes gaps visible: a cabinet moved into an unsurveyed area should trigger a check instead of inheriting information from its former location.
Record transitions as physical features
Identify thresholds, changes between finishes and other visible transitions. Record their position, observed form and the surfaces on either side. Photographs should show the feature in context and close enough to explain what the observer is describing.
Do not simplify a gradual change into a step or a local irregularity into a general slope. Use language that matches the evidence. If the geometry has not been measured, call it a visual observation and request the appropriate follow-up. The distinction helps the supplier avoid treating an impression as a confirmed dimensional input.
Note whether a transition is expected to remain. A temporary construction edge may disappear when finishing work is complete, while an existing threshold may remain part of the final route. Record the source of that expectation and the person responsible for confirming the finished condition.
Include the fixture's operating area
The footprint is not always the only relevant area. A fixture may have doors, drawers or associated staff tasks that extend beyond it. The designer and installer need to understand the surrounding condition when reviewing how the unit will function after placement.
Similarly, an island positioned near a transition may affect how the surrounding space is used even if the unit itself stands entirely on one surface. The appropriate layout response depends on the actual operating brief and any applicable site requirements. This article does not prescribe circulation or accessibility dimensions.
Keep installation and later movement in view. If a proposed unit is intended to be repositioned, the team may need information about more than its opening-day location. Identify the intended alternative positions and ask which conditions must be verified before that flexibility is included in the project brief.
Create a floor-condition register
The following table provides a recording structure. It deliberately leaves numerical values to the actual survey and does not imply an acceptable deviation or a recommended correction.
See the decision table below for the working record.
Add the required follow-up and the person who will provide it. The register should make unresolved information easy to find. A designer should not need to search through a series of photographs to discover that the floor finish beneath a proposed cabinet has not yet been installed.
Avoid selecting hardware from an observation alone
Buyers sometimes respond to a floor difference by requesting adjustable feet immediately. Whether a particular support arrangement is suitable depends on the fixture design, actual adjustment needs, installation method and relevant technical information. The observed floor condition is an input to that decision, not a complete specification.
Ask the supplier to explain the proposed support and adjustment arrangement for the identified conditions. Where a specialist must assess the installation, provide the same floor record to that person. Keep component capacities, permitted adjustment and assembly requirements tied to the actual manufacturer's information and project design.
Do not resolve a discrepancy by assuming that installers will add packing or modify the unit on site. Any proposed corrective method needs to be assessed and agreed by the responsible parties. Unrecorded assumptions transfer an unresolved design question to the moment of installation without giving the installer a dependable answer.
Compare layout adjustment with a coordinated interface
Sometimes a fixture can be repositioned so that it no longer crosses a floor transition. That may simplify one interface while changing merchandising, alignment or available operating space. Evaluate those consequences rather than treating avoidance as automatically cost-free.
Another option may retain the desired position and require a coordinated fixture or site detail. This could preserve the intended layout but depend on further information, specialist review or additional work. Define those dependencies explicitly before the option is treated as ready for production.
Compare both options against the same finished-floor assumption. It is misleading to compare one arrangement based on the current site with another based on unconfirmed future work. If the final floor condition is unknown, the comparison should show which conclusions remain provisional.
Review a checkout crossing two finishes
Consider a hypothetical toy shop whose proposed checkout crosses the boundary between an existing floor finish and an area being refurbished. The initial plan shows the counter outline but contains no note about the unfinished surface beneath one end. The supplier therefore cannot tell which floor condition the proposed interface assumes.
The owner adds a transition record and photographs, while the site team identifies the intended finishing work and the point when the final condition can be checked. The designer marks the counter's footprint and operating area against that information. The register now distinguishes observed geometry from a future condition that is not yet verified.
The team compares moving the counter fully onto the existing area with retaining the original position. Moving it changes the customer approach and the merchandise zone beside it. Retaining it requires the unresolved floor interface to be reviewed against the completed work and the supplier's proposed installation arrangement.
The owner chooses a path with the relevant project participants and records the remaining checks. No one assigns a generic correction allowance or assumes a particular foot will solve the issue. This illustrative scenario shows how the information supports a decision; it does not establish an acceptable floor condition or a recommended engineering detail.
Update the record at the right stage
If finishing work changes the relevant surface, arrange the required confirmation before relying on earlier observations for final interfaces. Identify which entries have been superseded and retain the relationship between the old and new records. An undated replacement sketch can create confusion about which site state the supplier used.
At handover, provide the installer with the current record and any agreed interface decisions. Keep unresolved conditions separate from completed checks so the installation team can identify what still needs attention. For a custom toy store fixture programme, this information helps connect the proposed layout to the actual floor it will occupy.
Compare one controlled basis.
How we apply this decision.
If finishing work changes the relevant surface, arrange the required confirmation before relying on earlier observations for final interfaces. Identify which entries have been superseded and retain the relationship between the old and new records. An undated replacement sketch can create confusion about which site state the supplier used.
Review BENSON capabilities →What still needs project confirmation.
Use the actual site, merchandise and supplier information to confirm the project-specific arrangement. Illustrative examples do not establish technical suitability.
Prepare the required inputs →Avoid these shortcuts.
- Treating a reference image as an approved production specification.
- Comparing suppliers without identical dimensions, quantities and delivery scope.
- Separating material, lighting or hardware decisions from the drawing revision.
- Leaving packing, local installation and site interfaces undefined.
Before the next approval.
- Separate level, finish and capacity questions
- Agree a shared reference
- Locate observations against the fixture plan
- Record each open point, owner, due date and required evidence.
Trace the supporting information.
Content review policyUpdated 2026-09-08. AI-assisted buyer guidance; no independent technical review is claimed.
Move from research to a project decision.
Keep building the specification.

Defining the Merchandise Mix Before Designing a Toy Store
A toy store fixture plan should begin with the merchandise the store will actually sell, demonstrate and keep in reserve. A list of product categories is useful, but it does not tell a designer how much space a box occupies, whether a figure needs staff assistance, or how often a shelf will be replenished.
Read next →
Writing a Store Design Brief for a Designer Toy Brand
A store design brief should explain what the business needs its space to do, which conditions the design must respect, and who will decide whether a proposal meets those needs. For a designer toy brand, that means more than supplying a logo and a collection of attractive shop photographs.
Read next →
Deciding Which Fixtures to Customize and Which to Standardize
The best fixture programme is rarely the one in which every component is custom, or the one assembled entirely from standard products. A useful choice starts with the job each part must perform.
Read next →Get a project-specific recommendation.
Send your store plan, product sizes, fixture quantities, destination and opening target. BENSON will identify the product fit, engineering inputs and quotation basis.
Start Your Display Project