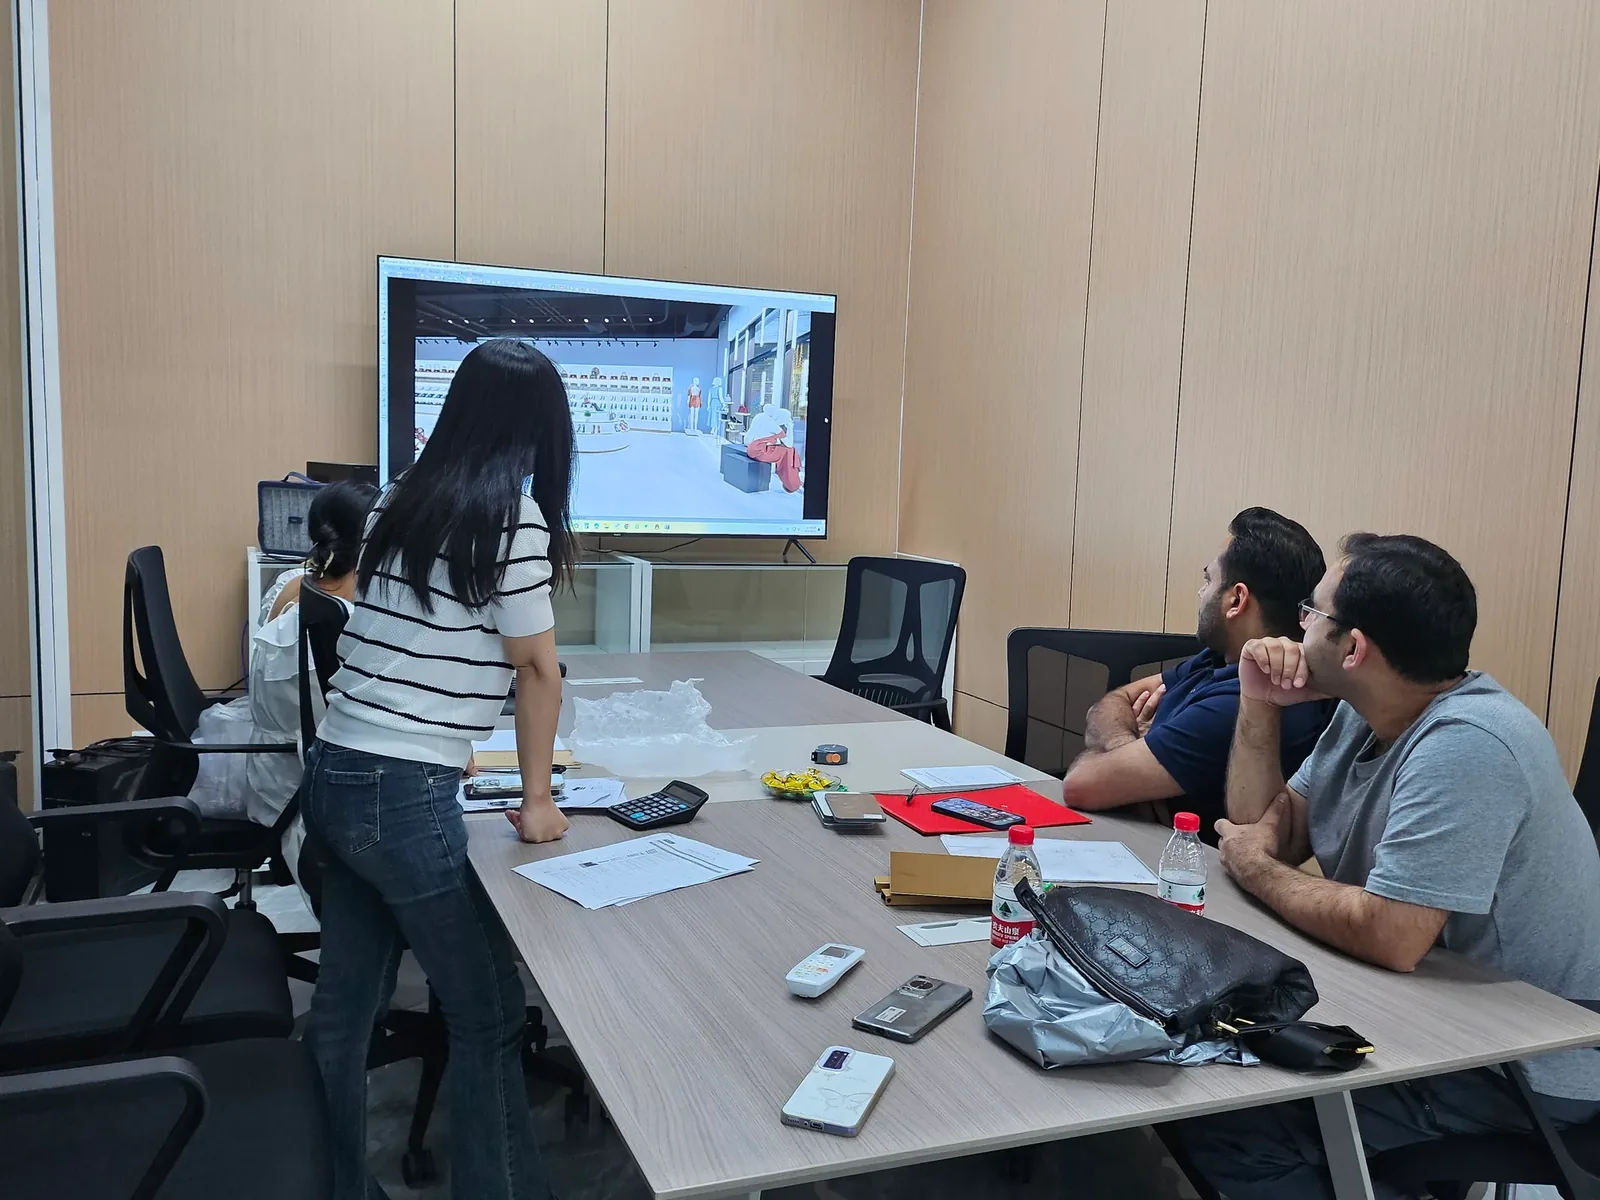
Measuring a Retail Unit for Custom Display Fixtures
A useful retail measurement record explains where each dimension begins and ends, which surfaces were visible when it was taken and what remains uncertain.
- Published
- 2026-09-08
- Updated
- 2026-09-08
- Reading time
- 8 minutes

A useful retail measurement record explains where each dimension begins and ends, which surfaces were visible when it was taken and what remains uncertain. A single floor area figure cannot provide this information.
Three decisions to carry into your project.
- 01
Establish the purpose before visiting the unit
- 02
Choose clear reference points
- 03
Record the instrument setup
Start with the decision
A useful retail measurement record explains where each dimension begins and ends, which surfaces were visible when it was taken and what remains uncertain. A single floor area figure cannot provide this information. Custom display fixtures need a spatial record that connects wall lengths, openings, heights and fixed obstacles to identifiable locations inside the unit.
Prepare a dimensioned sketch and measurement register together. The sketch shows relationships; the register records values, methods, photographs and qualifications. This is a buyer's coordination framework for preparing fixture information. The project team must decide when a professional survey is required and who is responsible for confirming dimensions used for manufacturing or installation.
Establish the purpose before visiting the unit
An early feasibility visit and a final dimension check support different decisions. During feasibility, the team may only need to understand whether an approximate fixture arrangement is plausible. Before custom pieces are released, the relevant dimensions and interfaces need a more dependable basis. Label the survey stage so preliminary notes are not mistaken for final production information.
Ask the fixture designer which measurements could change the proposed arrangement. A continuous wall display may depend on several local conditions along its run, while a freestanding island may depend more on the usable zone and surrounding operations. Knowing the intended fixture positions helps direct attention to the surfaces and obstacles that matter.
Review existing drawings before the visit, but treat them as documents to compare against the site. Record the drawing name and revision. If it depicts work that has not yet been built, distinguish proposed geometry from existing geometry. The person measuring should know whether they are checking the present unit, the planned finished unit or selected parts of both.

Choose clear reference points
Use reference points that another person can identify. “Left wall” becomes ambiguous when photographs are taken from different directions. A marked plan with wall identifiers such as W1 and W2, together with an entrance arrow, gives the team a shared orientation. The particular naming convention matters less than consistent use.
State whether a dimension is measured between finished faces, exposed construction surfaces or other features. Skirting, wall linings and temporary coverings can create different visible boundaries. If the measurement includes a finish that will be removed, note that condition. If a future finish is not yet present, do not silently subtract an assumed thickness and call the result measured.
Keep measured values and calculated values distinguishable. A value derived by subtracting several dimensions from an overall length may be useful, but the reader should know it was calculated. Where a critical gap can be checked directly, arrange that check instead of hiding uncertainty inside arithmetic.
Record the instrument setup
Use the measuring equipment according to its own instructions and within the conditions it supports. Record the instrument or method where that information helps interpret the result. A tool's displayed decimal places do not, by themselves, establish that the site information is suitable for a particular manufacturing decision.
Check the instrument's measuring reference. For example, the STABILA LD 520 manual describes different reference positions for the device. A person using that instrument must understand which reference is active rather than assuming every reading begins at the same physical edge. The applicable instructions are those for the actual model being used. See the manufacturer's LD 520 manual.
Record units prominently and avoid mixing systems within an unlabelled schedule. If conversion is needed for another participant, retain the original value and identify the converted value. Agree the required precision with the project team; do not round a measurement simply to make the proposed fixture arrangement appear to fit.
Capture the perimeter as connected information
Begin with a legible outline of the unit, showing the entrance and the main changes in wall direction. Add dimensions that describe the perimeter and locate relevant openings. Where practical, include overall dimensions that help compare the collection of smaller measurements. A disagreement between the two is a reason to investigate, not an invitation to distribute the difference arbitrarily.
Record recesses, projections and changes in the wall face that affect the proposed fixture area. A wall can appear continuous in a photograph while containing a local obstruction at the height of a cabinet. Make the measurement location explicit when the available space changes with height or along the run.
Do not force irregular geometry into a rectangle because the sketch is easier to draw that way. The purpose of the drawing is to communicate the actual condition. Where the shape is difficult to establish with the available equipment or access, mark the area for further survey rather than supplying invented angles or straightening the outline without explanation.
Add the vertical conditions
The floor plan does not show all the space a fixture occupies. Record the heights relevant to the proposed units and identify overhead obstructions that may affect placement, assembly or servicing. A ceiling height measured at one point should not be presented as the available height everywhere if beams, equipment or changes in ceiling level exist.
Distinguish the visible ceiling finish from other overhead features. The fixture designer may need to understand an obstruction below that finish or an area that cannot be accessed during the visit. Record what is visible and what was not inspected. Do not infer hidden construction or clearance requirements from a photograph alone.
A measurement record is not an instruction to climb, open equipment or enter restricted spaces. Arrange access through the responsible site team when information cannot be collected safely from the available position. The unresolved measurement should stay on the register with an owner and an appropriate next step.
Build a measurement register that exposes uncertainty
The table below shows a practical format. The entries describe information to capture rather than recommended dimensions. Add the measured values and units in the actual project version.
See the decision table below for the working record.
For every record, include the survey date and the person who collected it. Add the photograph filename rather than writing only “see photo.” If the site changes later, these details help the team determine which measurements remain relevant and which need to be repeated.
Use photographs to explain the dimension
Photographs are useful when they show the reference points and surrounding condition. Take an orientation view that helps the reader locate the wall, then closer views of important boundaries or obstructions. A close-up without context may be difficult to place on the plan even when the measurement itself is readable.
Associate images with the sketch and register through stable identifiers. A simple filename such as W1-opening-context is more useful than an unexplained camera sequence when several people exchange files. Keep the original images available where practical, because cropped copies may omit context needed during later review.
Do not treat an uncalibrated photograph as a reliable source for dimensions that were never measured. Perspective can make similar-looking distances misleading. If a designer asks for an additional value after reviewing the images, add a new measurement or identify the limitation instead of estimating a production dimension from visual appearance.
Resolve an apparent wall-length conflict
Consider a hypothetical toy retailer preparing a wall display order. An earlier landlord drawing shows a straight wall, but the current site has a new lining and a local service enclosure. The owner's first sketch records only the overall distance between corners, so the supplier initially sees an uninterrupted display run.
During a second review, the owner adds wall identifiers and photographs linked to the drawing. The service enclosure receives its own reference, and the record identifies its location and visible projection. The team also distinguishes the finished face from the surface represented on the older drawing. These additions explain why the earlier information was insufficient without pretending that one number alone settles the layout.
The designer compares two arrangements: a continuous system requiring further coordination around the enclosure, and separate fixture sections that avoid the affected area. Neither option is selected solely from the survey. The team still considers merchandise, appearance and the actual site requirements, but it now compares the options against the same visible condition.
Before release, the responsible participant confirms the dimensions that control the chosen arrangement. Any inaccessible interface remains expressly unresolved. This hypothetical example demonstrates how the record improves a decision; it is not a claim that a particular measurement technique guarantees fit or eliminates the need for specialist verification.
Hand over a usable survey package
Before sending the package, check that every important dimension has a location, unit and defined boundary. Confirm that the photograph references exist and that unanswered questions are collected in one visible list. A clean-looking plan with missing qualifications is less useful than a clearly marked plan that tells the designer exactly where further information is needed.
Ask the recipient to identify additional measurements required for the proposed fixture configuration. Then issue an updated package with a new revision rather than adding disconnected values across several messages. For custom toy store fixtures, this coordinated record gives the supplier a better basis for discussing layout and identifying the information still needed before manufacturing.
Compare one controlled basis.
How we apply this decision.
Before sending the package, check that every important dimension has a location, unit and defined boundary. Confirm that the photograph references exist and that unanswered questions are collected in one visible list. A clean-looking plan with missing qualifications is less useful than a clearly marked plan that tells the designer exactly where further information is needed.
Review BENSON capabilities →What still needs project confirmation.
Use the actual site, merchandise and supplier information to confirm the project-specific arrangement. Illustrative examples do not establish technical suitability.
Prepare the required inputs →Avoid these shortcuts.
- Treating a reference image as an approved production specification.
- Comparing suppliers without identical dimensions, quantities and delivery scope.
- Separating material, lighting or hardware decisions from the drawing revision.
- Leaving packing, local installation and site interfaces undefined.
Before the next approval.
- Establish the purpose before visiting the unit
- Choose clear reference points
- Record the instrument setup
- Record each open point, owner, due date and required evidence.
Trace the supporting information.
manufacturer's LD 520 manual ↗Source linked in the relevant section.
Content review policyUpdated 2026-09-08. AI-assisted buyer guidance; no independent technical review is claimed.
Move from research to a project decision.
Keep building the specification.
Defining the Merchandise Mix Before Designing a Toy Store
A toy store fixture plan should begin with the merchandise the store will actually sell, demonstrate and keep in reserve. A list of product categories is useful, but it does not tell a designer how much space a box occupies, whether a figure needs staff assistance, or how often a shelf will be replenished.
Read next →
Writing a Store Design Brief for a Designer Toy Brand
A store design brief should explain what the business needs its space to do, which conditions the design must respect, and who will decide whether a proposal meets those needs. For a designer toy brand, that means more than supplying a logo and a collection of attractive shop photographs.
Read next →
Deciding Which Fixtures to Customize and Which to Standardize
The best fixture programme is rarely the one in which every component is custom, or the one assembled entirely from standard products. A useful choice starts with the job each part must perform.
Read next →Get a project-specific recommendation.
Send your store plan, product sizes, fixture quantities, destination and opening target. BENSON will identify the product fit, engineering inputs and quotation basis.
Start Your Display Project