Maintaining Sightlines Across a Toy Store Floor Plan
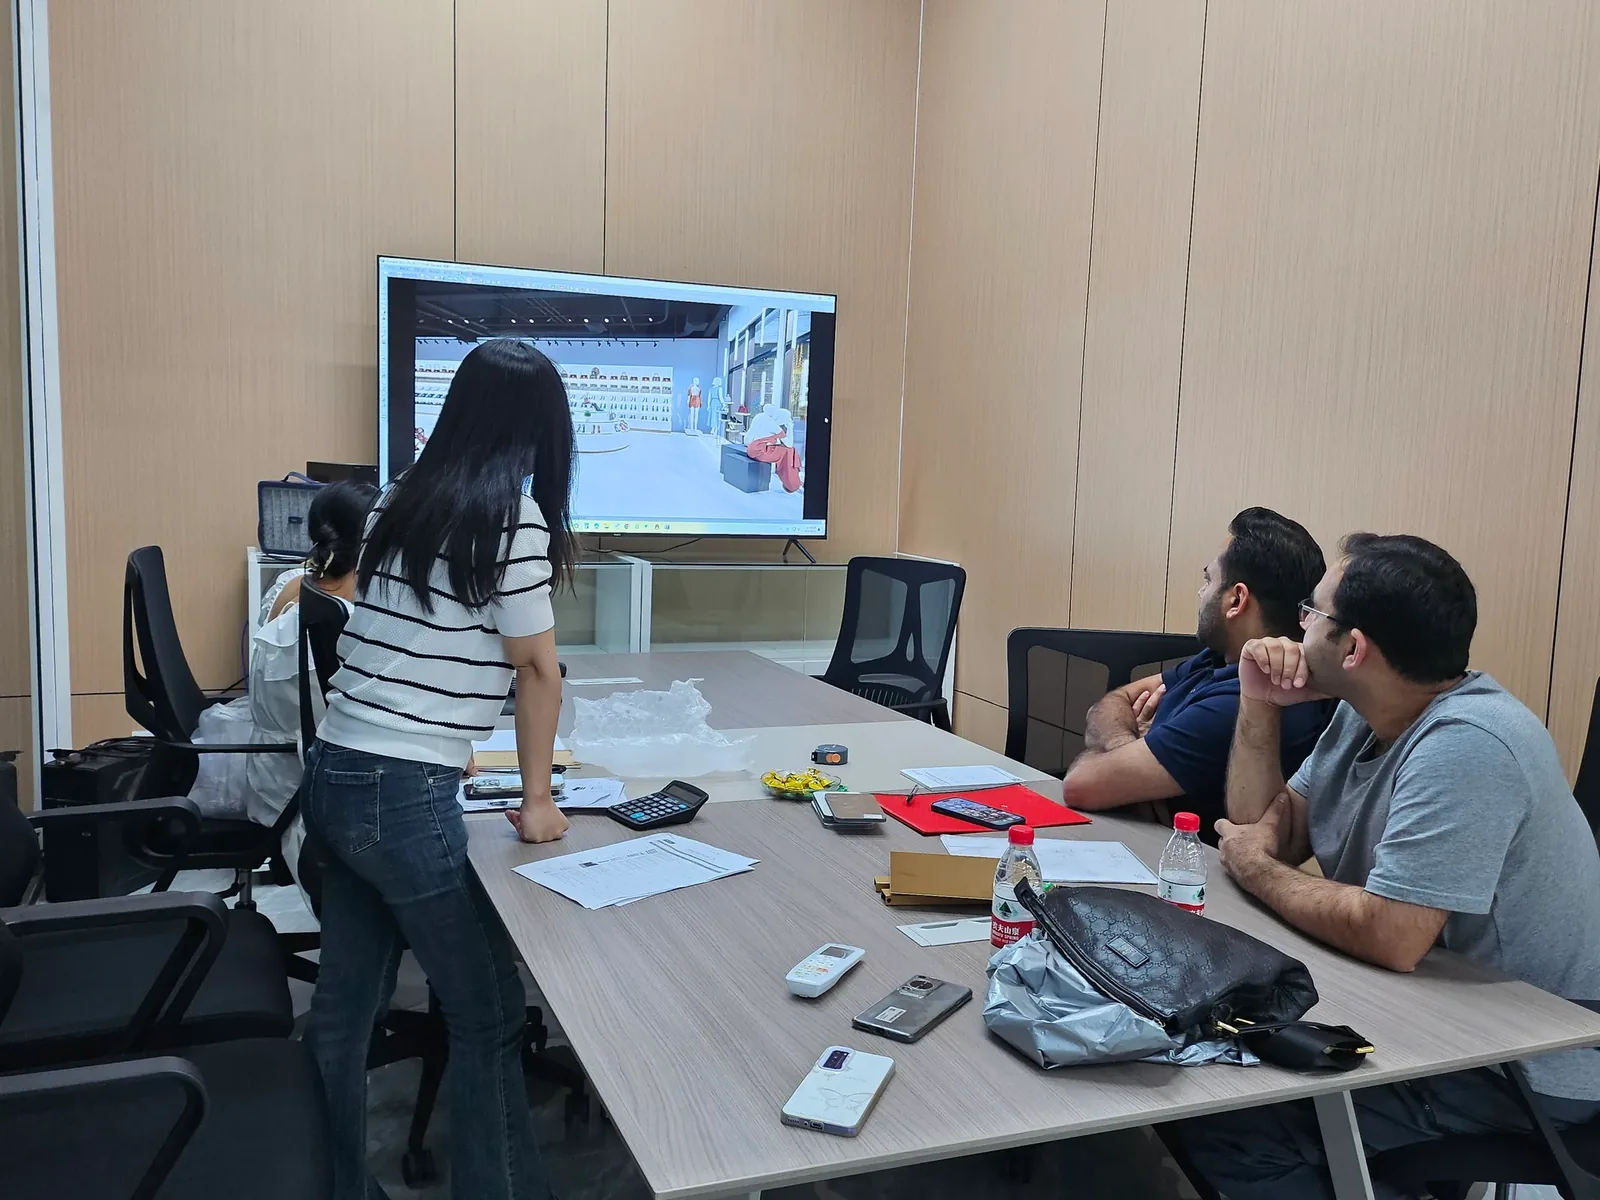
A sightline review asks what a person can see from a particular position and whether that view supports the intended task.
- Published
- 2026-09-08
- Updated
- 2026-09-08
- Reading time
- 8 minutes
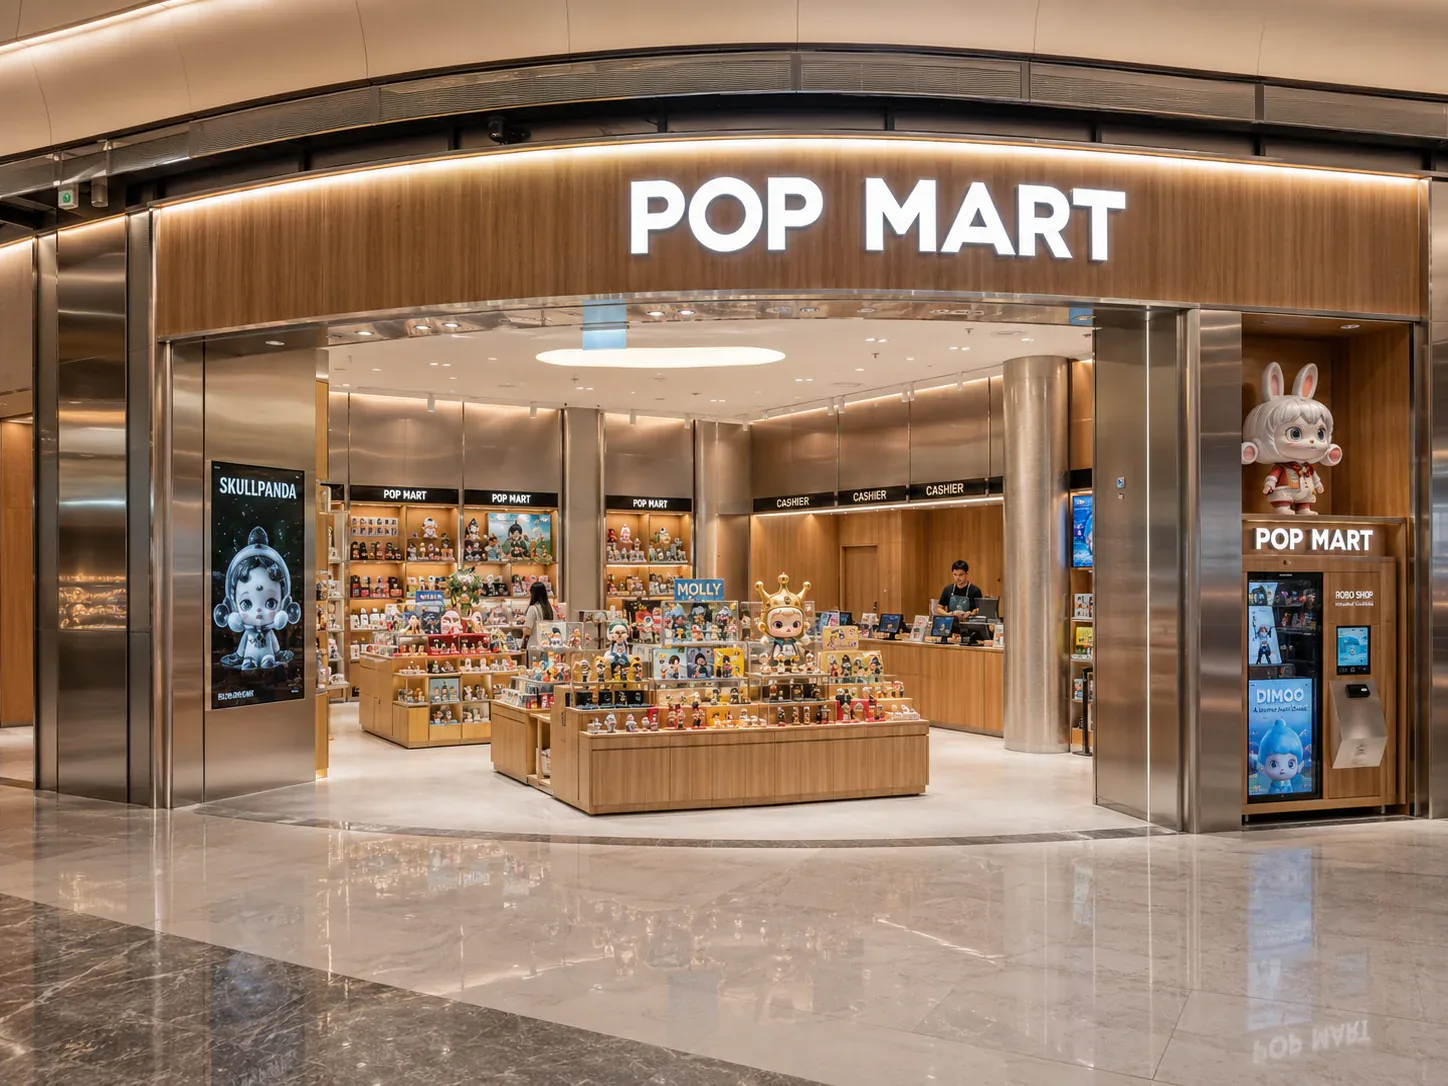
A sightline review asks what a person can see from a particular position and whether that view supports the intended task. In a toy store, useful views may connect the entrance to a category, a customer to staff assistance or one display group to another.
Three decisions to carry into your project.
- 01
Choose the views that matter
- 02
Mark observation positions on the plan
- 03
Model the complete display envelope
Start with the decision
A sightline review asks what a person can see from a particular position and whether that view supports the intended task. In a toy store, useful views may connect the entrance to a category, a customer to staff assistance or one display group to another. Fixture height is only one part of the question; merchandise, graphics and the viewer's position also affect the result.
Create a view-check map with named observation points and target features. Review those views using the proposed fixture and merchandise arrangement, then record what is visible, partly obscured or difficult to identify. This is a design and operations tool. It does not establish security coverage, accessibility compliance or a universal maximum fixture height.
Choose the views that matter
Start with the store's important tasks rather than drawing lines from every corner. A visitor at the entrance may need to identify the main product areas. A customer examining a figure may need to locate assistance. Staff may need to understand activity in particular zones as part of an operating plan.
Define the target for each view. “See the store” is too vague to evaluate. “Recognise the premium collectible area from the entrance” gives the reviewer a specific question. The target may be a sign, a product group, a service position or another identifiable feature.
Keep different purposes separate. A view intended to support wayfinding is not the same as a view used in a security assessment. Where specialist security or other performance requirements apply, the responsible professional must evaluate the actual arrangement. A clear-looking floor plan cannot substitute for that work.

Mark observation positions on the plan
Give each viewpoint an identifier and describe the person's likely task there. Examples include arriving through the entrance, browsing beside an island or approaching the checkout. This helps the designer understand why the view is being checked and what direction is relevant.
Consider a range of users and viewing positions rather than assuming one standing viewpoint represents everyone. The project team should include the relevant accessibility and operating needs in its review. Do not turn a single camera height in a rendering into a universal statement that a destination is visible to all visitors.
Record whether the viewpoint is fixed or part of a movement. A person walking around an island may gradually see a destination that is hidden from the entrance. That can be acceptable if it supports the intended journey, but the design team should recognise the sequence deliberately rather than discovering it after installation.
Model the complete display envelope
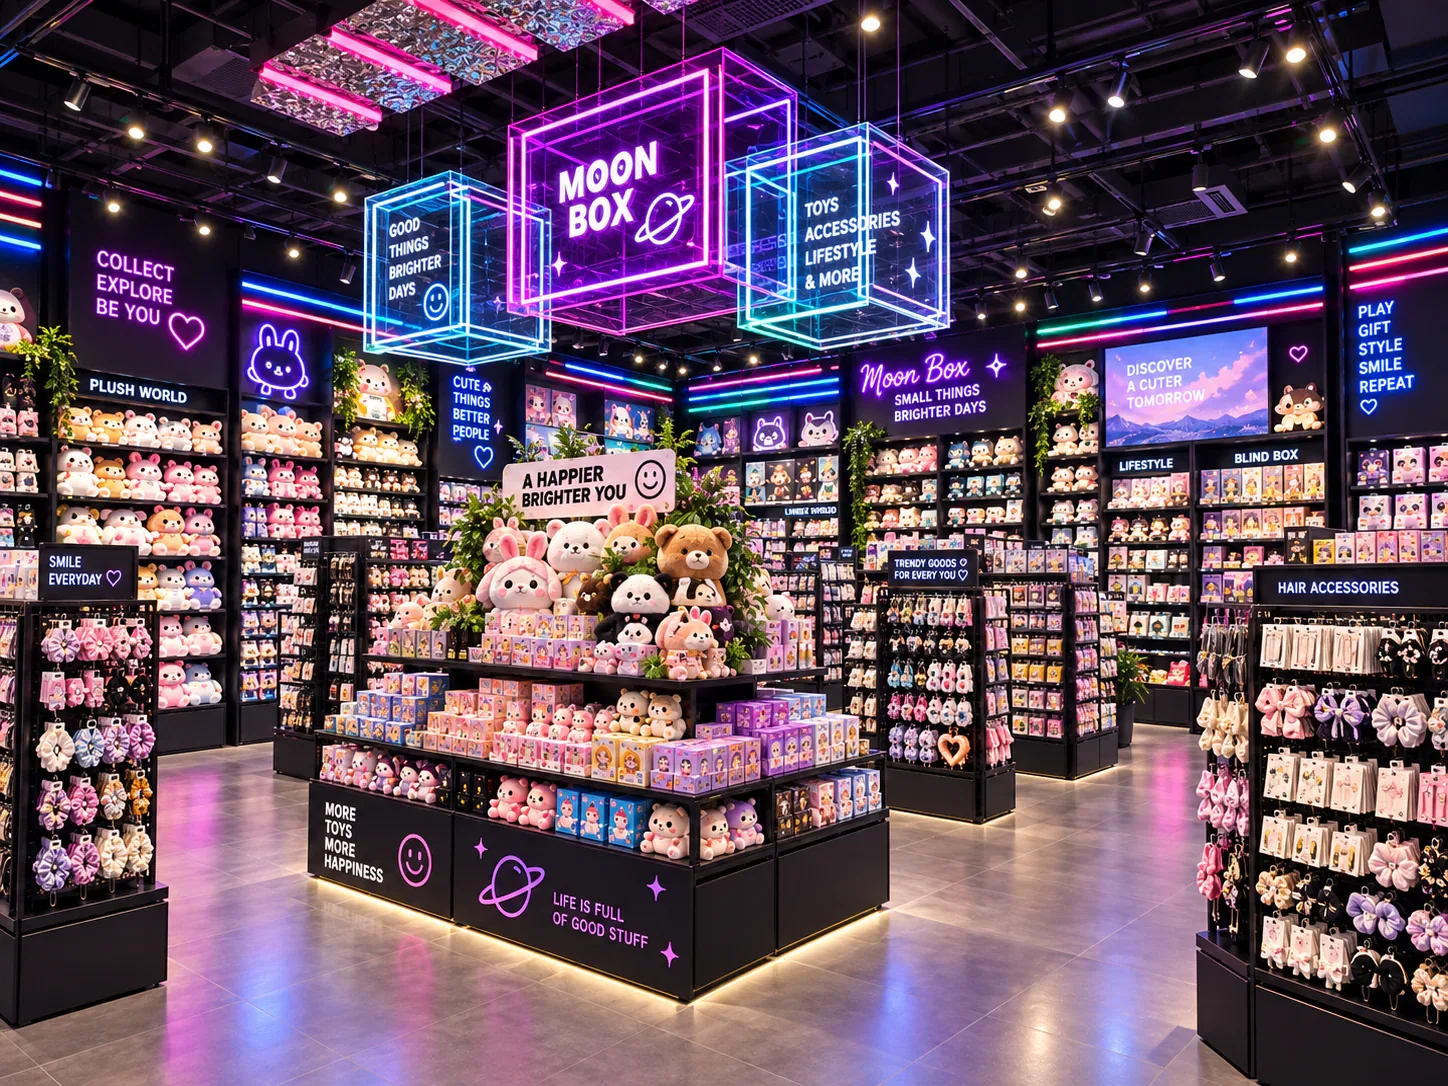
Include the merchandise and graphics that will sit above or beside the fixture. A low cabinet can support a tall product stack, and a small sign can obscure a target from a particular angle. Reviewing only the empty fixture outline can therefore give an incomplete impression of the final view.
Use realistic representative products where the exact assortment is not yet available. State the assumption and test the formats that are most likely to change the visible outline. Do not use uniformly small placeholder objects when the store intends to display large boxed editions or prominent launch graphics.
Identify temporary elements as separate states. Promotional boards, queue markers and event displays may alter sightlines during the periods when the store is busiest. The operating brief should define how those elements are reviewed and where they may be placed.
Distinguish visibility from recognition
A small portion of a sign or product may be technically visible without making the destination understandable. Ask reviewers what they can identify from the viewpoint, not only whether a line can be drawn to the target. The practical purpose is to support a task, not to prove that some fragment remains in view.
Consider visual competition. A target can be unobstructed yet difficult to distinguish among many similar graphics and products. The design response may involve clearer hierarchy or a different target position rather than simply lowering every fixture in front of it.
Avoid claiming that a rendering proves recognition. Use it as one review aid and, where practical, test the proposed arrangement with representative people and materials. Record their observations in context instead of turning one person's response into a general behavioural rule.
Review plan and elevation together
The plan shows the horizontal relationship, while elevations or three-dimensional views help explain the vertical obstruction. Use both where the proposed fixture heights or product stacks affect the result. A line drawn through an island on a plan does not tell the buyer whether the target can be seen above it.
Check views from relevant approach directions. A graphic may read clearly from the main entrance but turn edge-on from a side aisle. If that side approach matters to the shopping task, include it in the review rather than relying on one attractive presentation angle.
Keep the model aligned with the current proposal. If fixture heights, graphics or category positions change, update the affected view checks. The record should identify which layout revision and merchandise assumptions were used so later decisions do not rely on an obsolete image.
Build a view-check register
The following table provides a structure for recording observations. Populate it with the actual viewpoints, targets and tested display states.
See the decision table below for the working record.
Add the proposed response and the result of any retest. A useful entry might identify a graphic that needs repositioning or a product stack that should be reviewed in a different zone. The register should show how the observation changes the design rather than merely collecting screenshots.
Compare three kinds of response
One response is to change the obstructing element, such as its position or proposed display envelope. This can improve a view while reducing capacity or altering the fixture's merchandising task. The buyer should see that trade-off instead of treating lower or smaller fixtures as automatically better.
A second response is to move or strengthen the target. A category sign or service cue may be more useful in another position, provided the new arrangement is coordinated with the overall design and site requirements. This can address recognition without changing every fixture along the view.
A third response is to change the intended route so the destination becomes clear at a more useful point in the journey. This requires an explicit wayfinding strategy. It should not be used to excuse an important target that remains difficult to find from all relevant positions.
Turn the result into merchandising rules
Preserve a reference image for each accepted view, labelled with the observation point and display state. During a later merchandising change, staff can compare the new arrangement with that reference and understand which target the design intended to reveal. The photograph should not become an inflexible visual rule: a different arrangement may support the same task. Its purpose is to explain the original decision and make a proposed change easier to discuss. If the target itself moves, update the view record rather than continuing to protect an obsolete line of sight.
Record the display conditions that the selected view depends on. If a category cue remains visible only when a certain graphic position is used, that relationship belongs in the merchandising handover. Otherwise a routine campaign change may undo the design decision without anyone realising it.
Keep the rules practical and task-based. Explain which view matters and what target should remain recognisable, rather than issuing an unexplained prohibition on all tall objects. Staff can then evaluate proposed changes against a clear purpose and escalate cases that need design input.
When planning retail island displays, include the sightline register with the layout discussion. It helps connect fixture dimensions and merchandising choices to the views the store actually needs, while preserving the distinction between a design observation and a verified performance claim.
Compare one controlled basis.
How we apply this decision.
Preserve a reference image for each accepted view, labelled with the observation point and display state. During a later merchandising change, staff can compare the new arrangement with that reference and understand which target the design intended to reveal. The photograph should not become an inflexible visual rule: a different arrangement may support the same task. Its purpose is to explain the original decision and make a proposed change easier to discuss. If the target itself moves, update the view record rather than continuing to protect an obsolete line of sight.
Review BENSON capabilities →What still needs project confirmation.
Use the actual site, merchandise and supplier information to confirm the project-specific arrangement. Illustrative examples do not establish technical suitability.
Prepare the required inputs →Avoid these shortcuts.
- Treating a reference image as an approved production specification.
- Comparing suppliers without identical dimensions, quantities and delivery scope.
- Separating material, lighting or hardware decisions from the drawing revision.
- Leaving packing, local installation and site interfaces undefined.
Before the next approval.
- Choose the views that matter
- Mark observation positions on the plan
- Model the complete display envelope
- Record each open point, owner, due date and required evidence.
Trace the supporting information.
Content review policyUpdated 2026-09-08. AI-assisted buyer guidance; no independent technical review is claimed.
Move from research to a project decision.
Keep building the specification.
Defining the Merchandise Mix Before Designing a Toy Store
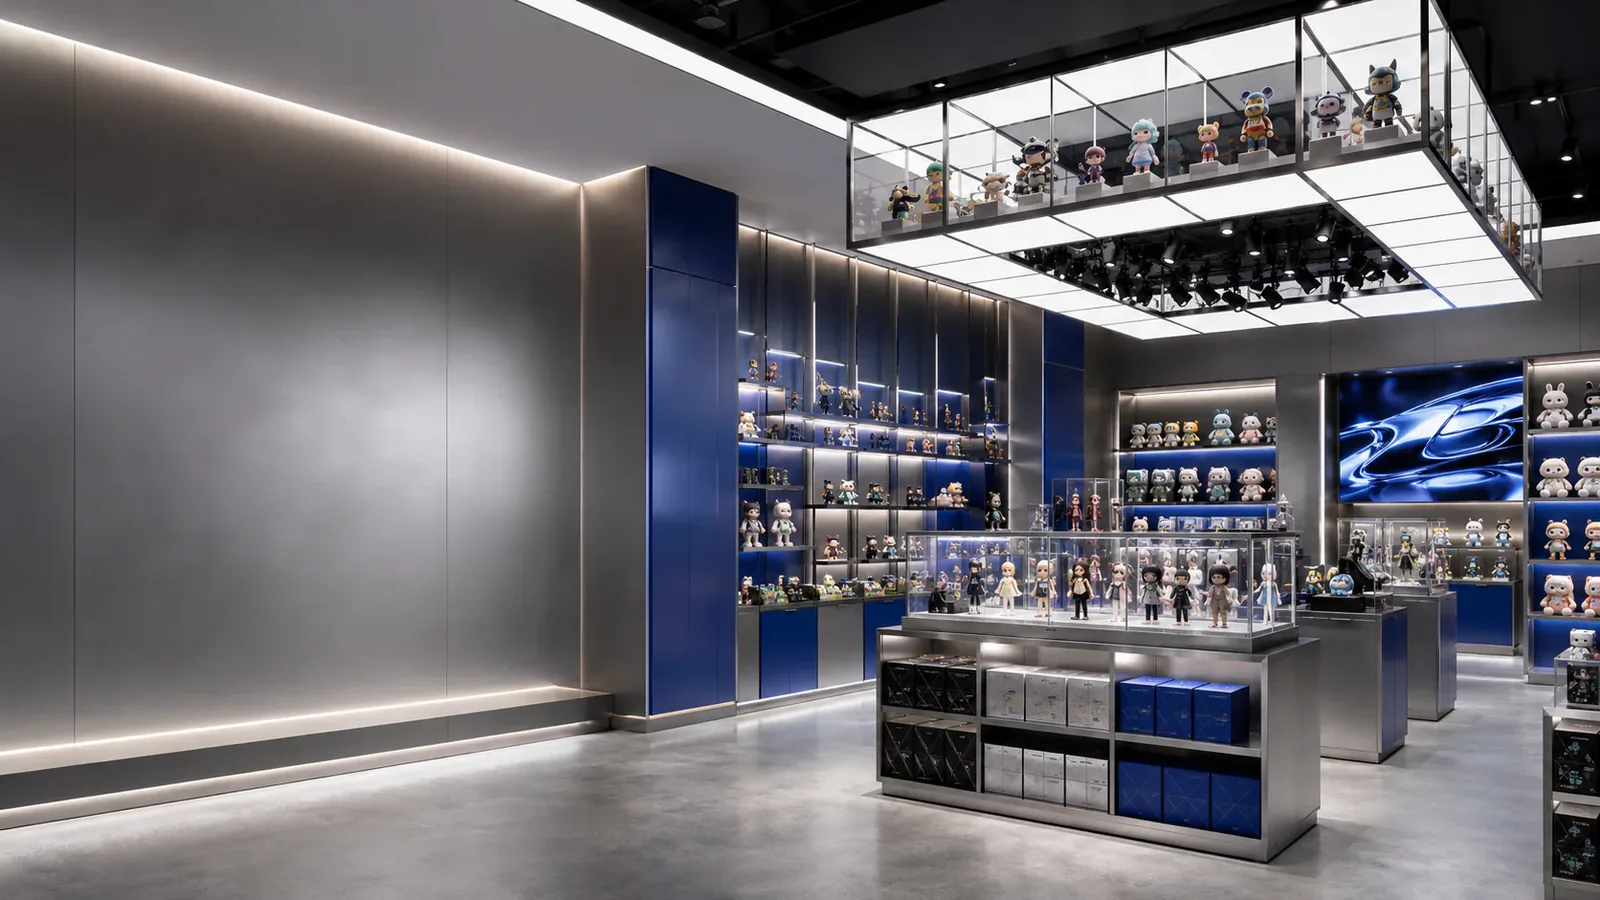
A toy store fixture plan should begin with the merchandise the store will actually sell, demonstrate and keep in reserve. A list of product categories is useful, but it does not tell a designer how much space a box occupies, whether a figure needs staff assistance, or how often a shelf will be replenished.
Read next →
Writing a Store Design Brief for a Designer Toy Brand
A store design brief should explain what the business needs its space to do, which conditions the design must respect, and who will decide whether a proposal meets those needs. For a designer toy brand, that means more than supplying a logo and a collection of attractive shop photographs.
Read next →
Deciding Which Fixtures to Customize and Which to Standardize
The best fixture programme is rarely the one in which every component is custom, or the one assembled entirely from standard products. A useful choice starts with the job each part must perform.
Read next →Get a project-specific recommendation.
Send your store plan, product sizes, fixture quantities, destination and opening target. BENSON will identify the product fit, engineering inputs and quotation basis.
Start Your Display Project