Locating Existing Power Outlets Before Planning Illuminated Displays
An illuminated display layout needs an accurate record of the available electrical connection points and the information still required about them.
- Published
- 2026-09-08
- Updated
- 2026-09-08
- Reading time
- 8 minutes
An illuminated display layout needs an accurate record of the available electrical connection points and the information still required about them. Seeing a socket on the wall does not establish that it can supply the proposed lighting arrangement.
Three decisions to carry into your project.
- 01
Set a safe boundary for the survey
- 02
Give every visible point an identifier
- 03
Separate existing records from confirmed information
Start with the decision
An illuminated display layout needs an accurate record of the available electrical connection points and the information still required about them. Seeing a socket on the wall does not establish that it can supply the proposed lighting arrangement. The buyer's first task is to locate visible outlets and organise a clear handover between the fixture supplier and the responsible electrical professional.
Create an outlet schedule linked to the current floor plan. Record visible locations, identifiers and photographs, then keep electrical characteristics and suitability in fields completed or confirmed by the appropriate qualified person. This separates a useful visual survey from electrical testing or design, which should not be improvised by a store owner collecting site information.

Set a safe boundary for the survey
The observational survey should stay within what can be recorded without opening electrical equipment, removing covers or touching exposed components. If information is concealed or a condition appears damaged, identify it for the responsible site team. An incomplete field is preferable to an unsafe attempt to discover what lies behind an outlet.
The UK Health and Safety Executive explains that electrical work requires competence appropriate to the work involved. Its electrical safety guidance is a useful reference for that distinction. The actual project must follow the requirements and professional arrangements applicable in its own location; this article does not transfer UK rules to every market.
Tell the survey participant exactly what is being requested: visible location information, existing document references and questions for the electrical professional. Do not use a broad instruction such as “check the power” that could be interpreted as permission to test, alter or energise equipment.

Give every visible point an identifier
Assign a code to each relevant visible outlet or connection location, such as E01 or E02, and mark the same code on the plan and photographs. Include enough surrounding context for another person to find it. Several identical sockets along a wall are difficult to distinguish once close-up images have been separated from the site visit.
Record the position using clear physical references and stated units. Where height information is relevant to the fixture interface, identify the floor reference and whether the floor finish is complete. A dimension to an unfinished surface should not be silently treated as the final installed relationship.
Describe only what can be observed reliably. Visible labels can be photographed and transcribed, but an unclear label should be marked unclear. Do not infer circuit identity, available capacity or suitability from colour, appearance or proximity to another outlet.
Separate existing records from confirmed information
The landlord or previous tenant may have drawings and schedules that describe the electrical installation. Record their names, dates and revisions, and link them to the visible point where possible. They can help the electrical professional review the site, but the buyer should not assume they reflect every later alteration.
Use distinct statuses such as observed on site, shown on supplied drawing and confirmed by the responsible professional. A value copied from an old drawing belongs in a different category from a current confirmation. These labels preserve the evidence trail without asking the owner to judge technical details outside their competence.
If the records conflict, make the disagreement explicit. For example, the plan may show a point behind a proposed cabinet while the visible outlet is on a different wall segment. Ask the responsible participant to resolve the relationship before the fixture drawing relies on a particular connection location.
Connect the outlet map to the fixture proposal
Overlay the proposed illuminated fixtures on the outlet plan. Identify which units need an electrical interface and ask the supplier to provide the relevant product information for review. The electrical professional needs the actual proposed equipment and arrangement, not merely a count of illuminated shelves.
Keep fixture identifiers consistent across the layout, electrical questions and supplier information. If several wall cabinets form a coordinated run, record how the supplier proposes their electrical arrangement to be reviewed. Do not assume that each visible cabinet needs one socket or that one existing point can serve the entire run.
Also identify non-fixture equipment sharing the retail area, where relevant information is available through the project team. The suitability assessment should not overlook other intended uses simply because this particular enquiry concerns display lighting. The owner supplies the operational brief; the responsible professional determines the technical implications.
Record the connection and service questions
The final interface includes more than the point on the wall. The team needs an agreed approach to connection, access and servicing, based on the selected equipment and site conditions. Ask who provides the relevant components, who performs the site work and who confirms the completed arrangement.
Show potential physical conflicts without inventing a cable route. A cabinet may conceal an existing point, or a shelf may occupy space needed for access. Flag that relationship on the drawing so the supplier and electrical professional can coordinate it. Do not treat an improvised extension lead as the default solution to a layout problem.
Identify access requirements for the actual lighting components through their documentation and the project design. A neat visual proposal should not make components unreachable for the work they require. The appropriate arrangement depends on the specific system; a general buyer article cannot prescribe it for all illuminated displays.
Use an outlet and interface schedule
The table below separates what a buyer can organise from what needs professional confirmation. Add actual identifiers and document references in the project version.
See the decision table below for the working record.
Keep technical values separate from observational notes. A blank technical field means information is missing; it does not mean the value is zero or that the existing arrangement is acceptable. This matters when schedules are copied into quotation documents and empty cells might otherwise disappear from the discussion.
Compare retaining and changing the layout
One possible response to an inconvenient outlet location is to reconsider the fixture layout. That may reduce an interface conflict, but it can also affect merchandising, circulation or the visual plan. Compare the operational result rather than relocating a display solely to sit beside the nearest visible socket.
Another response may involve professionally designed site electrical work. Its feasibility, scope and timing must be confirmed through the responsible parties and any applicable approvals. Do not include unverified site modifications in a supplier comparison as though they are already available at no cost or delay.
The useful comparison describes each option's dependencies. An arrangement using existing points still requires suitability confirmation. An arrangement involving changes requires a defined work scope and handover. Neither should be labelled ready simply because the drawing shows an attractive line between a cabinet and a power symbol.
Review an illuminated wall-display example
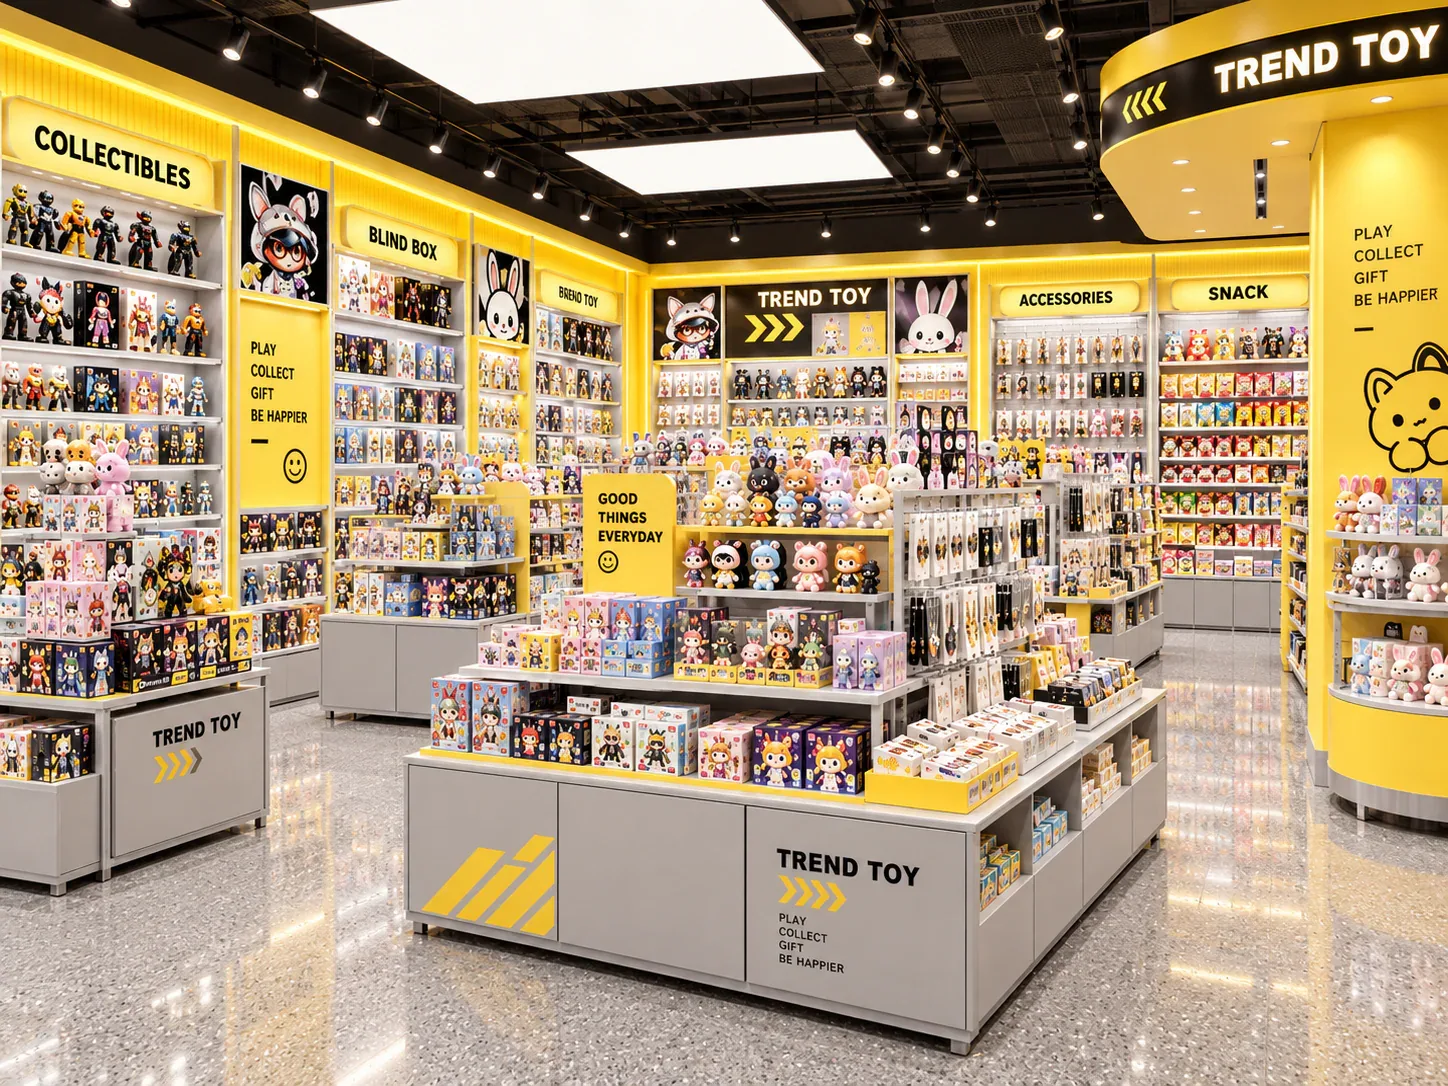
Consider a hypothetical toy retailer planning illuminated wall cabinets. The owner photographs two existing sockets and assumes they will serve the new displays. The initial image package contains no location codes, and the supplier cannot tell which socket is near which proposed cabinet.
The owner creates an E01 and E02 record, adds their locations to the plan and links each to a context image. An old electrical drawing is included as background with its revision clearly identified. The owner then asks the supplier for the actual lighting-system information and sends the coordinated package to the project's electrical professional.
The review identifies a physical access question behind one cabinet and missing confirmation about the existing installation. The team keeps these as separate issues. Moving the cabinet might address the access relationship, but it would not by itself answer the electrical suitability question. Conversely, confirming a point's suitability would not resolve a cabinet detail that obstructs required access.
The owner compares a revised display arrangement with a professionally coordinated site-work option. The chosen direction is recorded with responsibilities and outstanding confirmations. This example describes an information workflow, not a wiring design, an assessment of a real installation or a promise about BENSON lighting equipment.
Keep the record current through installation
When the fixture arrangement or selected lighting equipment changes, send the revised information to the responsible electrical participant. A previous assessment may have relied on a different configuration. The outlet schedule should identify the version of the fixture proposal it supports so later changes are visible.
Before the units are installed, confirm that the relevant site work and interface decisions have reached the agreed stage. Keep unresolved items visible in the handover rather than expecting the installer to infer them from email history. The final records should describe the arrangement actually provided, through the people responsible for that work.
For an enquiry involving wall-mounted display systems, include the observational outlet map and identify who will coordinate the electrical design locally. This gives the supplier useful context while preserving a clear boundary between fixture information and the professional decisions needed for a working installation.
Compare one controlled basis.
How we apply this decision.
When the fixture arrangement or selected lighting equipment changes, send the revised information to the responsible electrical participant. A previous assessment may have relied on a different configuration. The outlet schedule should identify the version of the fixture proposal it supports so later changes are visible.
Review BENSON capabilities →What still needs project confirmation.
Use the actual site, merchandise and supplier information to confirm the project-specific arrangement. Illustrative examples do not establish technical suitability.
Prepare the required inputs →Avoid these shortcuts.
- Treating a reference image as an approved production specification.
- Comparing suppliers without identical dimensions, quantities and delivery scope.
- Separating material, lighting or hardware decisions from the drawing revision.
- Leaving packing, local installation and site interfaces undefined.
Before the next approval.
- Set a safe boundary for the survey
- Give every visible point an identifier
- Separate existing records from confirmed information
- Record each open point, owner, due date and required evidence.
Trace the supporting information.
electrical safety guidance ↗Source linked in the relevant section.
Content review policyUpdated 2026-09-08. AI-assisted buyer guidance; no independent technical review is claimed.
Move from research to a project decision.
Keep building the specification.

Defining the Merchandise Mix Before Designing a Toy Store
A toy store fixture plan should begin with the merchandise the store will actually sell, demonstrate and keep in reserve. A list of product categories is useful, but it does not tell a designer how much space a box occupies, whether a figure needs staff assistance, or how often a shelf will be replenished.
Read next →
Writing a Store Design Brief for a Designer Toy Brand
A store design brief should explain what the business needs its space to do, which conditions the design must respect, and who will decide whether a proposal meets those needs. For a designer toy brand, that means more than supplying a logo and a collection of attractive shop photographs.
Read next →
Deciding Which Fixtures to Customize and Which to Standardize
The best fixture programme is rarely the one in which every component is custom, or the one assembled entirely from standard products. A useful choice starts with the job each part must perform.
Read next →Get a project-specific recommendation.
Send your store plan, product sizes, fixture quantities, destination and opening target. BENSON will identify the product fit, engineering inputs and quotation basis.
Start Your Display Project