Designing a Clear Route to Checkout in a Toy Store
The route to checkout should make the final purchase step understandable from the places where customers select or inspect merchandise.
- Published
- 2026-09-08
- Updated
- 2026-09-08
- Reading time
- 8 minutes
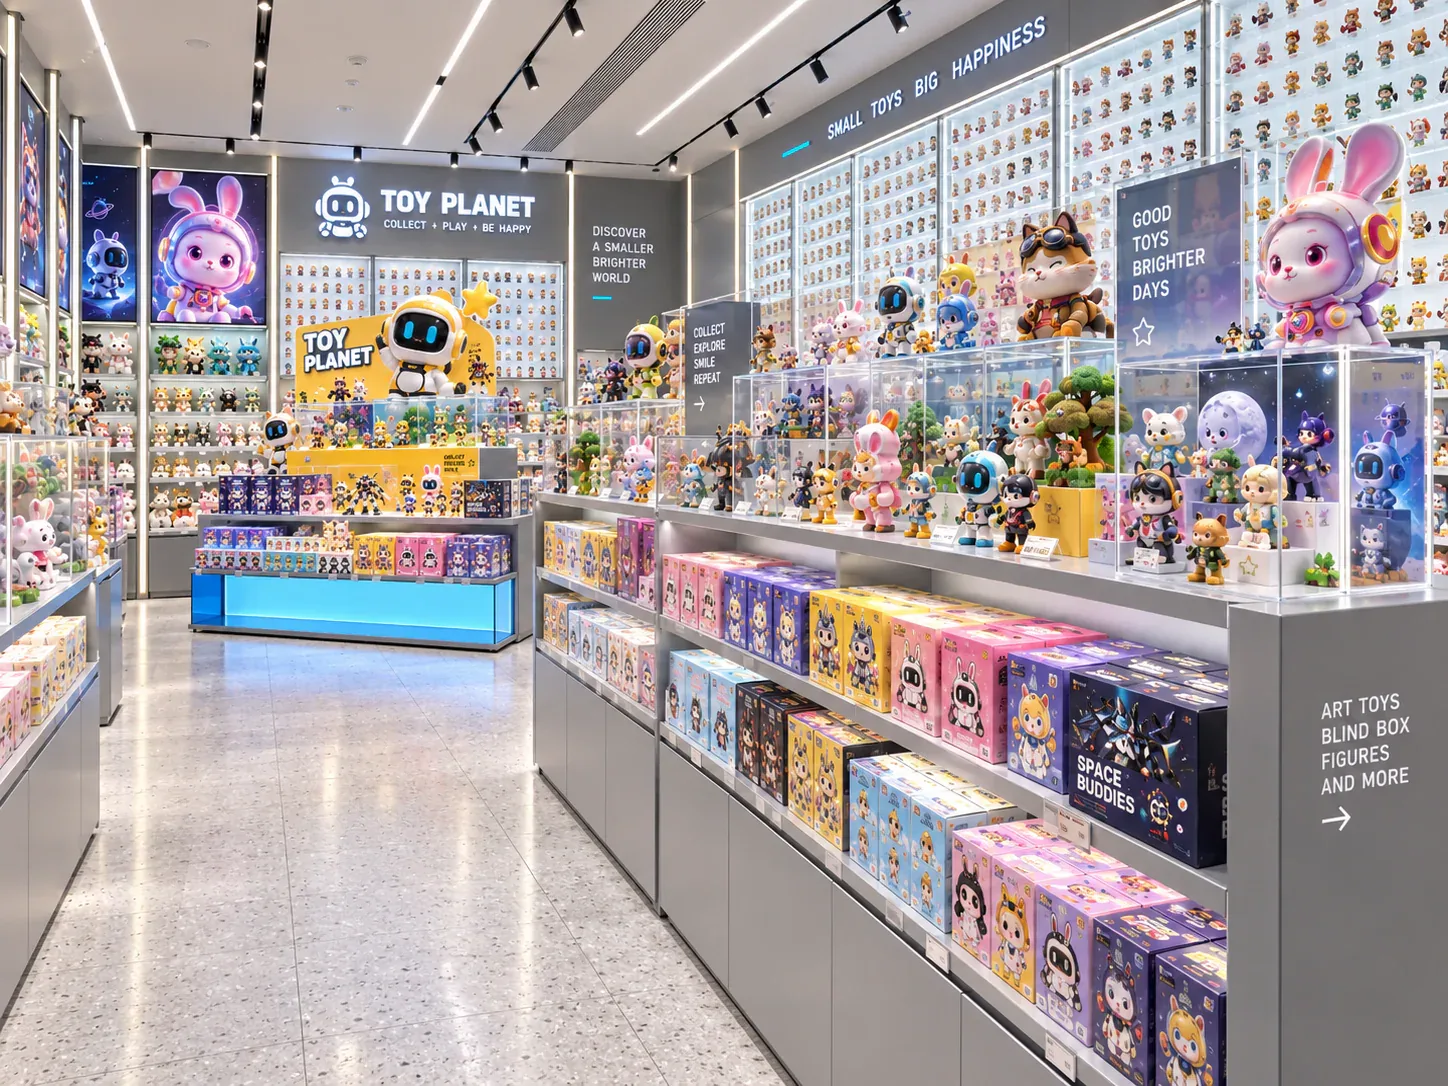
The route to checkout should make the final purchase step understandable from the places where customers select or inspect merchandise. A counter can be visible in a rendering yet difficult to recognise once products, signs and people are added.
Three decisions to carry into your project.
- 01
Clarify what happens at the counter
- 02
Start routes from actual selection locations
- 03
Make the destination recognisable
Start with the decision
The route to checkout should make the final purchase step understandable from the places where customers select or inspect merchandise. A counter can be visible in a rendering yet difficult to recognise once products, signs and people are added. Review the journey as a sequence: deciding to buy, locating the service point, approaching it, receiving assistance where needed and leaving with the purchase.
Create a checkout-journey map that starts from the store's main selection zones. Include the actual purchase methods, such as direct selection or staff retrieval from a display sample. The map supports layout and wayfinding review; it does not establish queue capacity or prescribe local access and egress requirements.
Clarify what happens at the counter
List the services the checkout is intended to provide. Payment may be only one task. Staff may also answer product questions, retrieve sale units, prepare packaging or handle collection of reserved purchases. The owner should decide which tasks belong there and which are handled elsewhere.
Different tasks can create different approach needs. A customer carrying a selected box may be ready to pay, while someone viewing a sample may first need to request the corresponding product. The route and information should help each person understand the appropriate next step.
Avoid designing the checkout from a generic counter image before those tasks are defined. The visible shape is one part of the service arrangement. The fixture brief also needs to explain how merchandise, staff and customers meet at the point of handover.
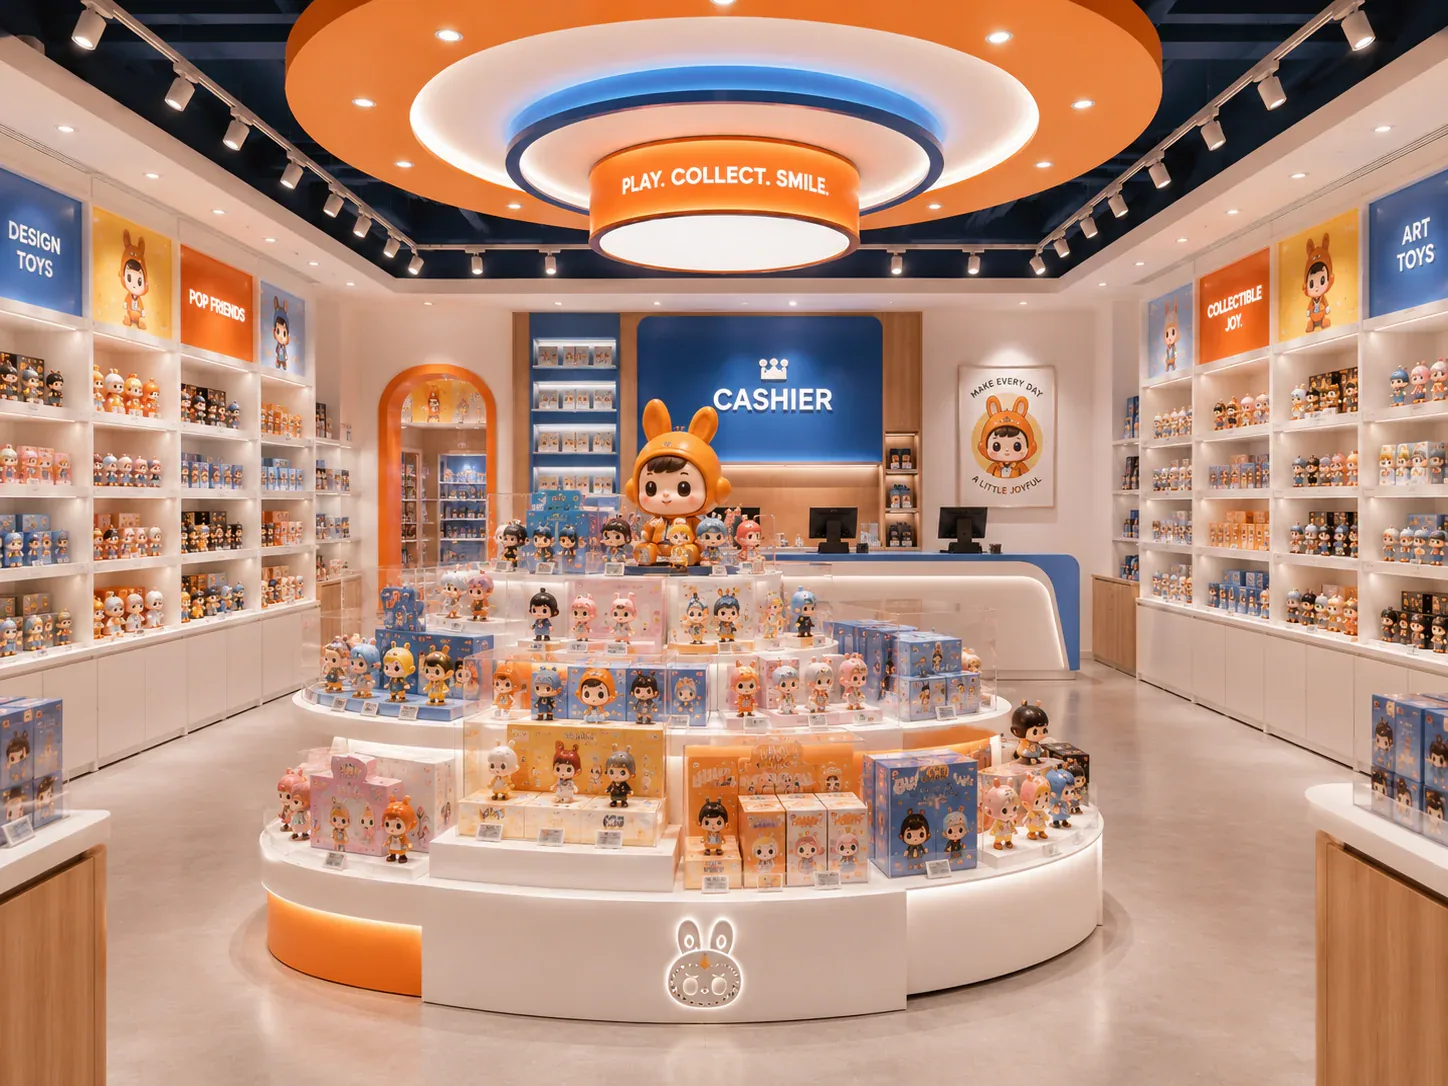
Start routes from actual selection locations
Mark the principal zones where customers decide to buy. For each one, trace the intended route to the service point. Include the places where a customer may need information or staff assistance before reaching the counter.
Do not test only the route from the entrance. A shopper at the rear collectible display or beside a side-wall accessory zone may have a different view of the checkout. The map should reflect the actual locations from which the purchase journey begins.
Identify whether the customer carries the product or expects staff to supply it. This affects the interaction at checkout and the relationship to reserve stock. The plan should not make customers walk to a payment point only to discover that they needed to request the sale unit elsewhere first.
Make the destination recognisable
Review what identifies the checkout from each approach. The counter, staff position and graphic information can contribute, but their usefulness depends on the stocked layout. Include the proposed products and signs when assessing the view.
Distinguish recognising the destination from seeing part of the counter. A visitor may notice a fixture without understanding that it is the service point. Ask representative reviewers to explain where they would go to complete the intended task and record the reasons for uncertainty.
Keep messages clear about the service offered. If one location handles assistance and another handles payment, explain that relationship in the layout and information plan. If the same counter handles both, consider how the arrangement communicates the different tasks without requiring every visitor to ask for directions.
Review the approach as an operating space
The approach may contain people waiting, people receiving service and others moving past. Mark these activities on the plan rather than treating the area in front of the counter as empty circulation. Use scenarios appropriate to the store's intended operation.
Include companions where relevant to the review. A purchase interaction can involve more than the person paying, particularly when shoppers discuss a collectible or wait together. The design team should understand how the proposed arrangement accommodates its intended users without making unsupported assumptions about exact occupancy.
The responsible project participants must confirm applicable access and other requirements. A successful mock-up of one interaction does not certify the arrangement. Use the operating observations alongside the required professional review, not as a substitute for it.
Separate browsing from waiting where needed
Products near checkout can support browsing, but they also create stopping activity. Identify whether the display is intended for people already waiting or for general shoppers passing through the area. Those are different relationships and may require different placement or information.
Test how someone selecting an accessory interacts with a person approaching service. The answer should come from the actual fixture and task arrangement, not from the assumption that all small products belong beside the counter. A display that is convenient to stock may still confuse the approach.
Keep temporary queue or campaign materials in the review. Signs and small stands can alter a route after the permanent fixtures are installed. The operating brief should define how those additions are positioned and when a change needs to be checked against the checkout journey.
Connect staff retrieval and customer handover
For sample-led sales, trace the staff route from the displayed item or request point to reserve stock and then to the customer. Identify where the correct sale unit is matched to the purchase. The checkout map should show this service sequence even if the stock is not visible to shoppers.
Consider packaging and completed purchases. The counter arrangement should support the actual handover task without relying on an undefined nearby surface. Ask the fixture designer to include the relevant equipment and operating information in the proposal.
Keep responsibility for product information clear. If a customer needs specialist assistance before payment, the service plan should explain how that happens. A route to checkout is only complete when it connects the selection decision to a workable purchase process.
Use a checkout-journey review table
The table below gives a structure for comparing the proposed routes. Populate it with the actual starting zones and observations from the stocked layout or mock-up.
See the decision table below for the working record.
Add the layout revision and purchase scenario to each review. An observation made with a direct-selection product should not automatically be applied to a sample-led purchase with a different staff sequence.
Compare a rear counter with a side counter
A rear counter may connect naturally to a nearby support area, but the design still needs to make it recognisable from the relevant selection zones. The customer journey should not rely on an unexplained assumption that everyone will eventually discover it while browsing.
A side counter may create a different relationship to the entrance and product areas. It can also change how staff movement and waiting interact with the main route. Compare those consequences using the same equipment, service tasks and merchandise assumptions.
Do not choose the position solely by the available wall length. The counter's relationship to stock, assistance and customer movement can be more important to the operating brief than fitting a longer fixture into an otherwise unused space.
Review an assisted figure purchase
Consider a hypothetical toy shop where customers view loose figures in enclosed displays and purchase boxed units supplied by staff. The initial layout places the checkout behind a launch island. From the figure area, visitors can see part of the counter but cannot readily identify where to request the sale unit.
The journey map begins at the figure display and records the purchase method. The designer compares a clearer service cue with a revised counter relationship. Staff demonstrate retrieval from the reserve location and the intended customer handover, while the team observes nearby browsing activity.
The owner also tests a direct-selection blind-box purchase on the same plan. That journey reaches the counter differently and helps reveal whether one service arrangement can support both tasks clearly. The chosen layout includes the information and staff sequence needed for each.
This illustrative example does not claim a shorter queue or higher sales. It shows how the route becomes understandable when the purchase method, destination cues and service operation are reviewed together.
Preserve the route through merchandising changes
Review what happens when the usual service position is temporarily unavailable under the store's operating plan. If staff direct customers to another point, identify the cue and route that will be used rather than leaving visitors to search behind the counter or enter a staff area. The alternative should be assessed with the actual service task and applicable site requirements. This does not mean every shop needs a second checkout; it means the business should understand how it communicates an interruption to the normal purchase sequence and who is responsible for doing so.
Record the views, graphic positions and adjacent display conditions that the accepted journey depends on. If a later campaign places a tall stand beside the counter, the team can identify which relationship needs another review instead of assuming the original plan still describes the operating store.
For a custom toy store fixture enquiry, include the checkout-journey map alongside the counter requirements. It gives the supplier a clear account of where the purchase begins, what service must happen and how the counter connects to the rest of the store.
Compare one controlled basis.
How we apply this decision.
Review what happens when the usual service position is temporarily unavailable under the store's operating plan. If staff direct customers to another point, identify the cue and route that will be used rather than leaving visitors to search behind the counter or enter a staff area. The alternative should be assessed with the actual service task and applicable site requirements. This does not mean every shop needs a second checkout; it means the business should understand how it communicates an interruption to the normal purchase sequence and who is responsible for doing so.
Review BENSON capabilities →What still needs project confirmation.
Use the actual site, merchandise and supplier information to confirm the project-specific arrangement. Illustrative examples do not establish technical suitability.
Prepare the required inputs →Avoid these shortcuts.
- Treating a reference image as an approved production specification.
- Comparing suppliers without identical dimensions, quantities and delivery scope.
- Separating material, lighting or hardware decisions from the drawing revision.
- Leaving packing, local installation and site interfaces undefined.
Before the next approval.
- Clarify what happens at the counter
- Start routes from actual selection locations
- Make the destination recognisable
- Record each open point, owner, due date and required evidence.
Trace the supporting information.
Content review policyUpdated 2026-09-08. AI-assisted buyer guidance; no independent technical review is claimed.
Move from research to a project decision.
Keep building the specification.
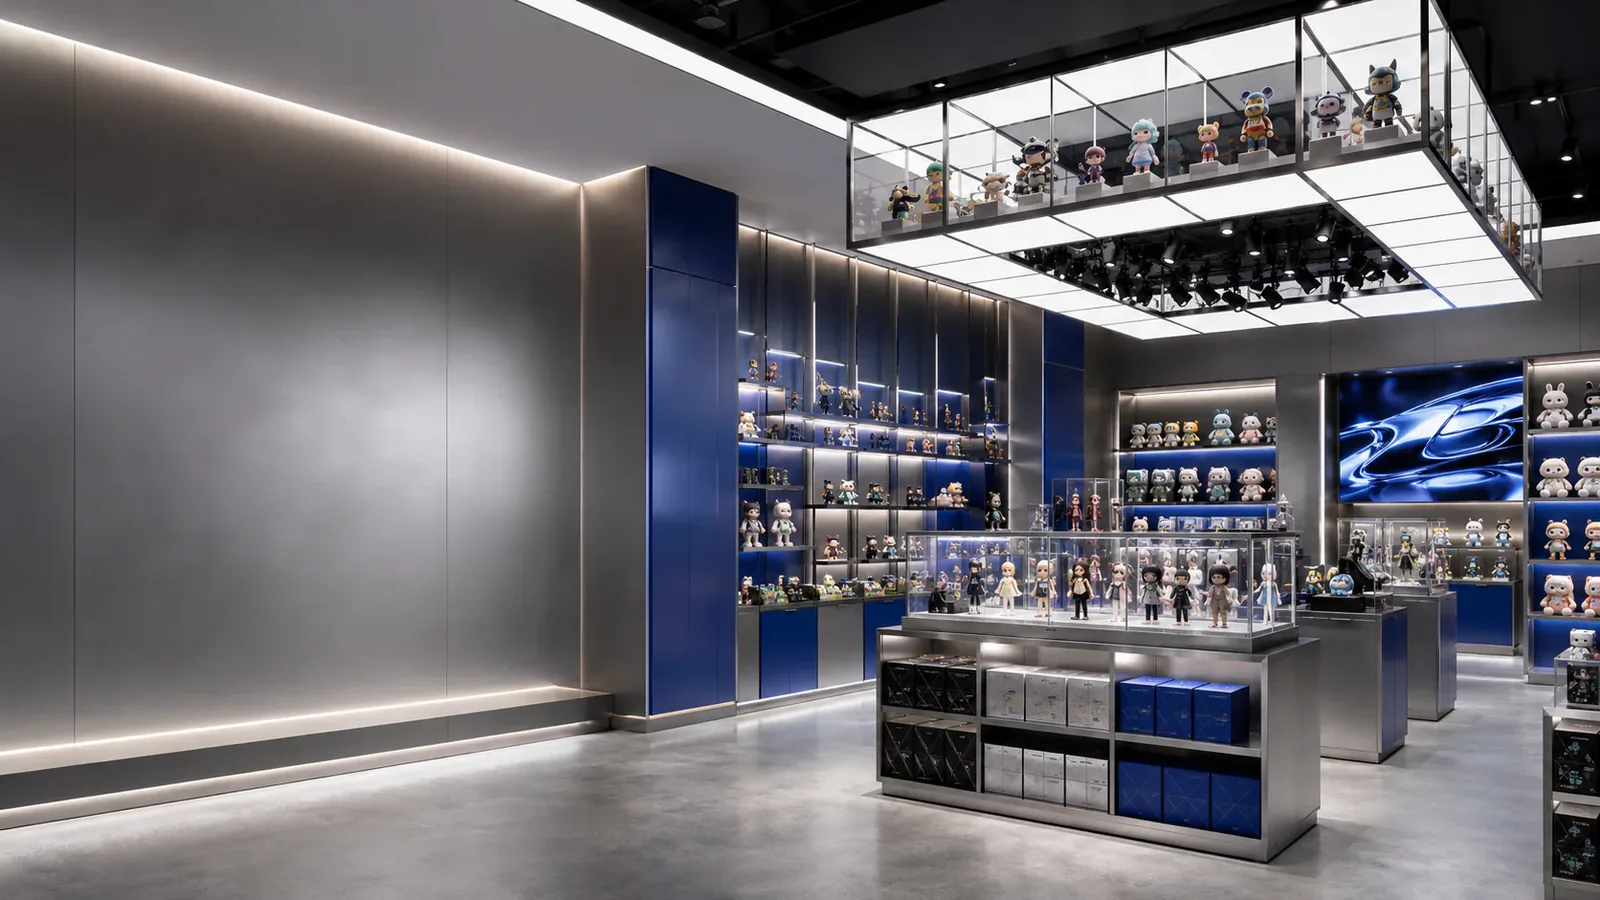
Defining the Merchandise Mix Before Designing a Toy Store
A toy store fixture plan should begin with the merchandise the store will actually sell, demonstrate and keep in reserve. A list of product categories is useful, but it does not tell a designer how much space a box occupies, whether a figure needs staff assistance, or how often a shelf will be replenished.
Read next →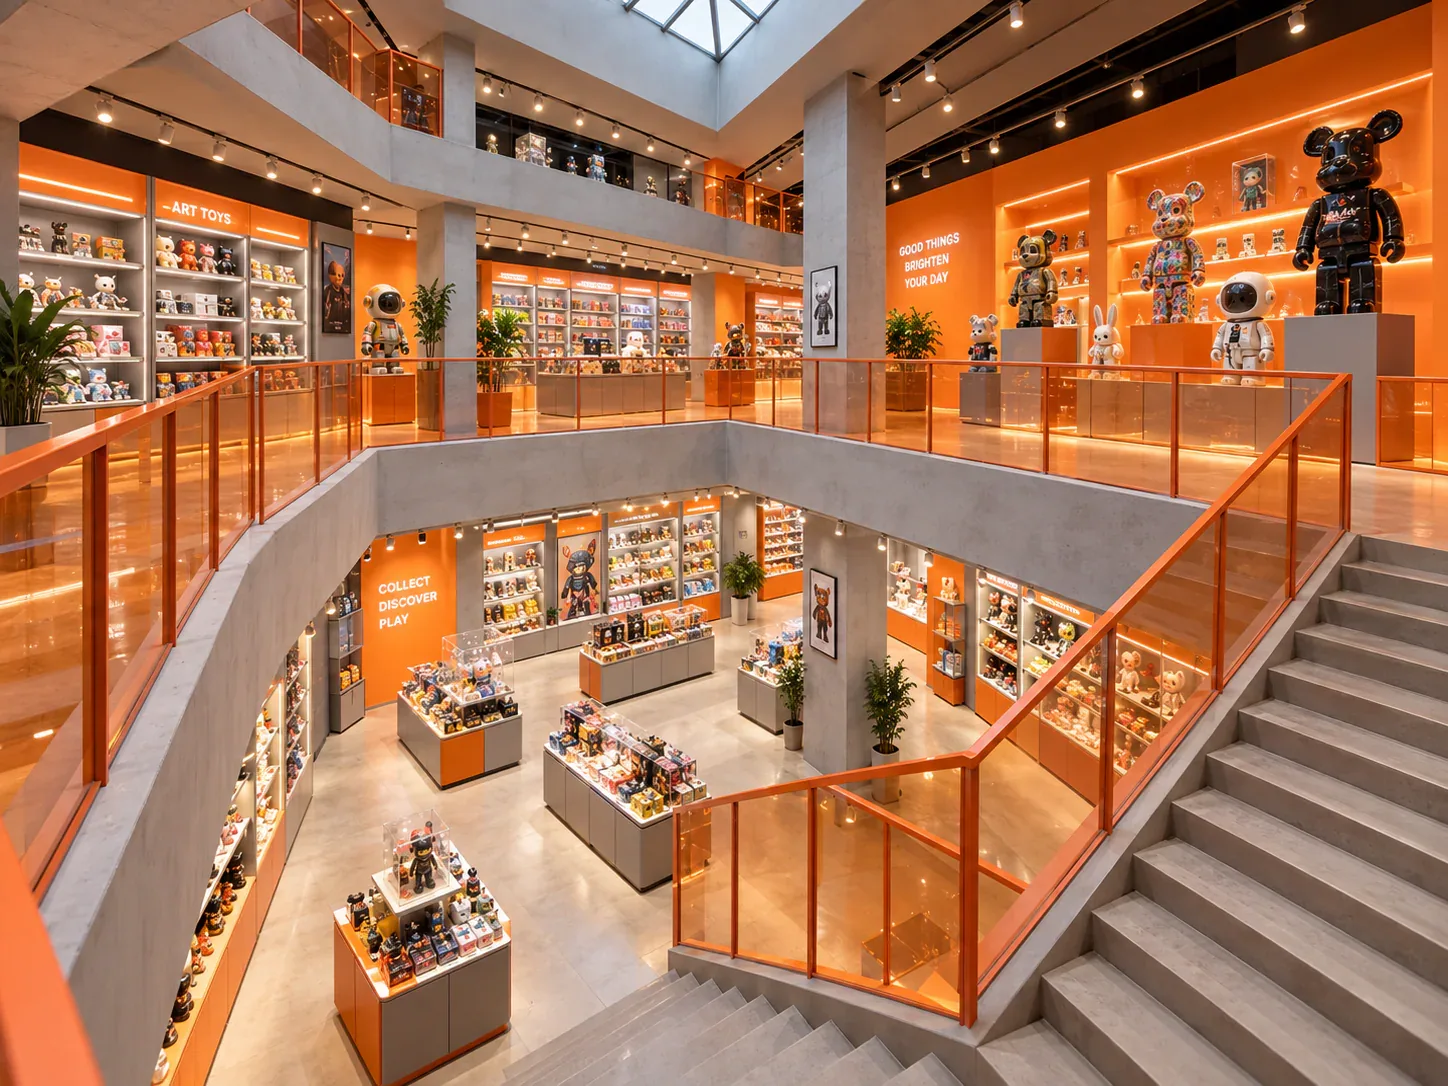
Writing a Store Design Brief for a Designer Toy Brand
A store design brief should explain what the business needs its space to do, which conditions the design must respect, and who will decide whether a proposal meets those needs. For a designer toy brand, that means more than supplying a logo and a collection of attractive shop photographs.
Read next →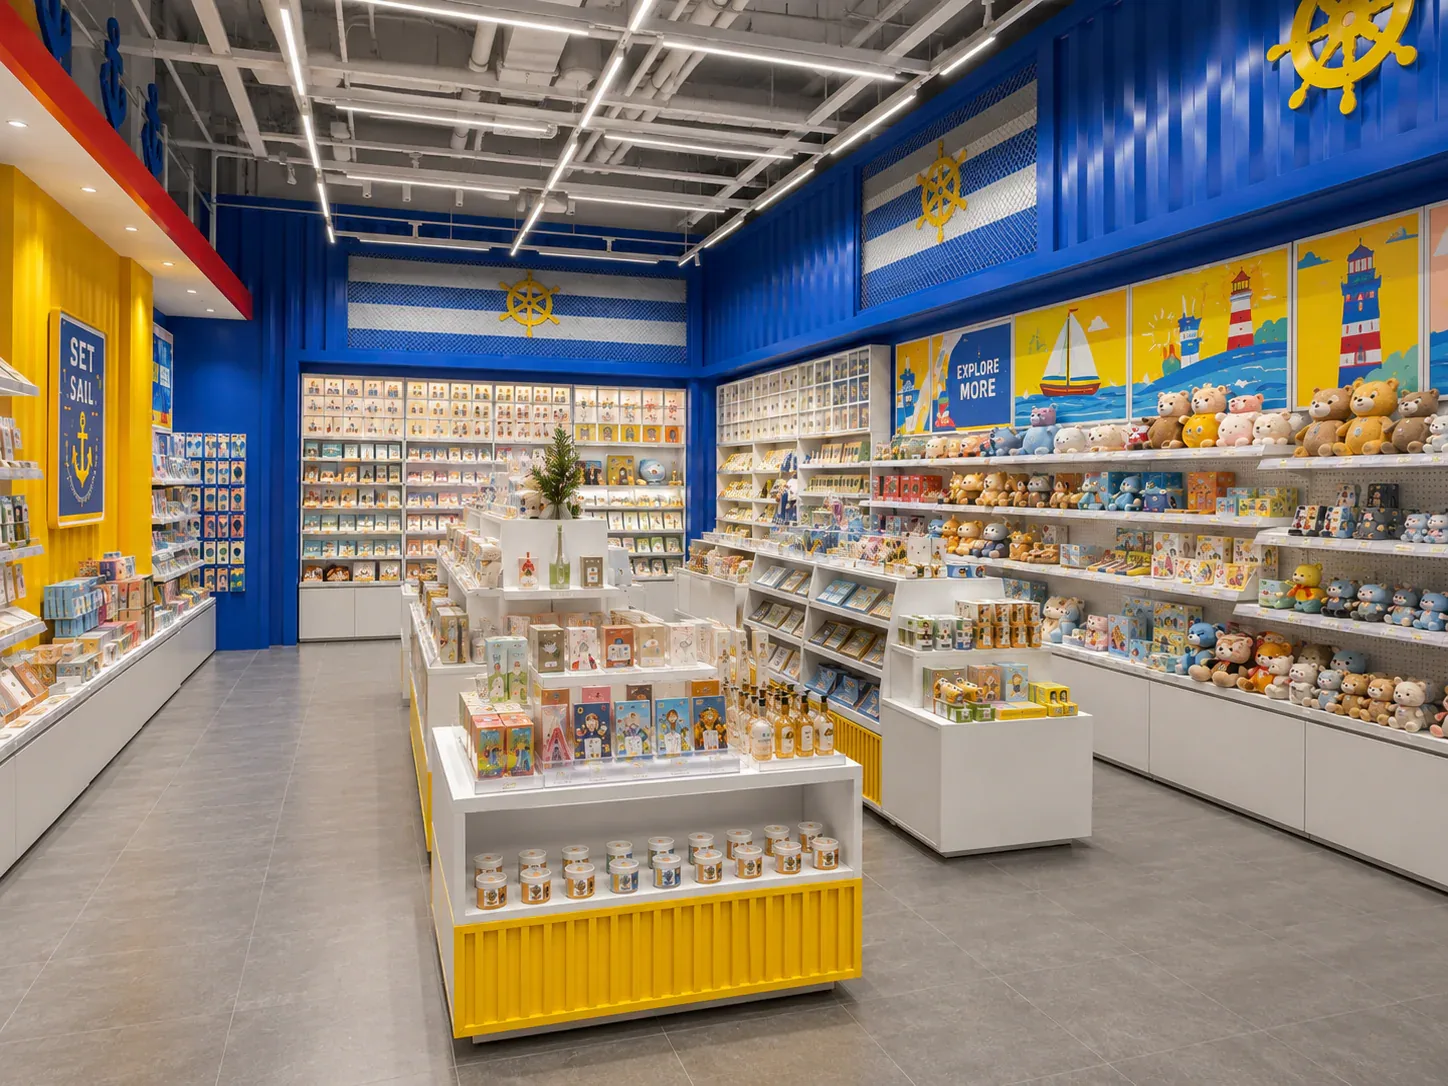
Deciding Which Fixtures to Customize and Which to Standardize
The best fixture programme is rarely the one in which every component is custom, or the one assembled entirely from standard products. A useful choice starts with the job each part must perform.
Read next →Get a project-specific recommendation.
Send your store plan, product sizes, fixture quantities, destination and opening target. BENSON will identify the product fit, engineering inputs and quotation basis.
Start Your Display Project