Defining the Merchandise Mix Before Designing a Toy Store
A toy store fixture plan should begin with the merchandise the store will actually sell, demonstrate and keep in reserve.
- Published
- 2026-09-08
- Updated
- 2026-09-08
- Reading time
- 9 minutes
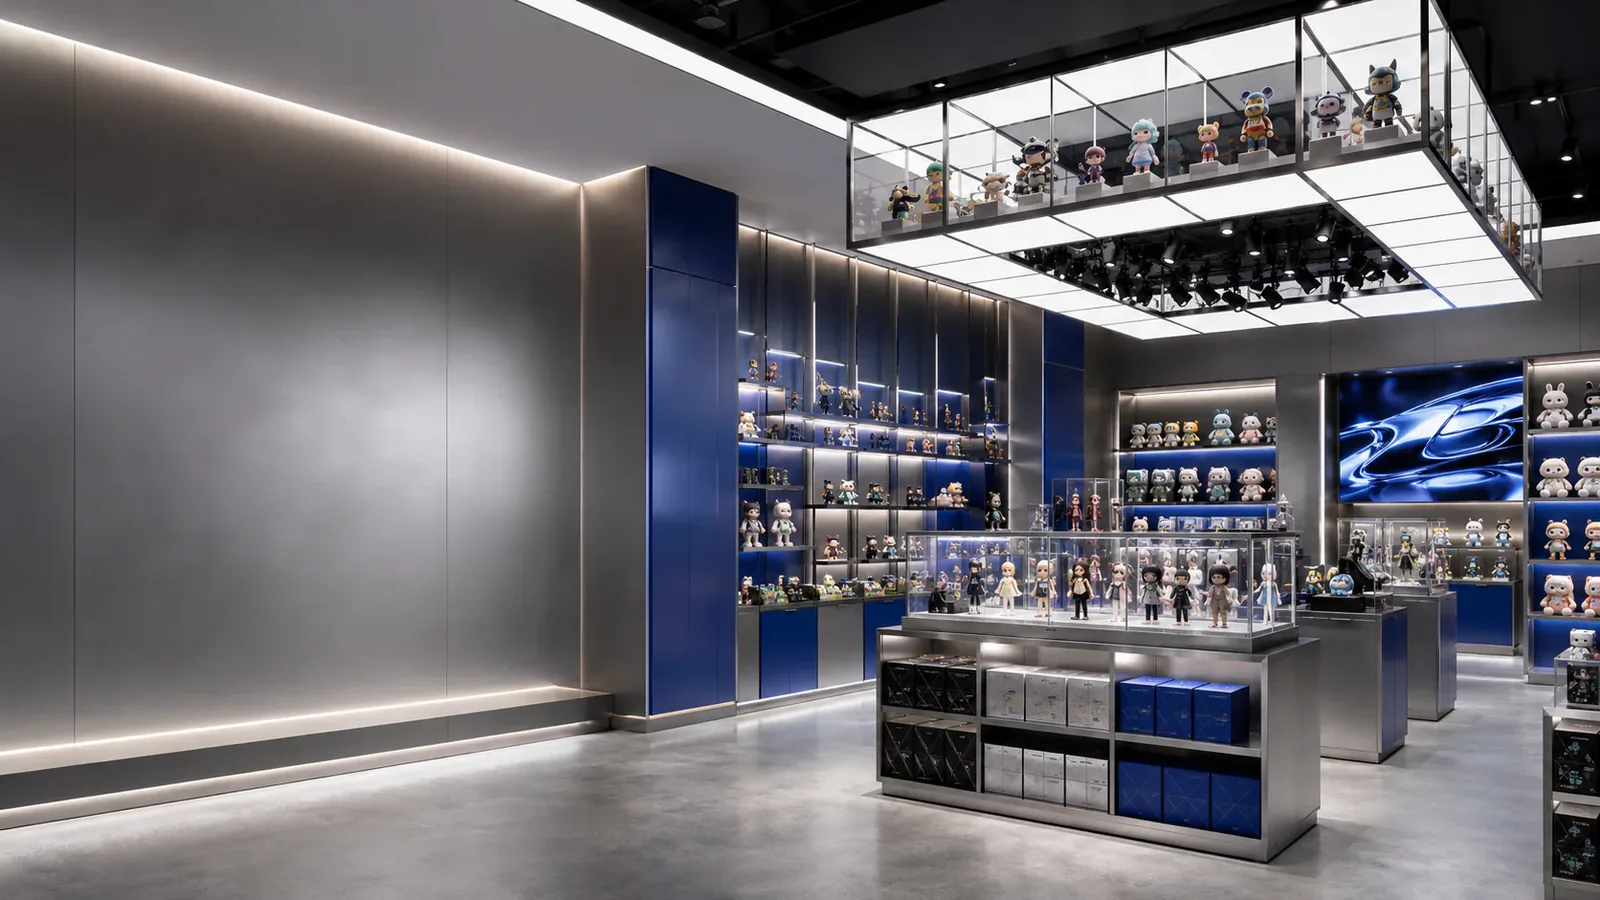
A toy store fixture plan should begin with the merchandise the store will actually sell, demonstrate and keep in reserve. A list of product categories is useful, but it does not tell a designer how much space a box occupies, whether a figure needs staff assistance, or how often a shelf will be replenished.
Three decisions to carry into your project.
- 01
Start with selling formats rather than brand names
- 02
Separate the assortment from the quantities on display
- 03
Measure the unit that the fixture will hold
Start with the decision
A toy store fixture plan should begin with the merchandise the store will actually sell, demonstrate and keep in reserve. A list of product categories is useful, but it does not tell a designer how much space a box occupies, whether a figure needs staff assistance, or how often a shelf will be replenished. Those operating differences determine the work that a fixture must perform. Record them before choosing a wall system, island display or showcase.
The practical output is a merchandise requirements matrix: one shared record connecting each merchandise family to its physical format, selling method, display quantity, storage needs and expected changes. This guide explains how to create that record for a designer toy store. It is a planning method, not a prediction of demand, a supplier specification or a claim about the results of a particular BENSON project.
Start with selling formats rather than brand names
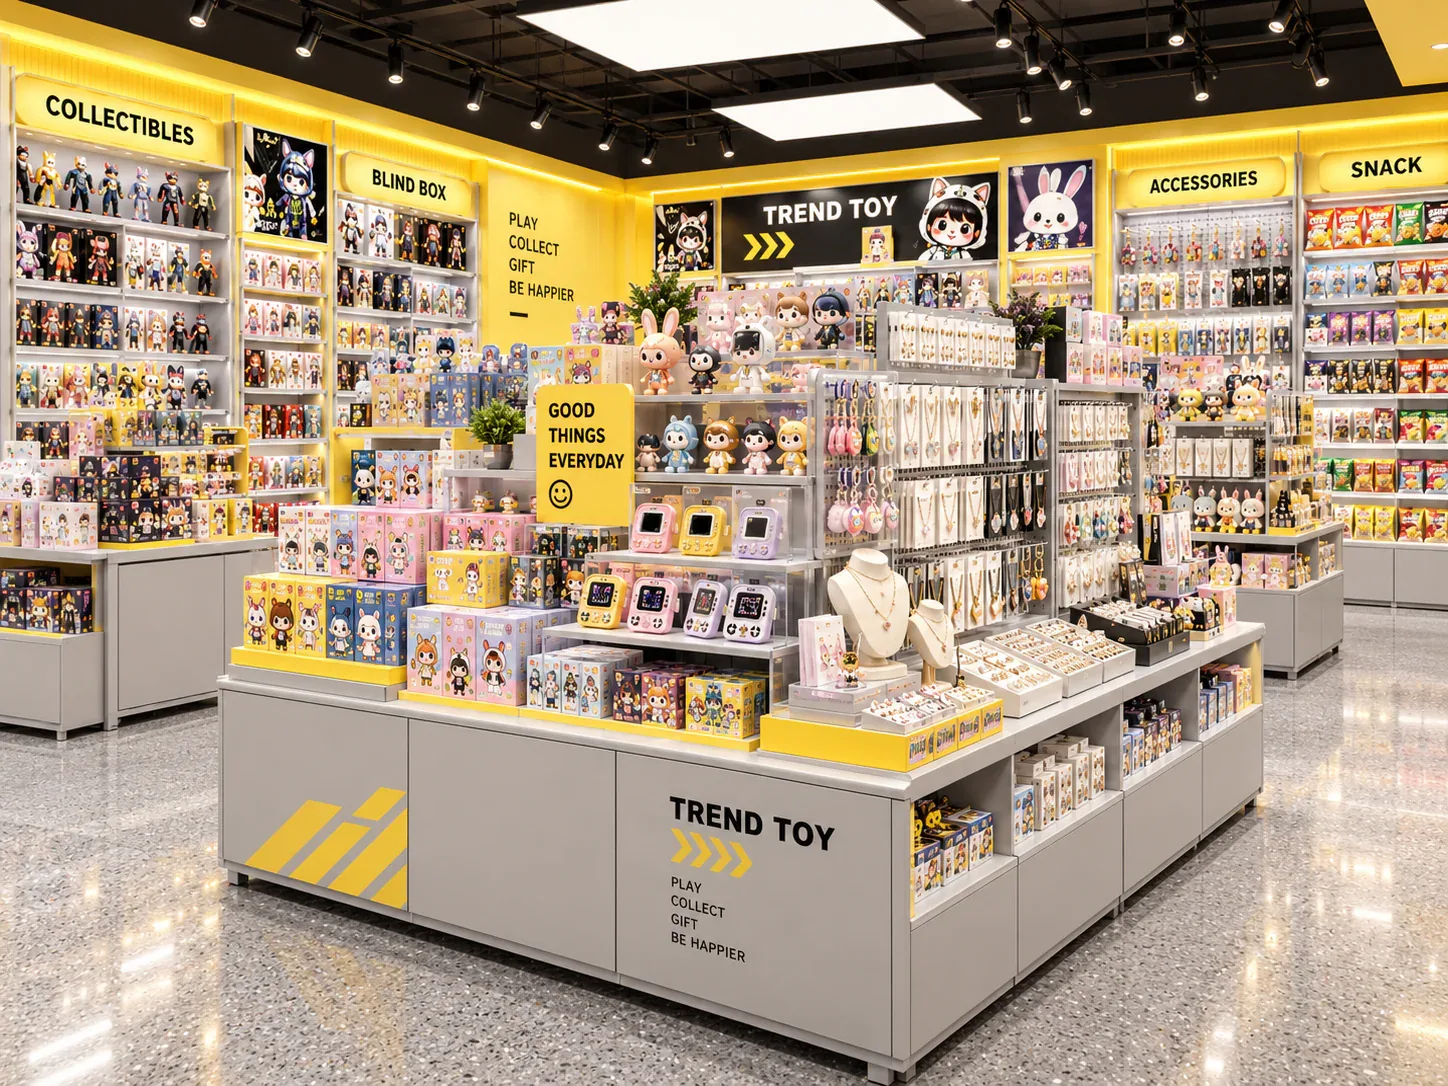
A store carrying three brands may need only two basic display methods. Another carrying a single brand may require shelves for sealed blind boxes, enclosed showcases for loose samples, hanging space for accessories and a service counter for large collectible editions. Grouping merchandise only by brand can hide these differences. Start by asking how the customer encounters and receives each item.
Use plain format descriptions such as sealed box, loose figure, hanging accessory, plush item, large presentation box or assembled display sample. Then add the selling method: customer selects directly, employee retrieves stock, customer orders from a sample, or customer collects a previously reserved item. A sample and the corresponding sale unit can belong to the same range while having different space requirements.
Keep brand and series information in the record, but use them as additional fields. This allows the eventual design to communicate brand identity without assuming that all items sharing a logo fit the same shelf. It also makes the schedule easier to update when a new series arrives with a different package shape.

Separate the assortment from the quantities on display
The assortment describes which merchandise the business intends to offer. Display quantity describes how much of that merchandise should be visible at one time. Reserve quantity describes additional saleable stock held elsewhere. These are related decisions, but they are not interchangeable. A purchasing order for hundreds of boxes does not mean the sales floor must hold every box.
For each family, record the number of distinct items or series, the desired presentation quantity, and the location of the remaining stock. Where an individual SKU is unknown, use a representative size range and clearly mark the assumption. Do not disguise incomplete purchasing information by adding an arbitrary percentage to every cabinet. A visible assumption is easier to revise than a hidden allowance distributed throughout the design.
Sales history can inform these quantities when it exists. A first store will usually have more uncertainty. In that situation, define a starting scenario and a change scenario instead of presenting one forecast as certain. Ask what would happen if the opening range became broader, if packages became taller, or if an initially minor category needed a more prominent position.
Measure the unit that the fixture will hold
Request measurements for the actual sale unit and any separate demonstration sample. A sealed package may include a hanging tab or a protruding sleeve. A loose figure may extend beyond its base because of a weapon, a hairstyle or a dynamic pose. A cabinet designed from a catalogue illustration may accommodate neither the package nor the complete assembled product.
Record a consistent orientation for boxed goods and explain which face should point toward the shopper. GS1 publishes measurement rules for product data; these are useful background for keeping package dimensions consistent. Fixture planning additionally needs operating information such as the preferred display direction and the room needed to remove an item. A product-data dimension alone is not an allowance for a person's hand.
Photograph the measured item alongside its identification label, and state the unit of measurement. If the opening collection has not arrived, ask the merchandise supplier for verified packaging information and schedule a later physical check. Treat a rendering, approximate online dimension or scale label as a provisional input until it has been confirmed.
Build a matrix that a designer can use
The matrix should be detailed enough to explain the job without becoming a copy of the entire inventory database. Begin with one row per family that shares a physical format and selling method. Split a row when a meaningful requirement changes. For example, a family of small blind boxes and a family of oversized collector boxes should not share one average dimension.
Include a row identifier, merchandise description, sale-unit dimensions, sample dimensions, preferred orientation, access method, display quantity, reserve location, replenishment frequency and expected change. Add a source and status to important measurements. A useful status might be measured, confirmed by supplier, provisional or not yet available. This makes the record's uncertainty visible during design review.
Finish each row with a design implication. This is not a finished construction detail. It translates the business requirement into a question the design must answer: adjustable shelf positions, room for a complete diorama, a separate staff retrieval point, or a lower storage compartment. Avoid specifying a particular material merely because it appears in a reference photo; the matrix describes needs before the team chooses the solution.
Worked example: a mixed designer toy shop
Consider a hypothetical store preparing four merchandise families. The first contains twelve sealed blind box series with small rectangular packages. The second contains six loose premium figures, each sold through employee assistance. The third contains hanging accessories in several package lengths. The fourth consists of three large collector editions retained in their presentation boxes. These numbers are illustrative inputs, not a recommended assortment or a demand forecast.
The owner initially asks for identical wall shelves throughout the store. The matrix reveals why that approach needs review. The blind boxes need clear series boundaries and straightforward replenishment. The loose figures need unobstructed viewing and a planned retrieval operation. The accessories require a way to suspend their packages. The large editions require their own dimensional check rather than the average dimensions of the smaller boxes.
The design discussion can now compare a mixed arrangement with the original all-shelf proposal. The team might allocate adjustable shelving to the blind boxes, a staff-access showcase to the premium samples, a compatible hanging section to the accessories and selected larger bays to the collector boxes. None of those choices is approved merely because it appears in this example. Each must be checked against the real floor plan, products and operating conditions.
See the decision table below for the working record.
Test the difficult cases instead of designing for the average
An average package can be a useful commercial summary, but it is a weak construction input. Check the tallest package, the widest base, the awkward accessory and the item that requires the most complicated retrieval. These cases expose conditions that a visually tidy assortment list can conceal. Record exceptions explicitly rather than inflating every fixture around one unusual product.
Also distinguish a permanent exception from a temporary launch item. A permanently stocked large edition may justify a dedicated display position. A short event may instead require a removable module or temporary presentation arrangement. The right choice depends on the frequency of use, the change process and the space available, not simply the largest object in the catalogue.
Ask the operations team to rehearse replenishment and retrieval on paper. Who opens the cabinet? Where does a removed sample wait? Can new cartons reach the reserve stock location? These questions often reveal a missing work surface or a storage need. They should lead to specific changes in the matrix rather than a general instruction to make the store more flexible.
Turn the matrix into a fixture discussion
Once the matrix is complete, map merchandise families to proposed fixture families. The relationship does not need to be one to one. A wall system may serve multiple boxed ranges, while one collectible range may need both a showcase for samples and reserve storage for packed sale units. Show these links so that a later assortment change can be traced to the affected fixtures.
Review alternatives using the same merchandise inputs. If one proposal appears to offer greater capacity, check whether it assumes deeper stacking, less space between products or a different retrieval method. The comparison is meaningful only when those assumptions are visible. More nominal shelf space is not automatically more usable presentation space.
At this stage, the buyer can discuss the appropriate custom toy store fixture scope. The matrix should travel with the floor plan and reference images. It gives the supplier a practical basis for asking questions, rather than requiring the supplier to infer the business model from photographs of other stores.
Maintain the record through opening
Give the matrix an owner and a revision date. When purchasing changes the range, update the affected row and identify which design decisions need another check. A change in colour may have little dimensional impact; a new presentation box may affect shelf pitch, labels, storage and packing. The purpose of revision control is to identify those consequences before they become site problems.
Before fixture approval, verify that the highest-risk merchandise has been physically checked or that the remaining uncertainty has an agreed resolution date. Before opening, compare the delivered assortment with the version used for design. Record the differences and adjust the merchandising plan within the approved capabilities of the fixtures. Do not assume that an adjustable system can accept every possible future product.
The finished matrix is a communication tool that joins merchandise buying with store design. It does not replace detailed drawings, structural checks or a commercial quotation. Its value is that each fixture choice can be traced to an identifiable product need, and each unresolved decision has a visible place to be completed.
Compare one controlled basis.
How we apply this decision.
Give the matrix an owner and a revision date. When purchasing changes the range, update the affected row and identify which design decisions need another check. A change in colour may have little dimensional impact; a new presentation box may affect shelf pitch, labels, storage and packing. The purpose of revision control is to identify those consequences before they become site problems.
Review BENSON capabilities →What still needs project confirmation.
Use the actual site, merchandise and supplier information to confirm the project-specific arrangement. Illustrative examples do not establish technical suitability.
Prepare the required inputs →Avoid these shortcuts.
- Treating a reference image as an approved production specification.
- Comparing suppliers without identical dimensions, quantities and delivery scope.
- Separating material, lighting or hardware decisions from the drawing revision.
- Leaving packing, local installation and site interfaces undefined.
Before the next approval.
- Start with selling formats rather than brand names
- Separate the assortment from the quantities on display
- Measure the unit that the fixture will hold
- Record each open point, owner, due date and required evidence.
Trace the supporting information.
Shopify: assortment planning ↗Further reading referenced in this guide.
GS1: package and product measurement standard ↗Further reading referenced in this guide.
BENSON buyer resources ↗Further reading referenced in this guide.
Content review policyUpdated 2026-09-08. AI-assisted buyer guidance; no independent technical review is claimed.
Move from research to a project decision.
Keep building the specification.
Writing a Store Design Brief for a Designer Toy Brand
A store design brief should explain what the business needs its space to do, which conditions the design must respect, and who will decide whether a proposal meets those needs. For a designer toy brand, that means more than supplying a logo and a collection of attractive shop photographs.
Read next →
Deciding Which Fixtures to Customize and Which to Standardize
The best fixture programme is rarely the one in which every component is custom, or the one assembled entirely from standard products. A useful choice starts with the job each part must perform.
Read next →
Planning a First Toy Store Without Over-Specifying Fixtures
A first toy store needs enough equipment to present the opening range, support daily work and accommodate foreseeable changes. It does not need every feature that might become useful in an imagined future.
Read next →Get a project-specific recommendation.
Send your store plan, product sizes, fixture quantities, destination and opening target. BENSON will identify the product fit, engineering inputs and quotation basis.
Start Your Display Project