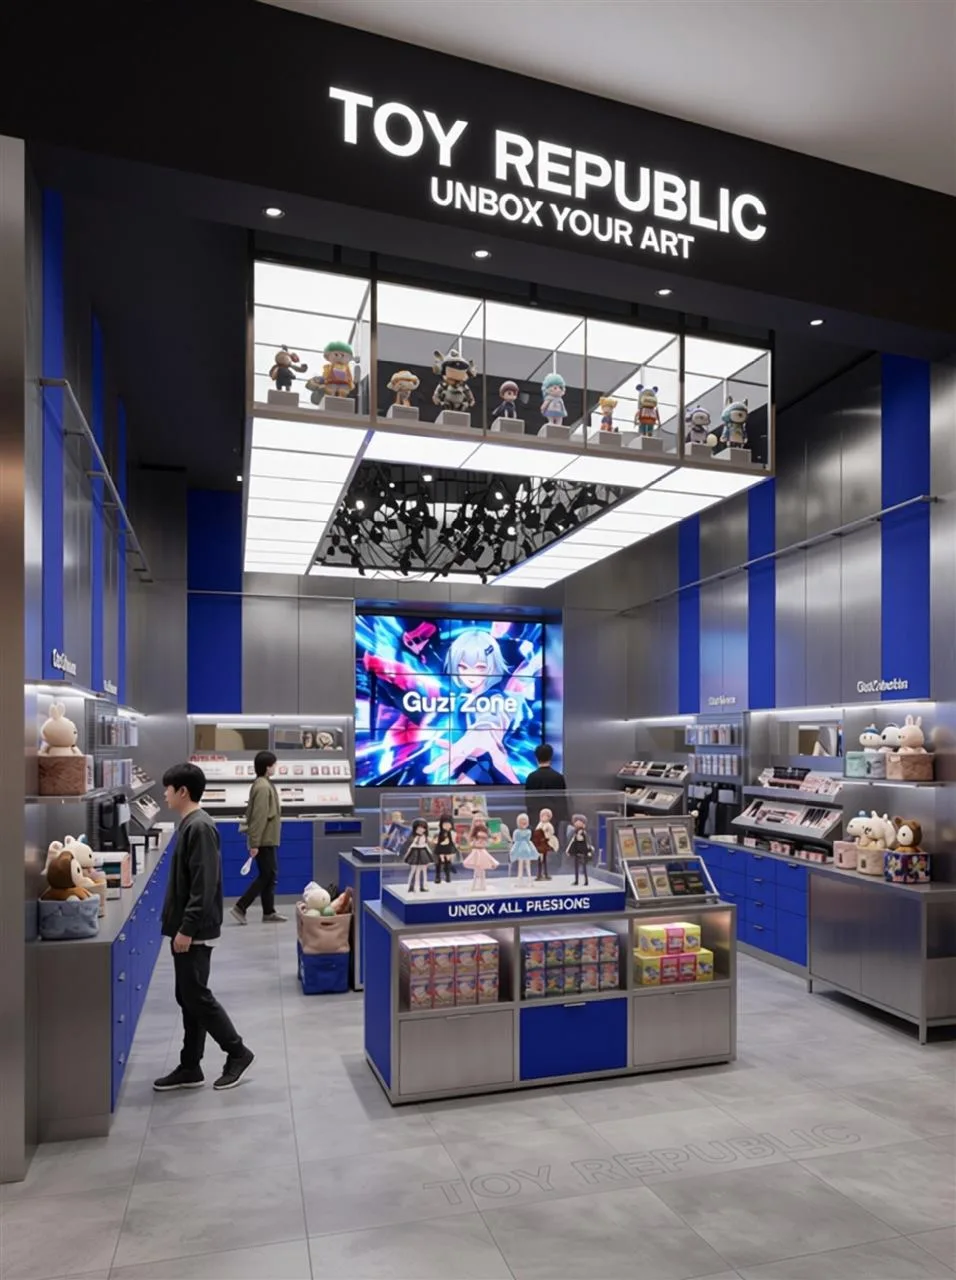
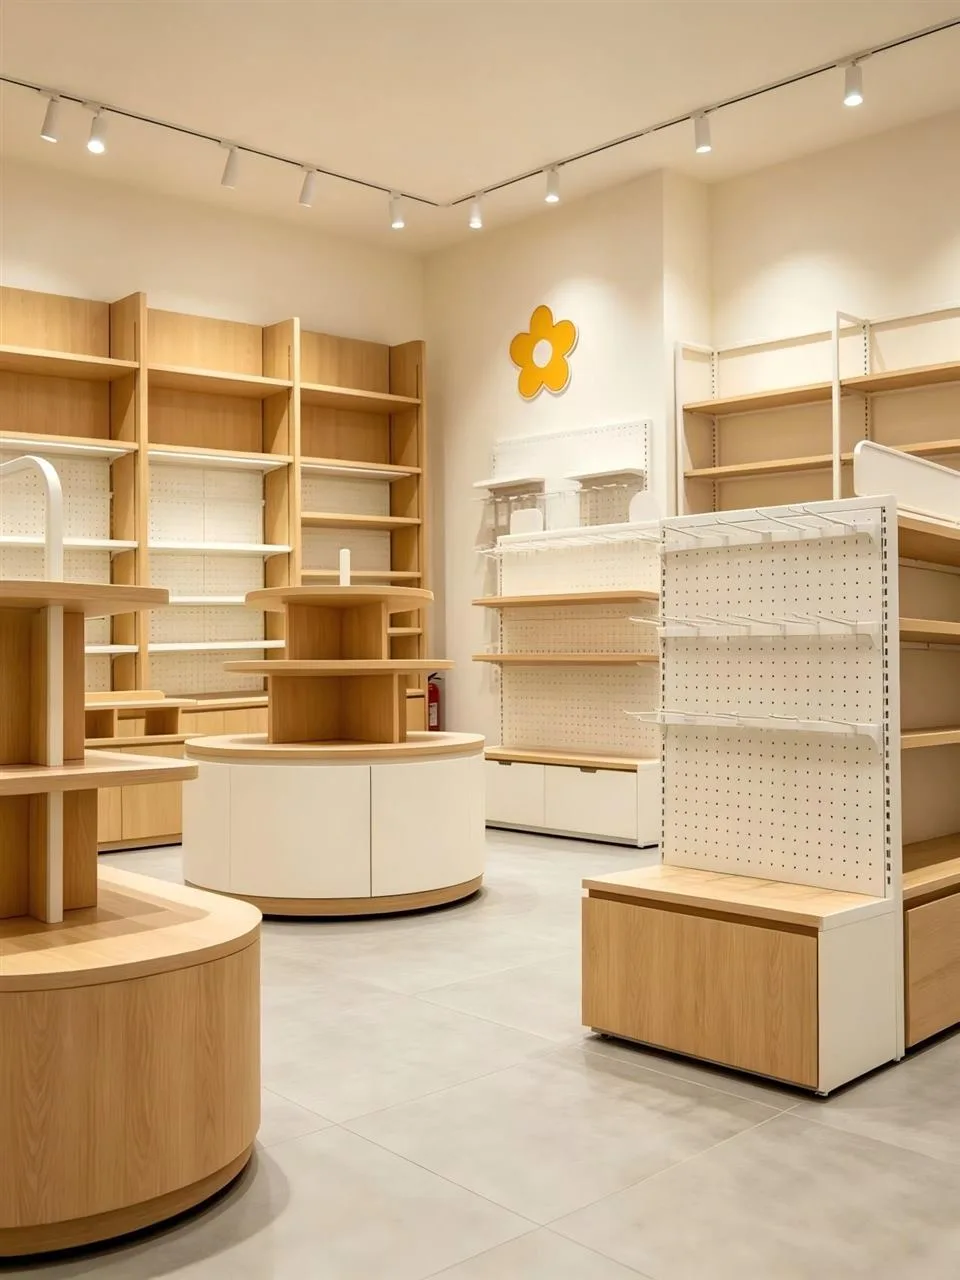
Choose a fixture direction
Compare this visual reference with retail island displays. The product guide explains the fixture system; the image set helps communicate your preferred presentation.
View Island Display →
Paired views show a pale interior framed by lavender entrance graphics and a bright central ceiling. Stepped rectangular islands align with merchandise bays along both walls.
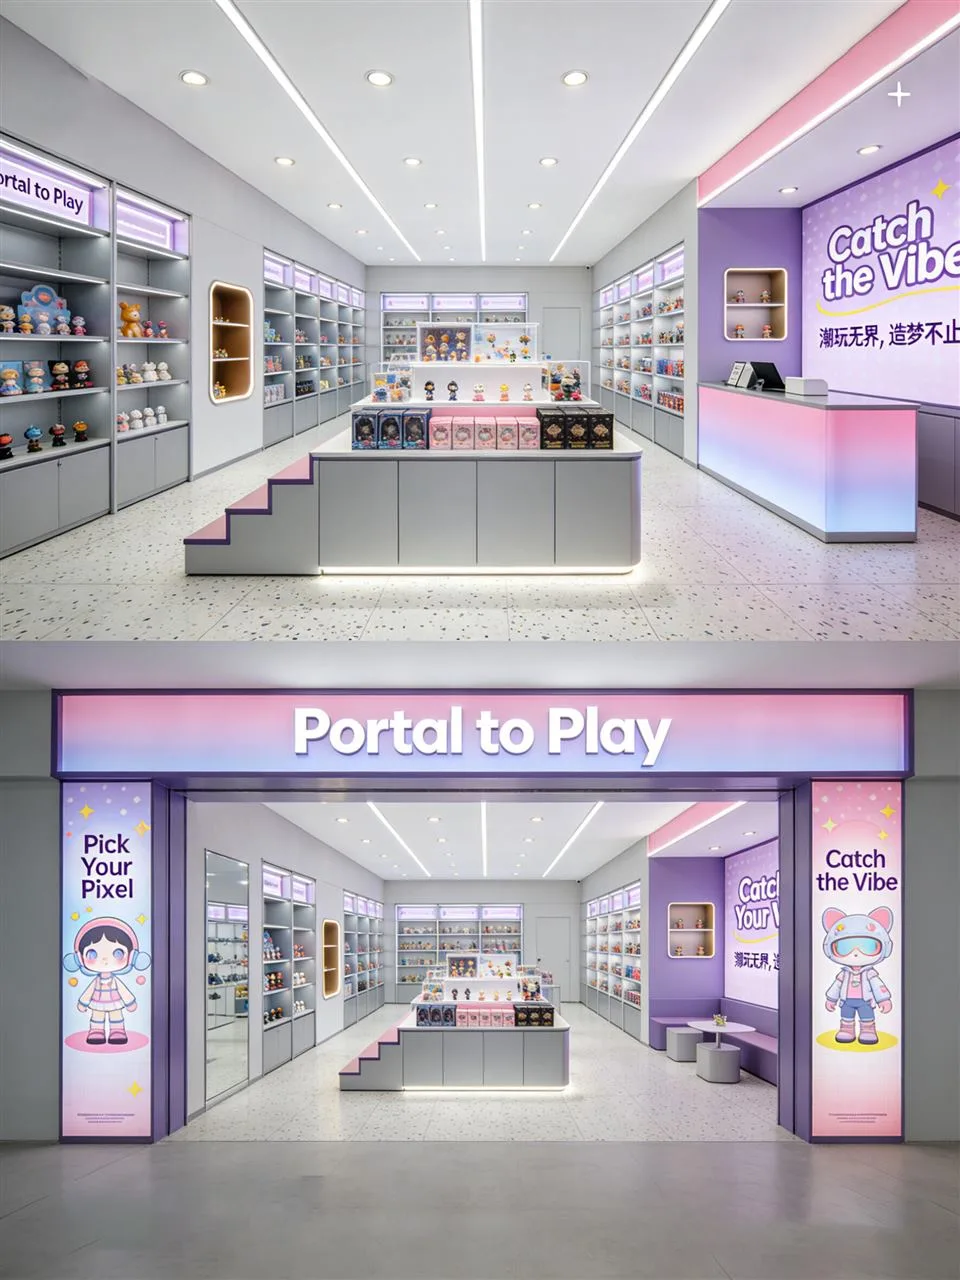
Use the front view to check visibility and the interior view to size fixture spacing. Define how many product tiers are needed before choosing the height of each center island.
Use the images to identify the elements you want to keep, then share the changes needed for your own store. Benson Toy Display can review the preferred appearance alongside your floor plan and merchandise list. Renderings and reference photos illustrate a visual direction; they do not establish a completed Benson project or verified dimensions, materials or performance.
Select any image to request a similar display. Your inquiry will include this page as its source, so our team can identify the reference you are discussing.
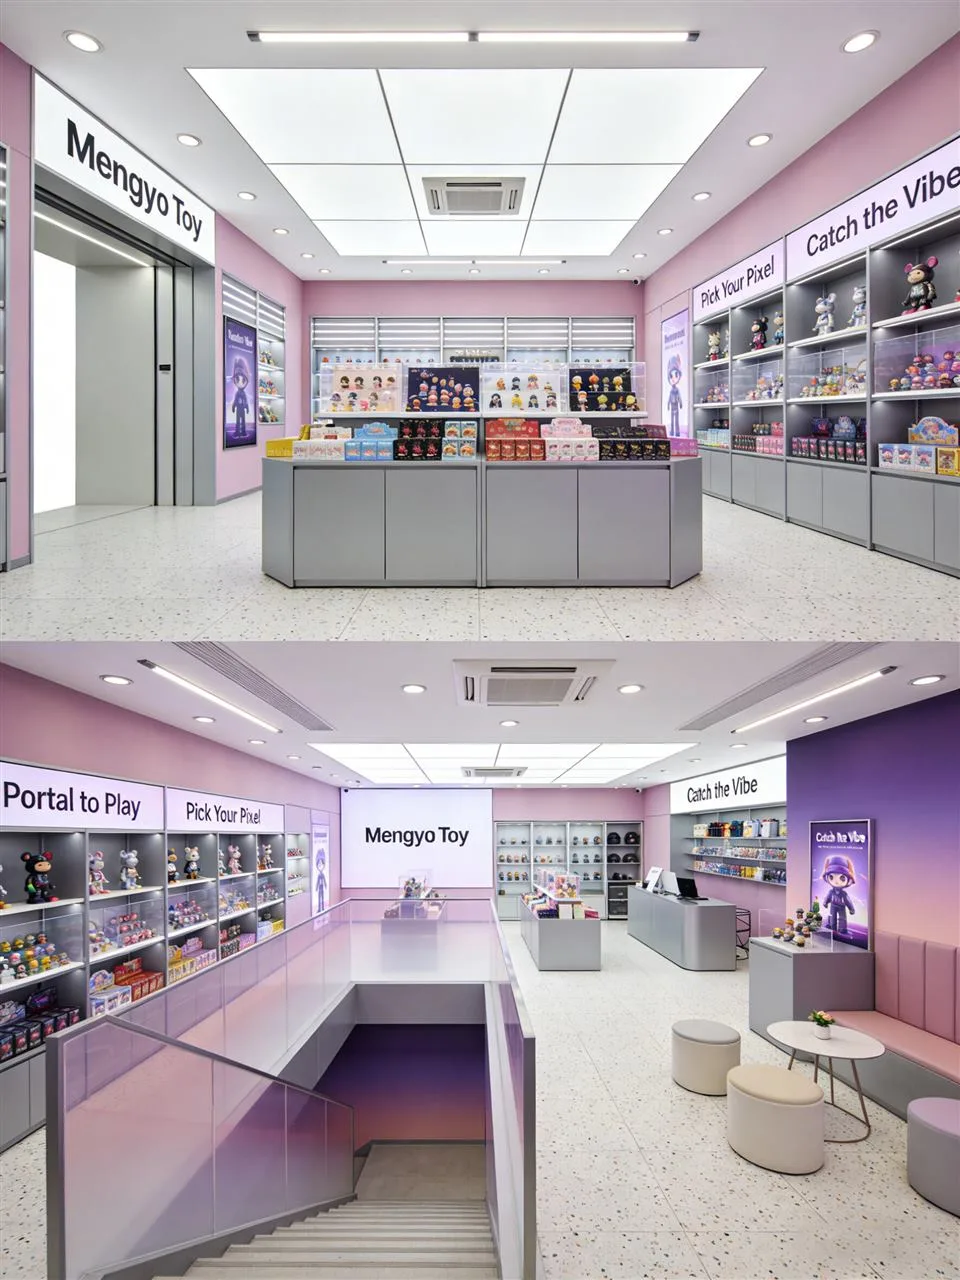
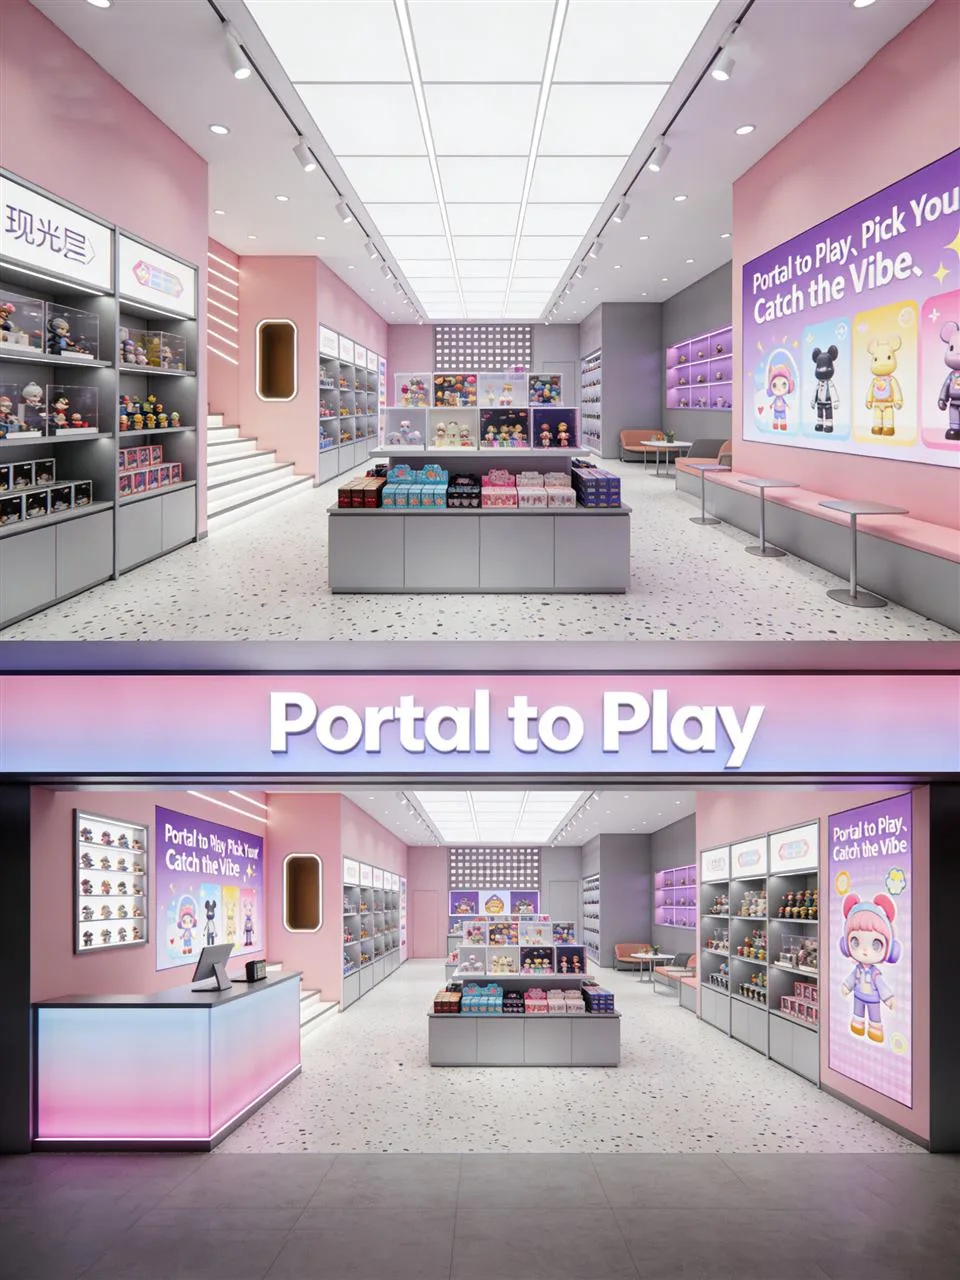
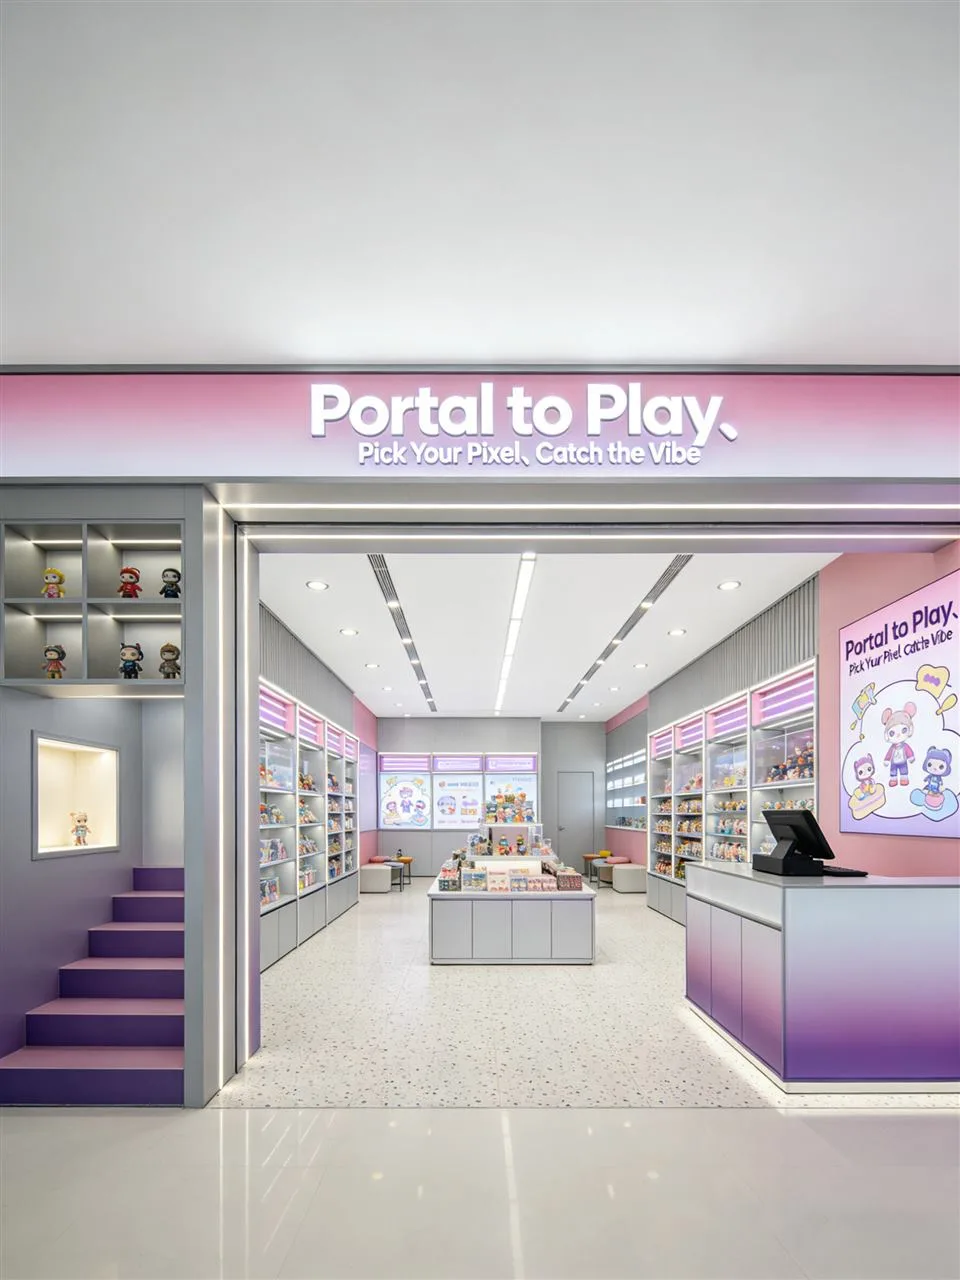
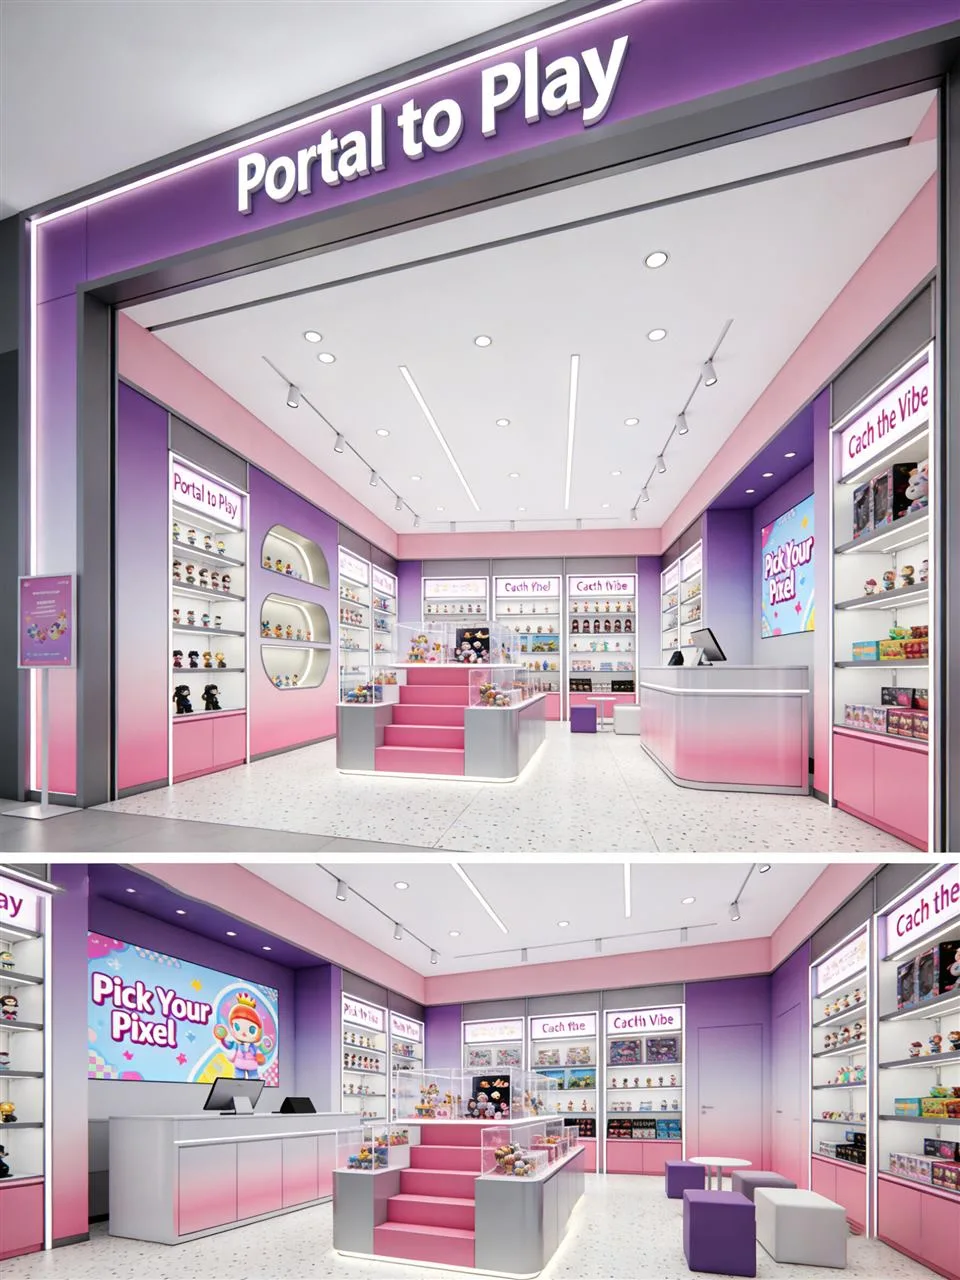
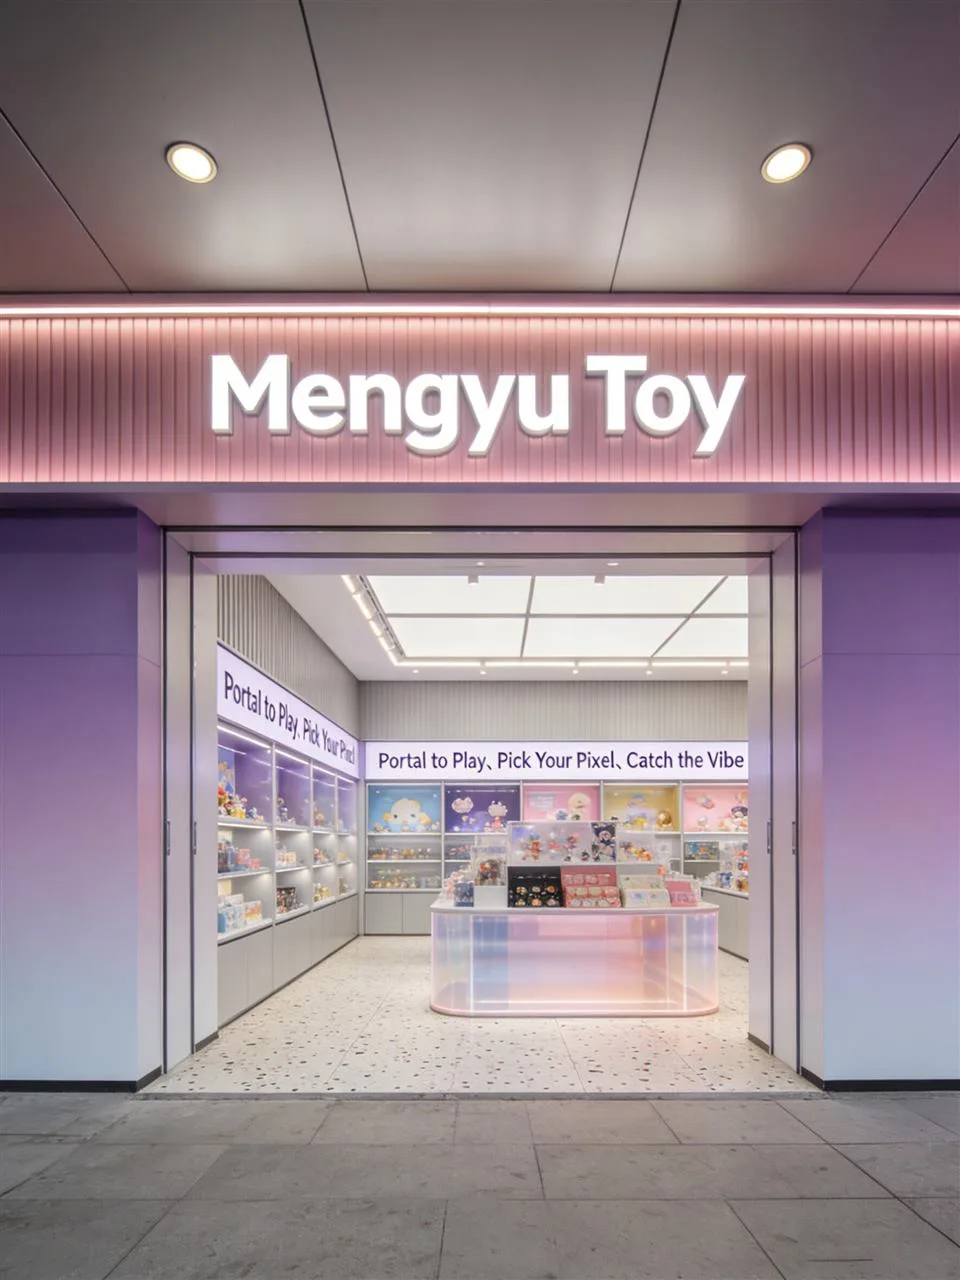
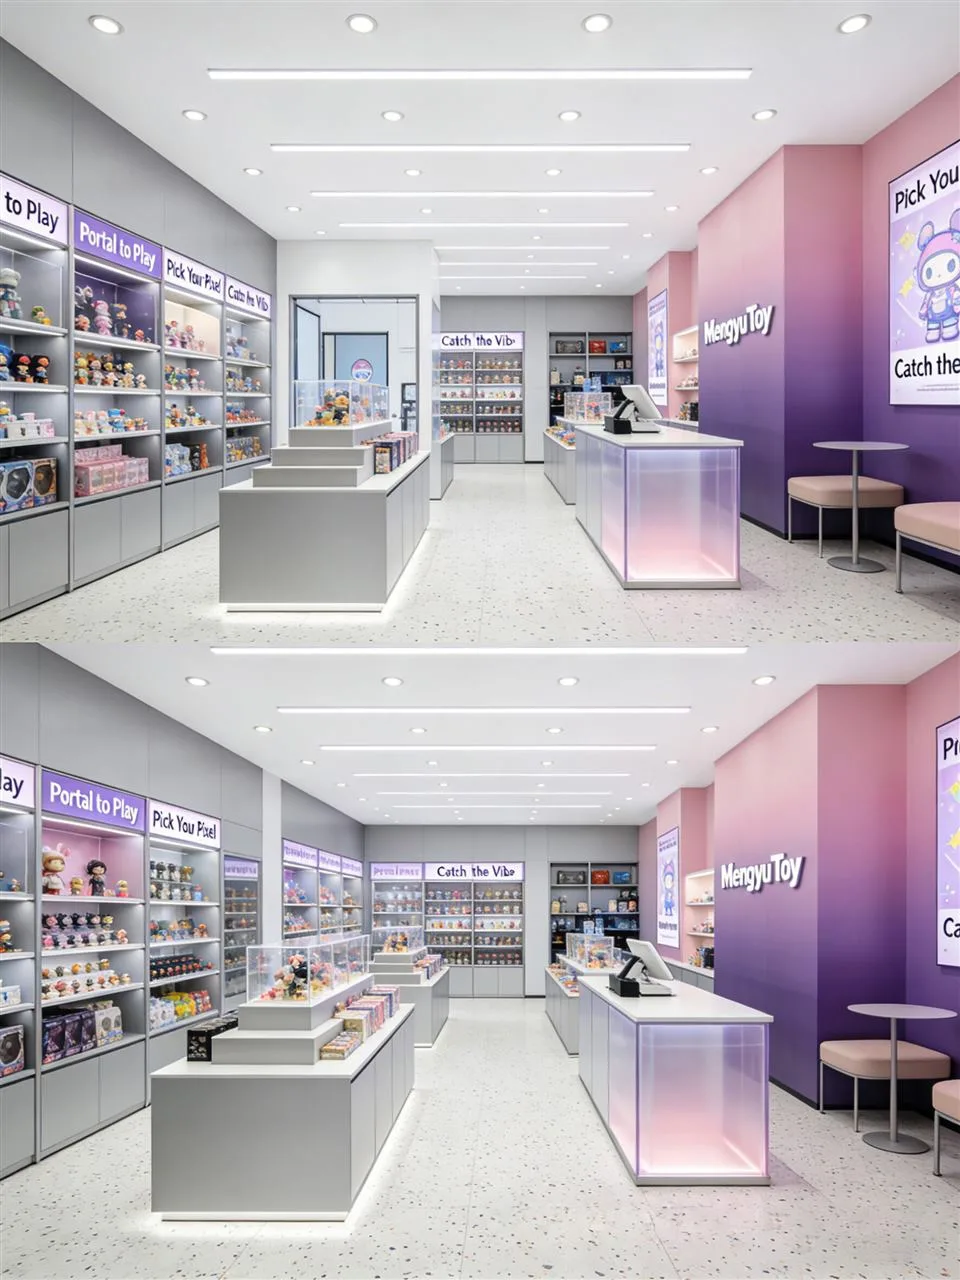
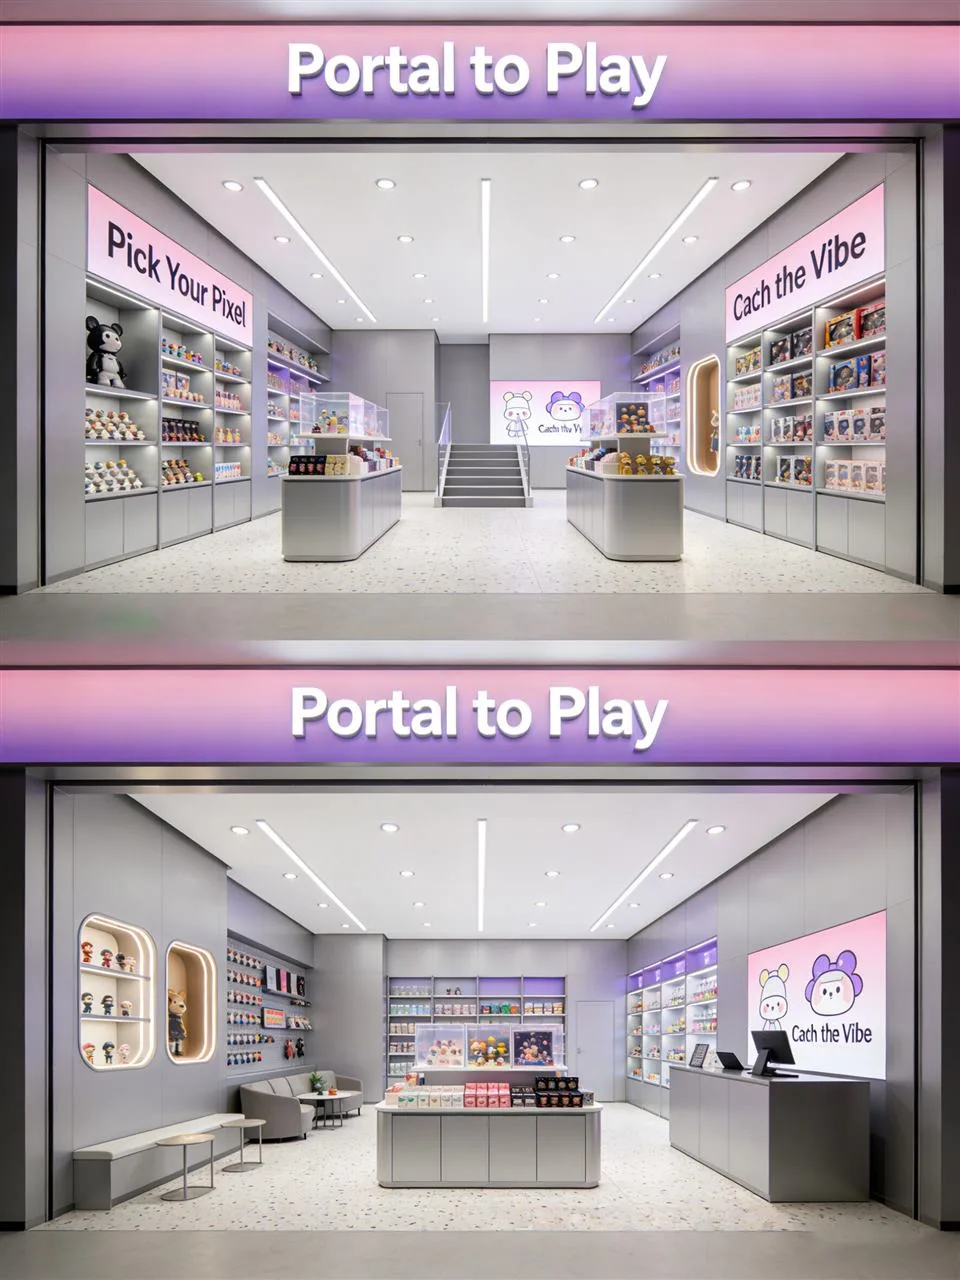
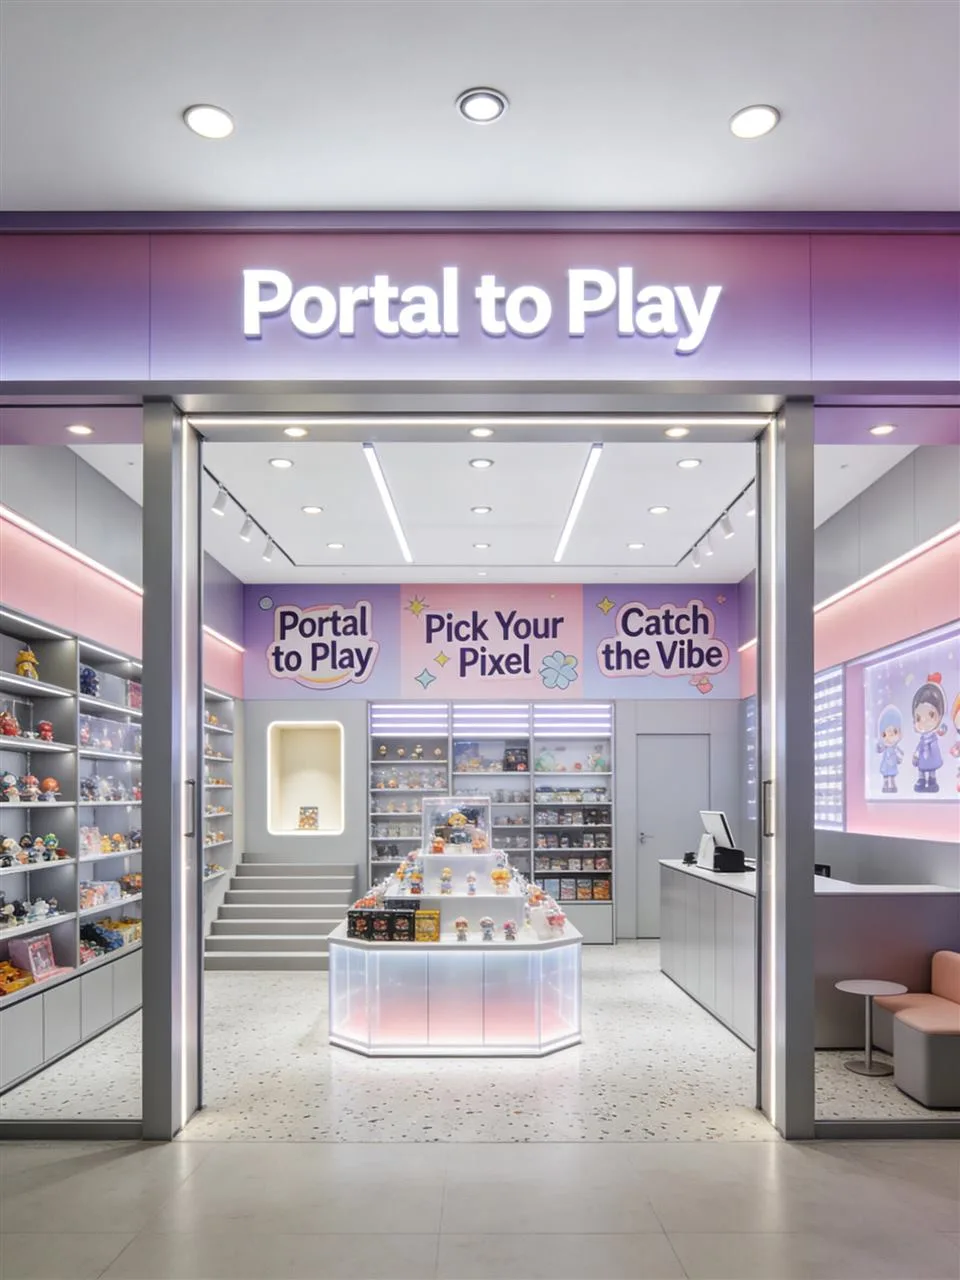
Compare this visual reference with retail island displays. The product guide explains the fixture system; the image set helps communicate your preferred presentation.
View Island Display →Specify product sizes, quantities, shelf access and any lighting or secure-display needs. Final dimensions, finishes, structural details and electrical requirements are confirmed in the project drawings and quotation.
Share your floor plan, destination and target opening date, together with the views you prefer. Include required changes to colors, shelving or layout. Pricing, minimum quantities and delivery timing depend on that agreed scope.
Discuss this design →